All CoD: Cold War Zombies Easter egg steps in Die Maschine
Let’s start at the beginning (all these steps were done in solo).
Select a class:
If you haven’t already fully upgraded the Aether Shroud Field Upgrade, I suggest doing a quick exfil or more (Round 10 then exfil) to get enough crystals.
If you’re in duos or more someone should have the shroud and someone should have the Healing field upgrade fully upgraded also.
For a weapon, go with the knife. You get more points consistantly per kill then you do with a gun, and it’s a one hit kill, without Pack-a-Punching it until round 12. However, if you want the free Jugger from the Coffin Meme you need to have a gun theat’s not a shotgun.You’ll be picking up the Gallo from the Crash Site and then the Wonder weapon anyway. Only one person can get the Wonder weapon - unless it pops during the coffin meme or trials…
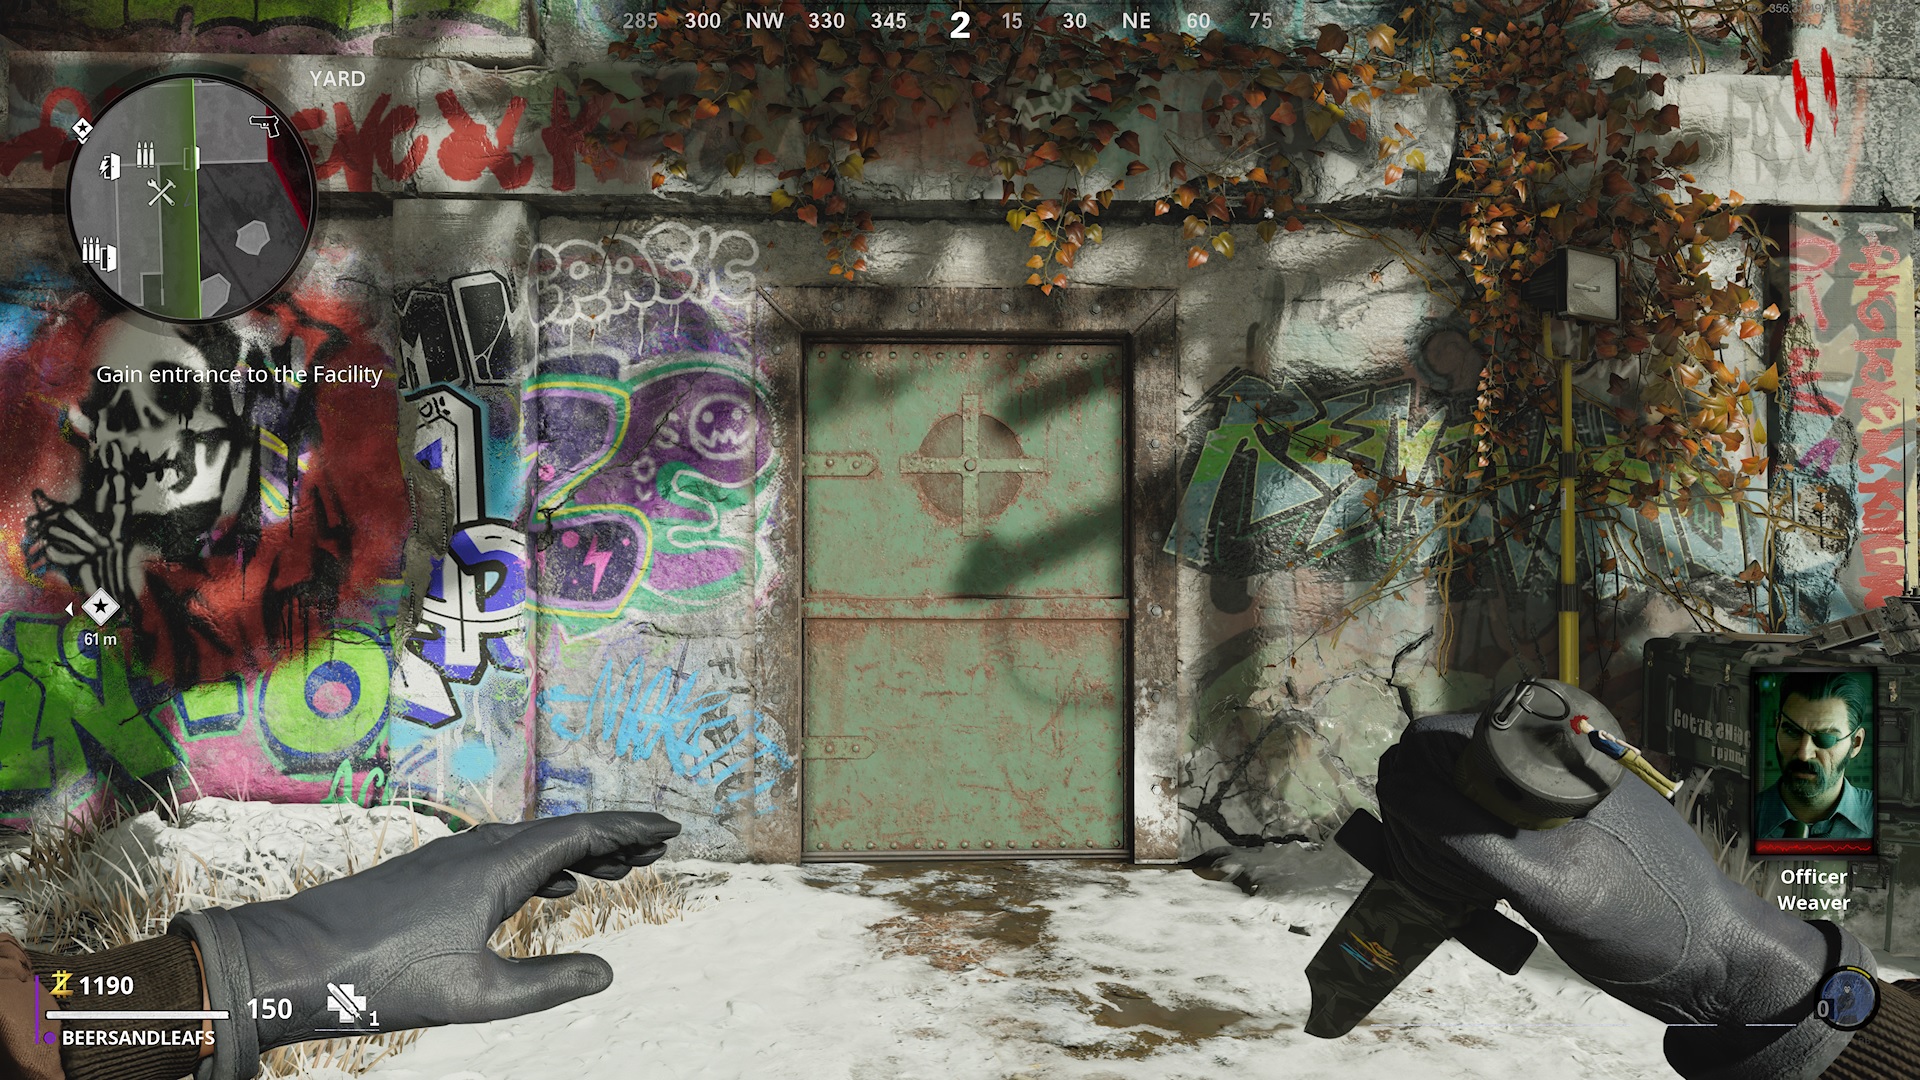
After spawning in the Yard, take out the zombies to earn points until you have at least 14000 points, then head over to the locked (green) door.

Unlock the door to the Nacht Der Untoten building for 500 points and notice to the left a purple arrow. Follow the arrows all the way to the main room, where the power is.
Turn on the power
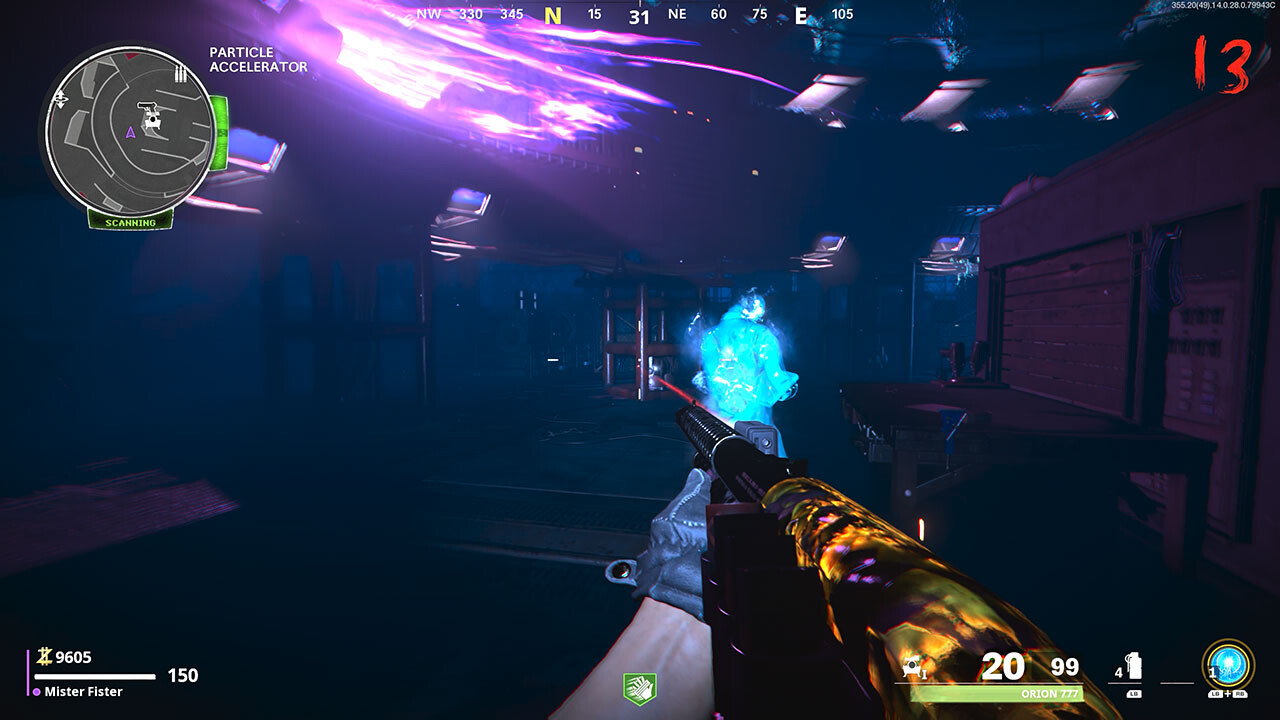
Head to the Power marker and unlock the door. Walk over to the big red button and turn the power on. Now it’s time to stabilise the Accelerator. Walk back down into the main part of the Particle Accelerator room and head to each of the Terminal markers, one on each side. The surrounding terminals will turn green, and an anomaly will appear in the middle of the room, down a flight of steps.
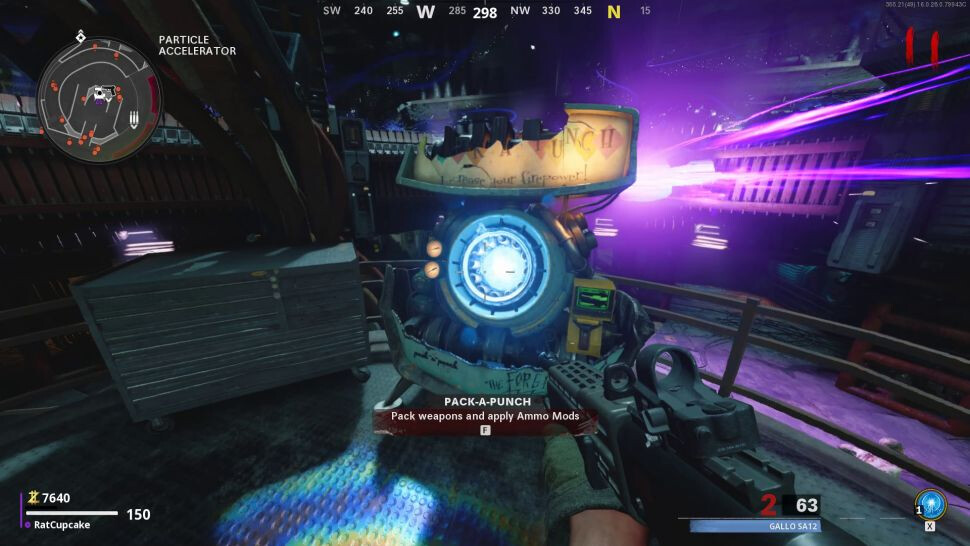
Build the ‘Pack-A-Punch’ machine

How to build the Cold War ‘Pack-A-Punch’ machine
Enter the Dark Aether
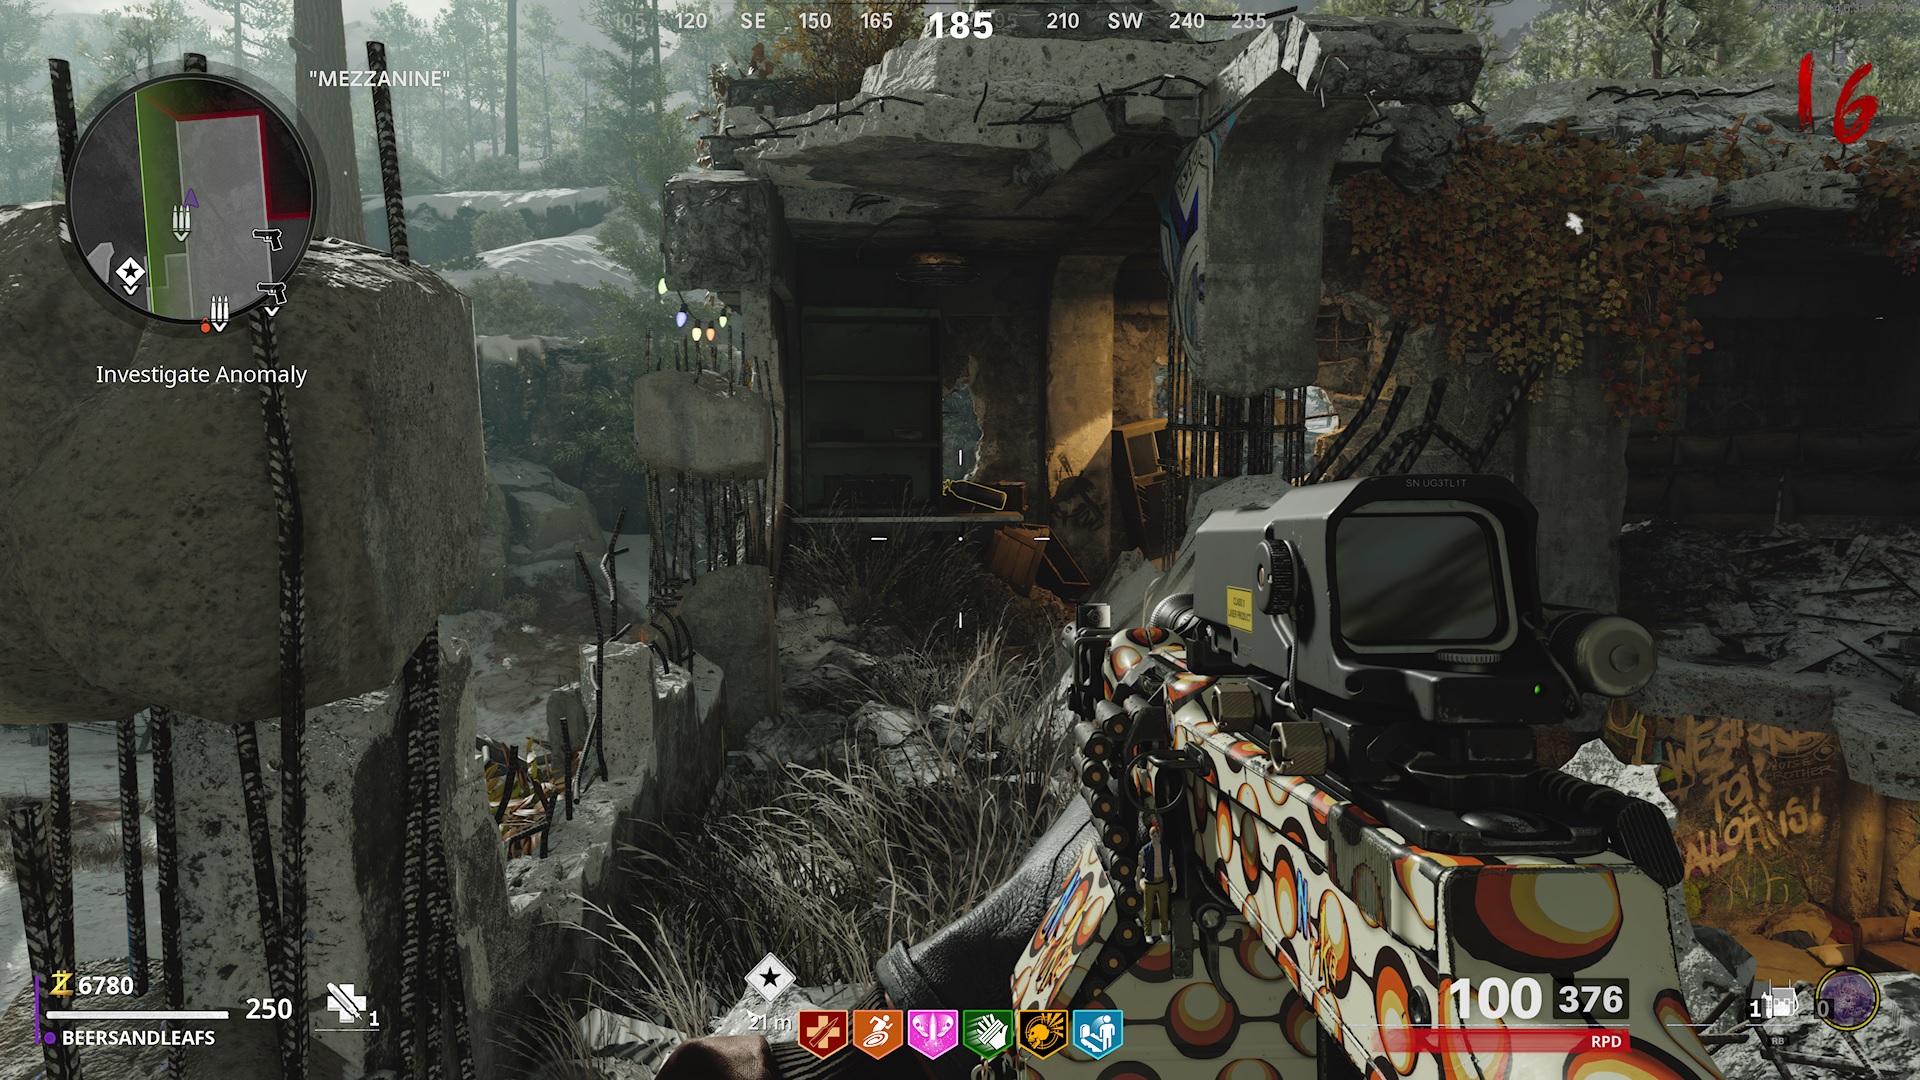
Ensure there are no zombies ambling around nearby and investigate the anomaly and enter the Dark Aether. After passing through a Doctor Who-esque sequence, you’ll find yourself in the Dark Aether, which is a version of the same map with a heavy Stranger Things ‘Upside-Down’ vibe.
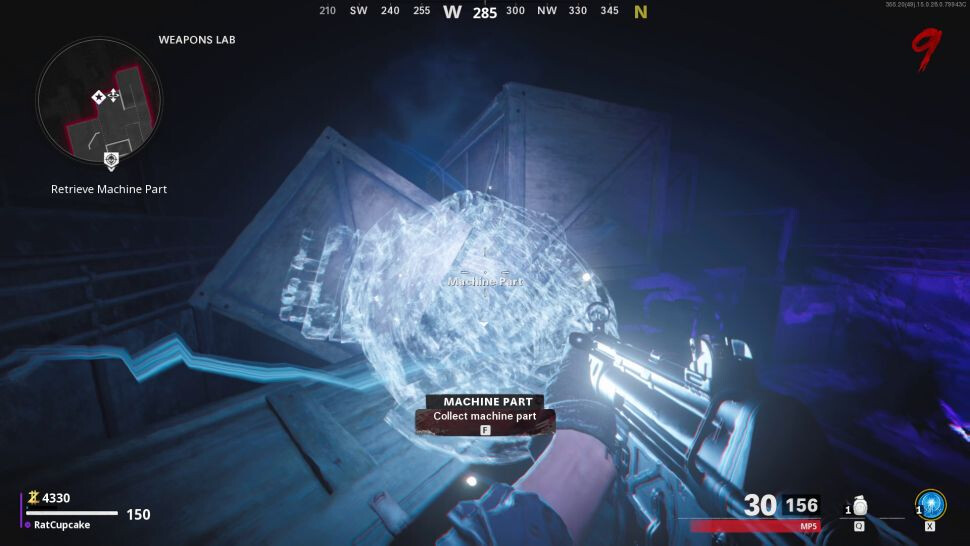
Run all the way to the Aether Tunnel marker, which could be in the crash site or in the pond area. Head to the Aether Tunnel, smashing any Purple crystals along the way to collect anything they drop - which can be scrap, ammo, armor, weapons, anything, then spend a further 500 points to travel to the part you need. You’ll be transported into a room containing a machine part. Collect it, then head through the doorway towards the Machine marker.

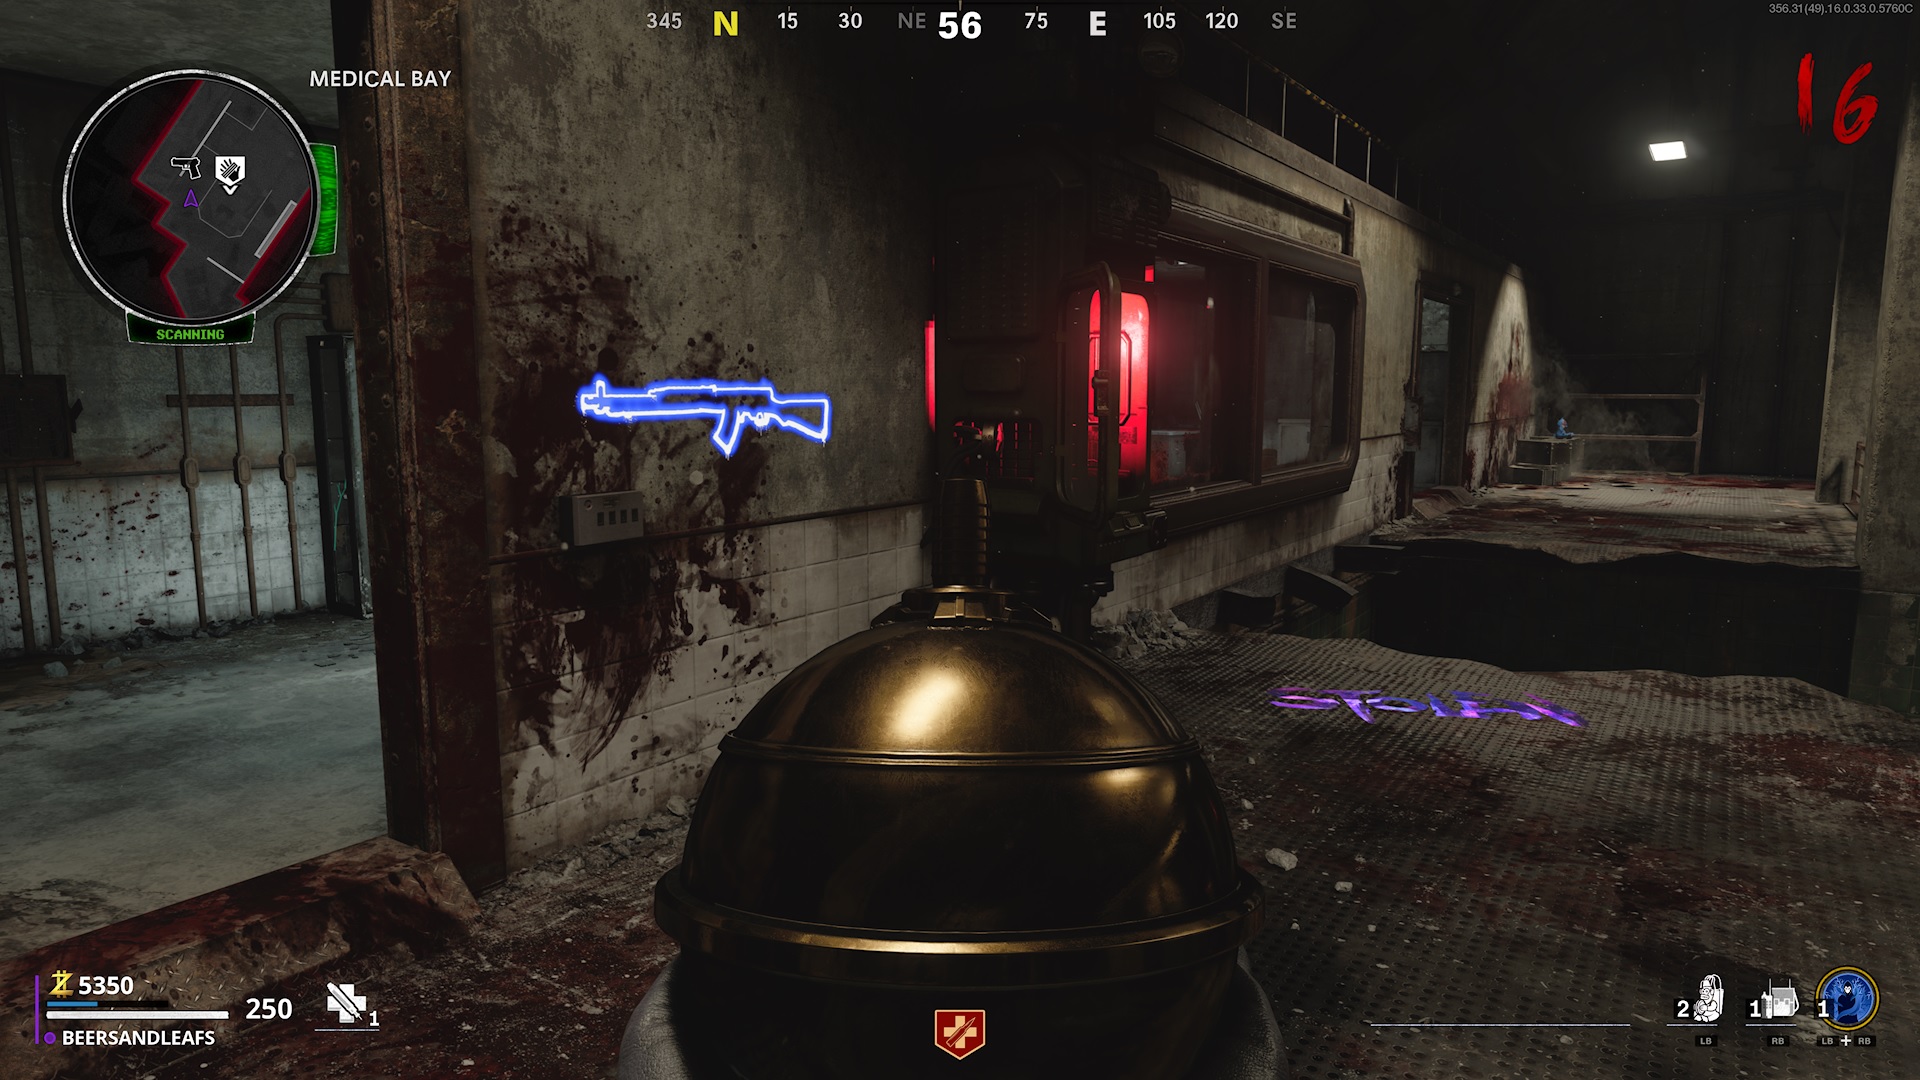
You can reforge the machine by looking for the blue outline in the Particle Accelerator. The game forces you through another portal and you’ll return to the normal version of the Particle Accelerator.
The ‘Pack-A-Punch’ machine lets you upgrade your weapons and equip ammo mods, but something this powerful comes with a hefty price tag. Here are the three Pack-A-Punch levels, and how much they cost:
-
Level One: 5,000 points. Offers large damage increase, enhances weapon attributes
-
Level Two: 15,000 points. Massive Damage Increase.
-
Level Three: 30,000 points.
The Coffin Meme Easter Egg

By far the easiest way to obtain a Ray Gun is from the coffin easter egg. It doesn’t guarantee you a spawn, however it is worth a try. If you do not get a ray gun, you will still be guaranteed a free Juggernog, an upgraded weapon and a large spawn of scrap and electronics to upgrade your armor or weapons. To do this easter egg, all you need to do is shoot 5 orbs (whoever has a gun), that are spawned around the particle accelerator room after you build the Pack-a-aPunch Machine.
Note: The hit detection on these orbs may be off. Some you may have to shoot a few times for it to properly register.
First Orb

The first orb is located behind a vent towards the Elemental Pop & power room, right at the top of the stairs from the P-a-P machine.
Second Orb

From the first orb, go up the right staircase towards the power room and after the first set of stairs, in the corner by the computer terminals you’ll spot this orb behind a desk chair.
Third Orb

This orb is located at the top of a vent by the door leading to the Deadshot Daqurai room. Look high up from where you pressed the left side terminal button earlier.
Fourth Orb

The fourth orb is a bit harder to spot. You’ll need to hop on top of the particle accelerator, or the top of the stair right below the high orb you just shot and look to your right, kinda tucked behind some stairs and cabinets.
Fifth Orb

This one may be a bit more difficult to spot, but its hidden in the corner of a barrier at the bottom level of the particle accelerator. Run to the bottom level and around the back of where the workbench is. It’s easier to spot if you go right around it, instead of left. And at the window/barrier stand close to the wall and you’ll just barely see the orb.
Once you shoot the last orb, you’ll automatically be teleported to the Dark Aether and will be treated to a hilarious performance by the zombies.
When you are taken out of the Dark Aether, the zombies will drop the coffin and when opened it will drop bonus items and a bonus perk and if you’re really lucky, the raygun…I suggest killing the Hellhounds or thinning out any Zombies that may be there before opening it.
Get the Wonder Weapon
How to get the Wonder Weapon
It’s time to take on some big green zombies. You’ll be notified that there are high levels of radiation in your vicinity, which indicates that you’re about to take on a Megaton . To save time later on, make your way to the Pond to take on this pest.
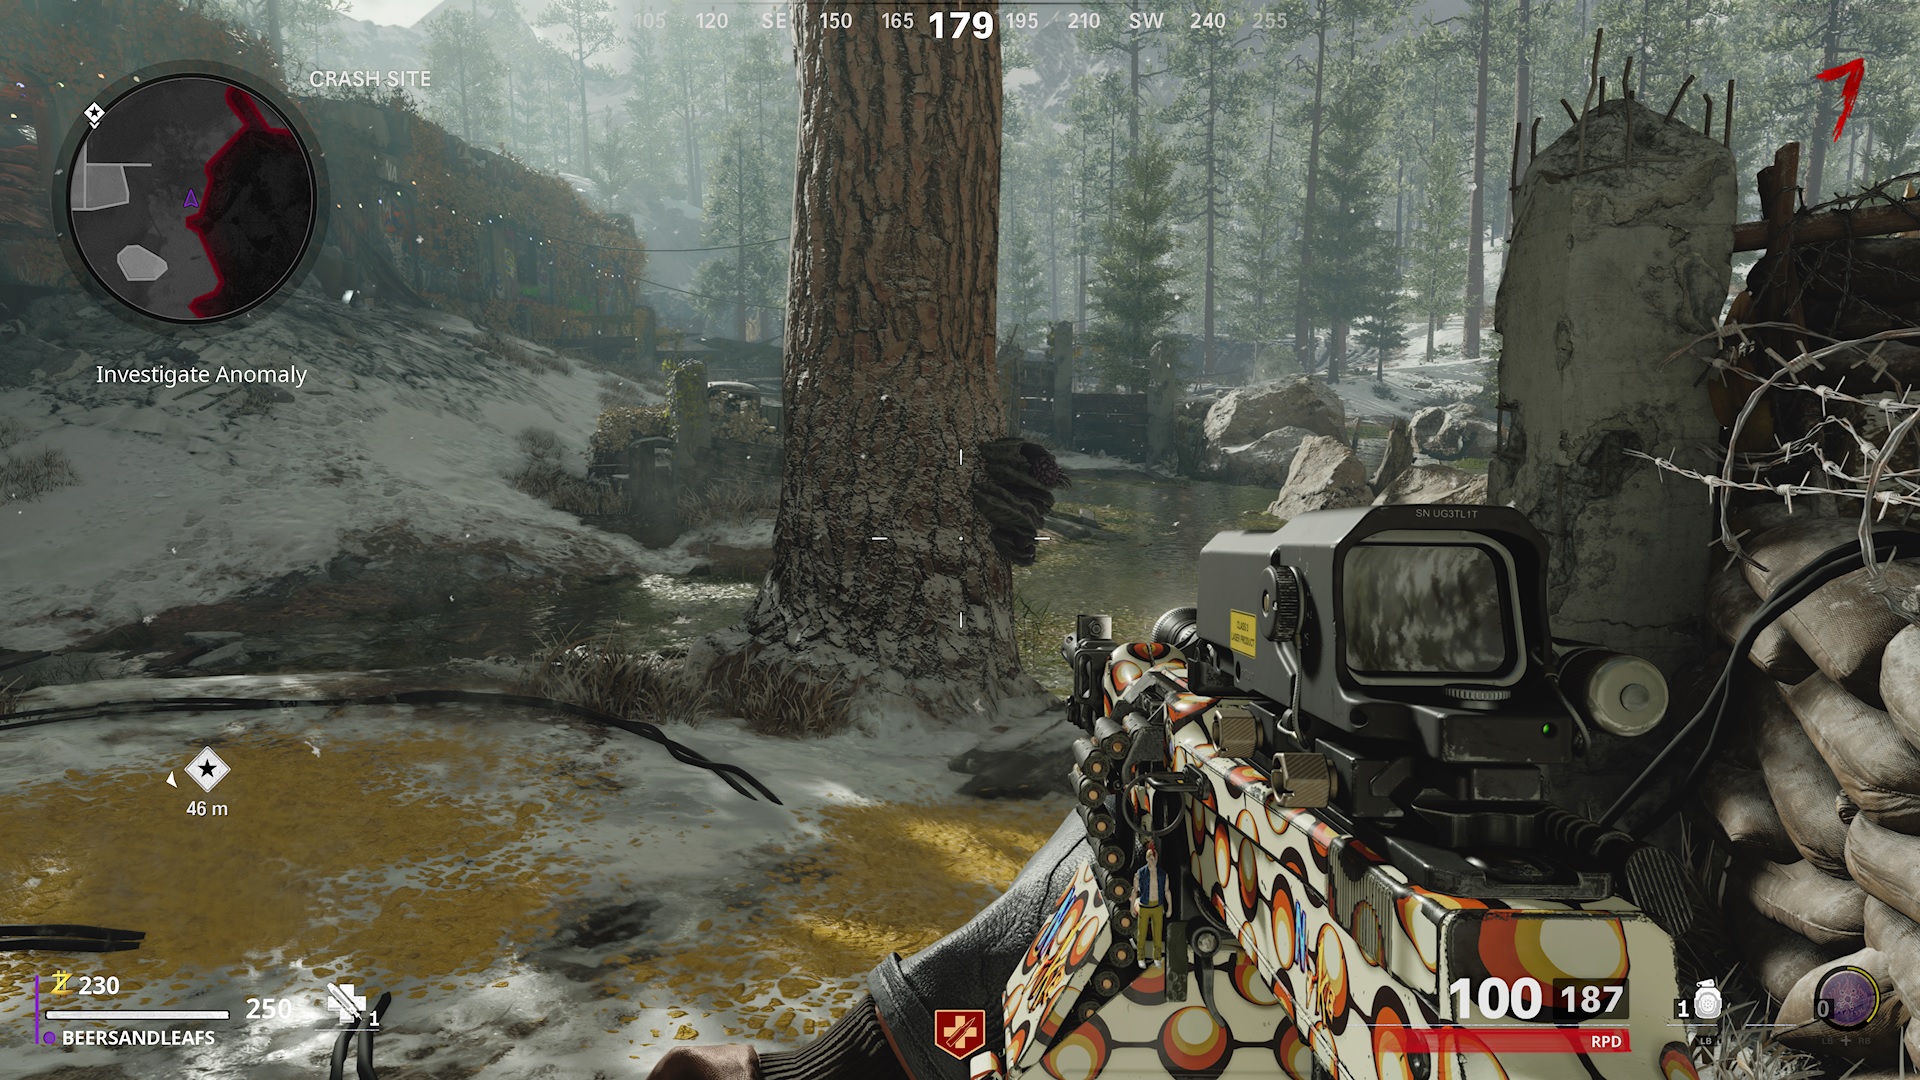
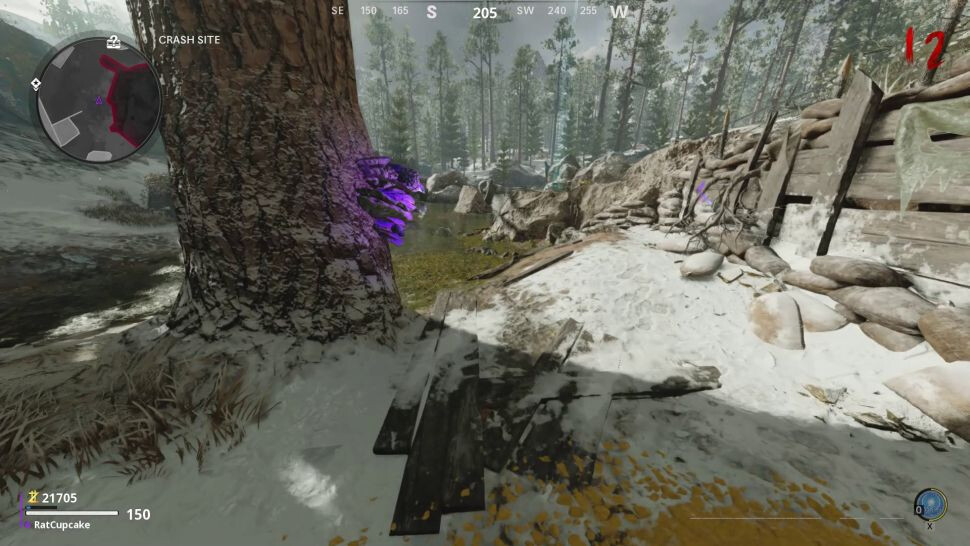
Keep your distance from the Megaton as much as possible, and look for the tree with the Mutated Fungus growing on it.

Stand next to the tree to entice the Megaton to attack by hurling green liquid at you. Once it touches the tree it’ll turn the fungus bright purple.

While this doesn’t mean much at the moment, it’ll prove useful later.
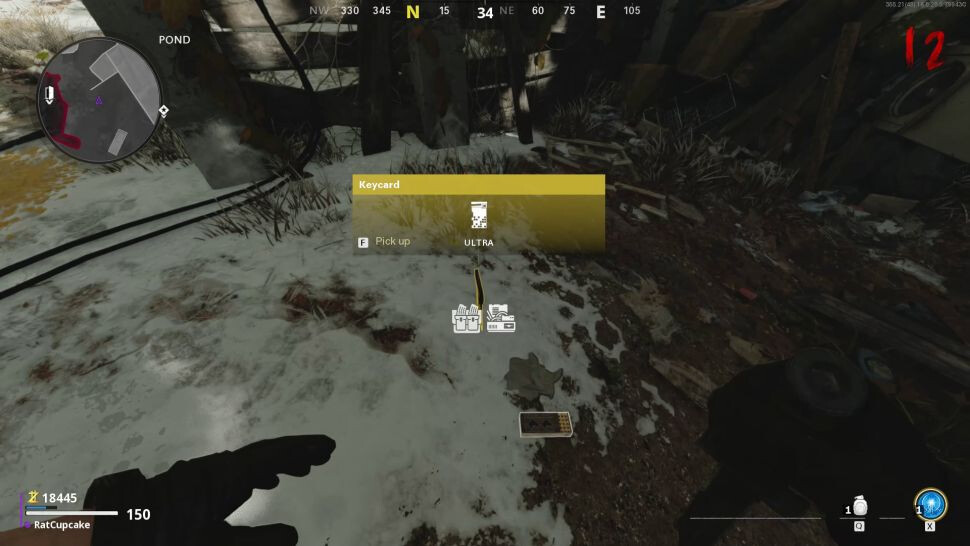
Focus on eliminating the Megaton and it’ll split into two parts to make the fight even tougher. Take out the Megaton Blaster and Megaton Bomber enemies with your weapon, trying not to wipe all the zombies, but don’t get too close to them as their radioactive attacks can kill you really quickly. Eliminate both to pick up the Keycard they drop.

And keep a couple of straggler zombies, to make the next bit a bit easier.
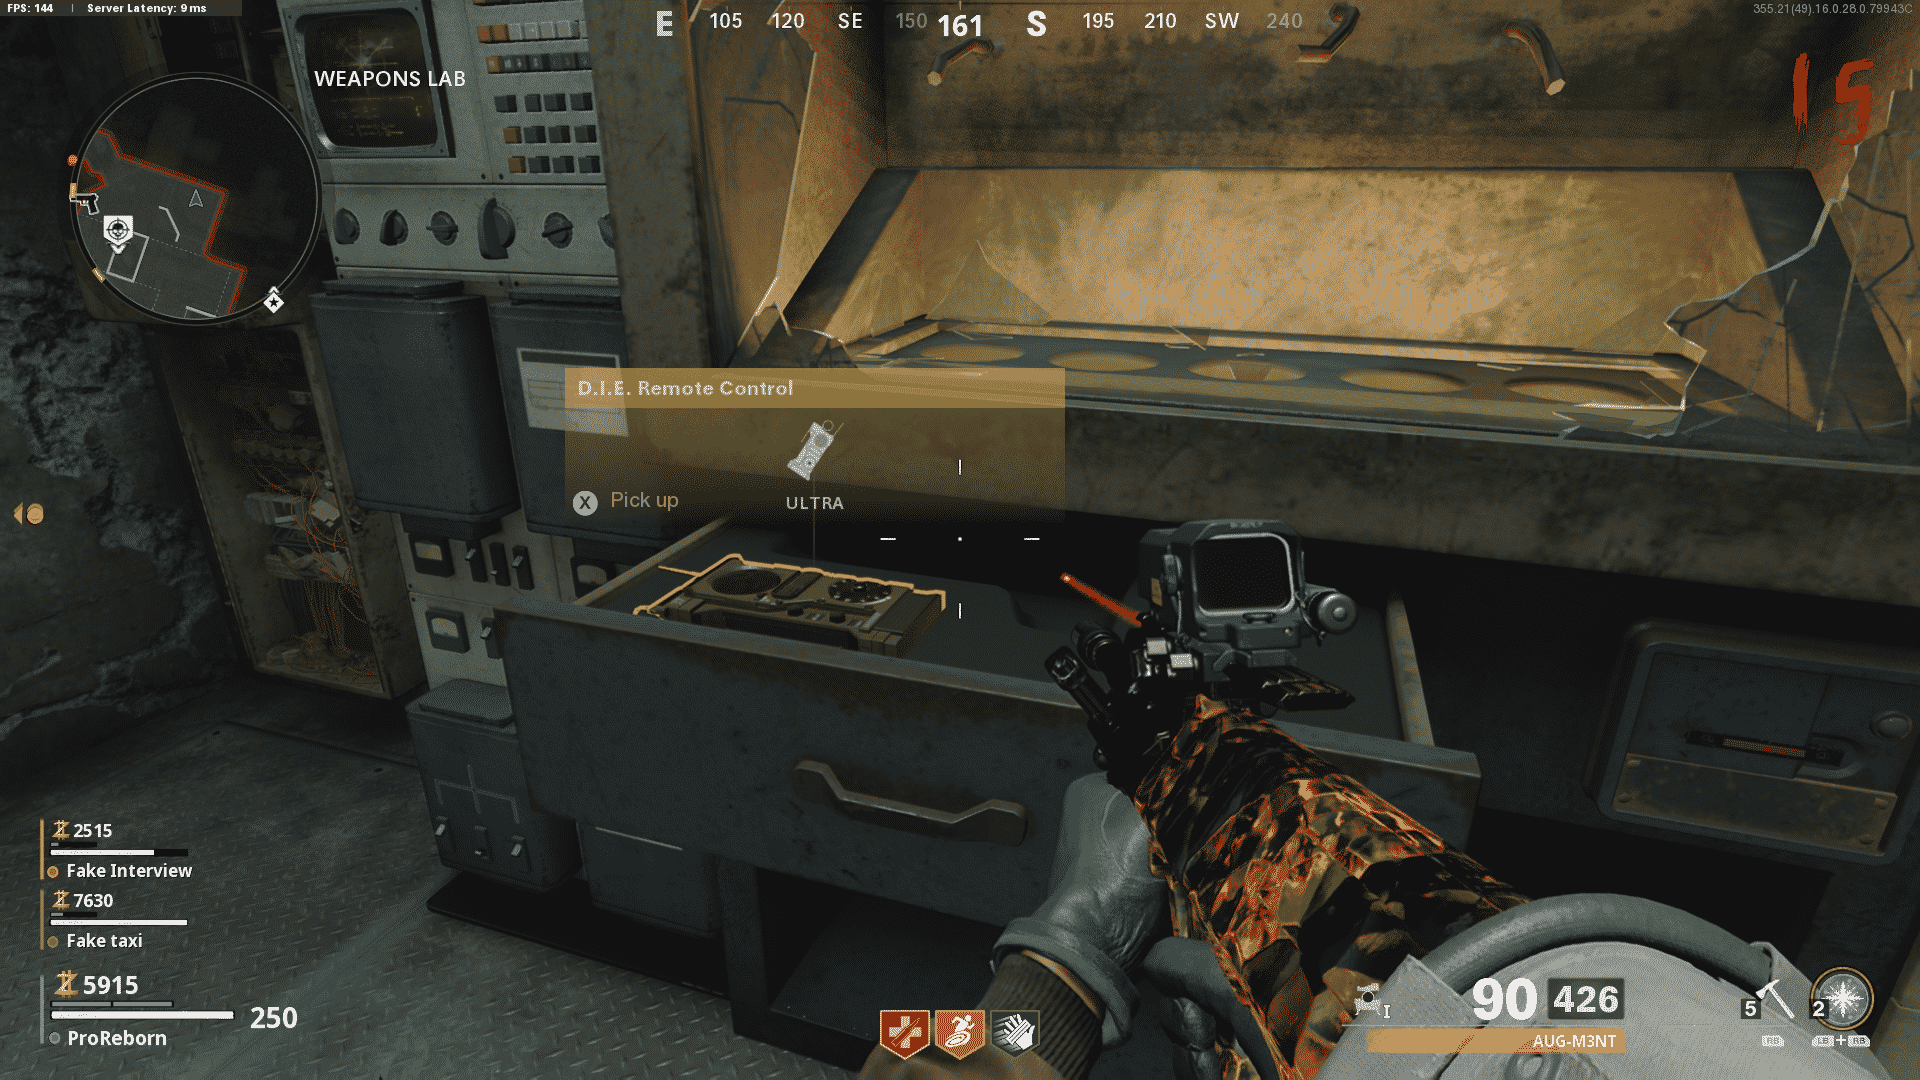
Let’s backtrack to the Weapons Lab again. Lookout for the Weapons Locker in the room with the big bomb hanging in the middle of it, and insert the keycard to retrieve the D.I.E. Remote Control .

With the remote safely in hand, make your way back to the building in the Yard, where you first spawned at the beginning of the mission.
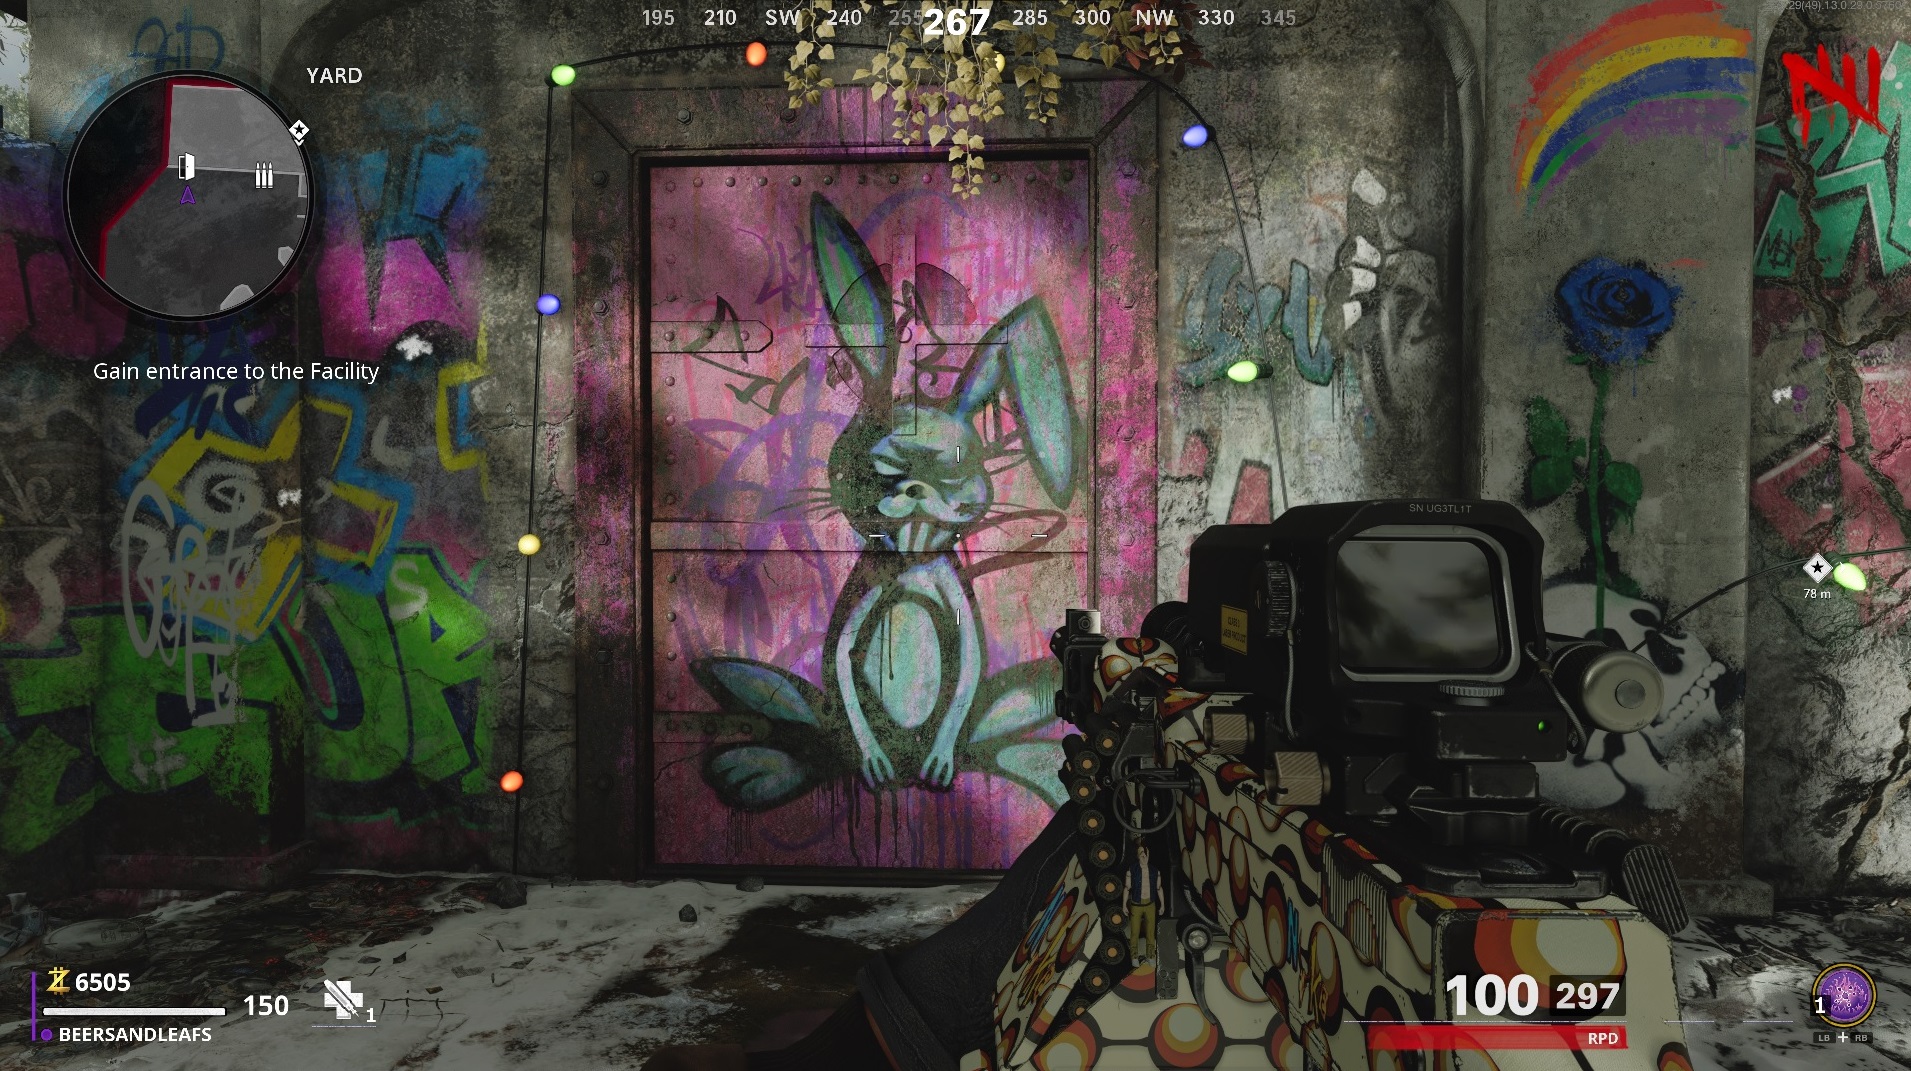
Enter the building, via the door with the bunny on it.

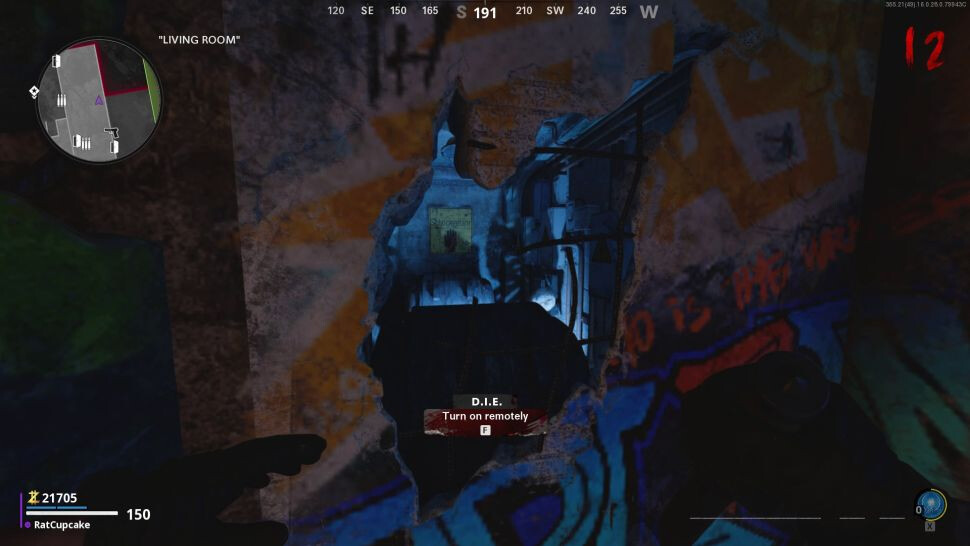
As you enter you’ll see on your left is a hole in the wall that has a blue glow, opposite the stairs.

To activate the D.I.E Machine, stand near the hole in the wall and see where to activate it, BUT DON’T YET. Go back out into the yard and finish the wave you’re on. When the next wave starts, get a nice train of zombie and lead them in there, then activate it.
Now that the machine is powered up, it will suck them up like a big vacuum cleaner, but watch out for runners, they can make it through.

Once it says that it’s at capacity you’ll able to interact with the machine again. The door will blow off and you can grab the D.I.E Shockwave Wonder Weapon from the skeleton, you’ve earned it.
Find the Aetherscope
How to find the Cold War Aetherscope
Let’s take another trip into the Dark Aether. This time, we’re on the hunt for three Aetherscope Parts . The order in which these parts appear is different each time, but the locations are always the same, but you need to find the first one before the next one spawns:
-
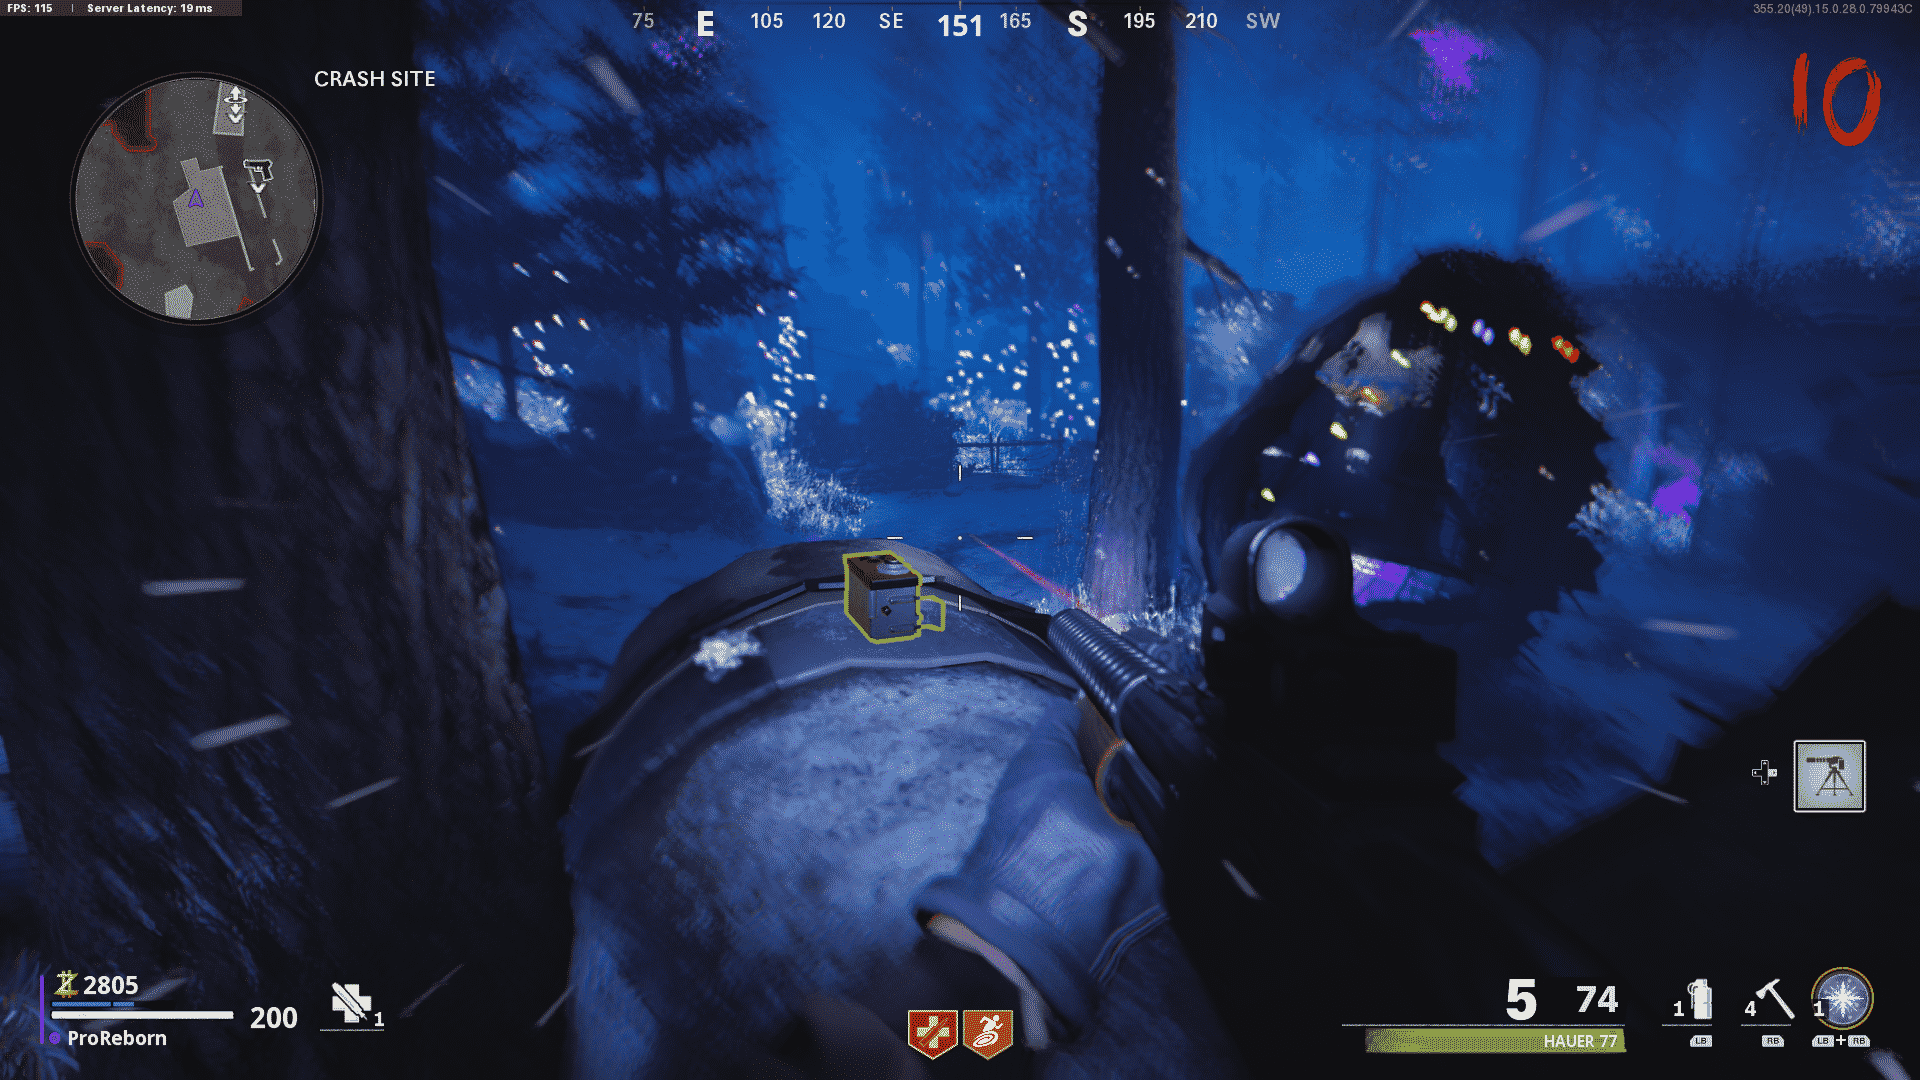
Crash Site: This piece is located on top of the crashed plane. It will be glowing bright yellow.

-
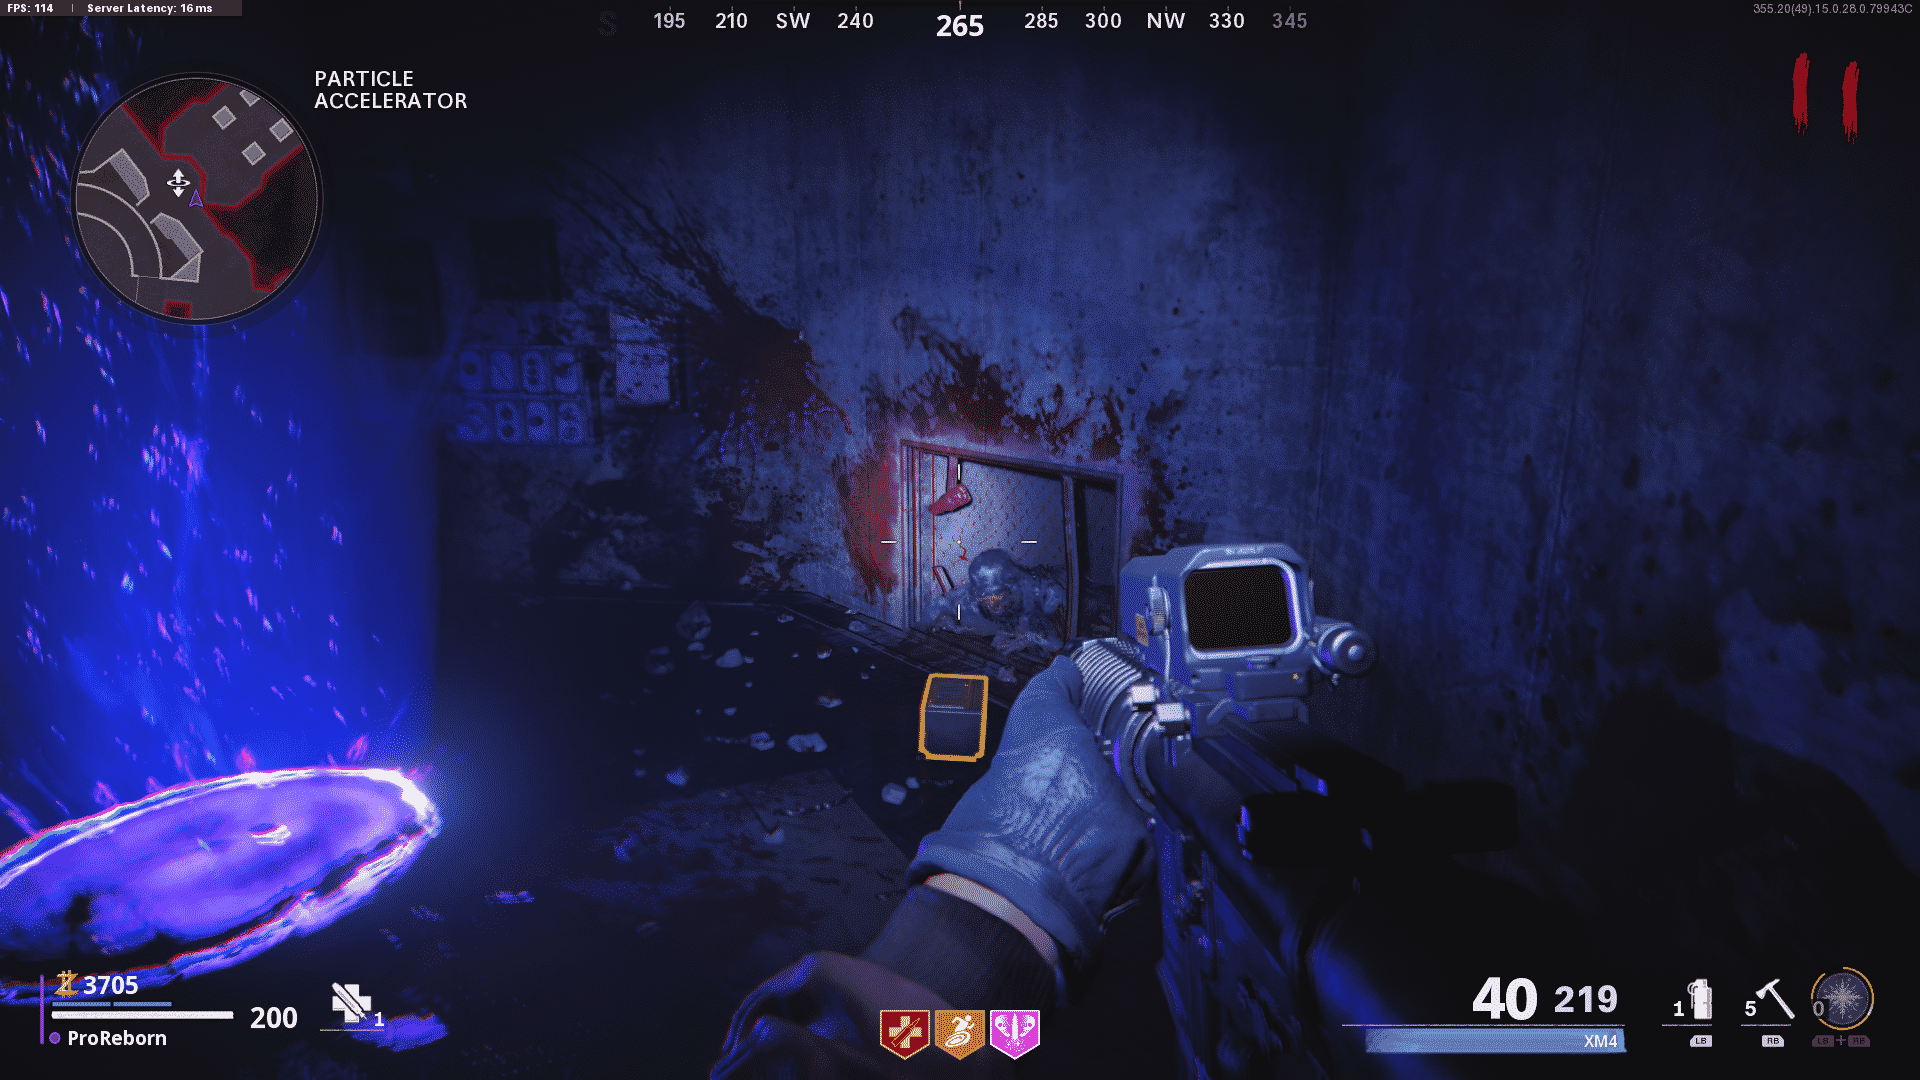
Particle Accelerator: This Aetherscope piece is simple to find. It will be located by the particle accelerator, at the staircase towards the upgrade station and the Speed Cola machine, right next to a Aether portal and a vent.

-
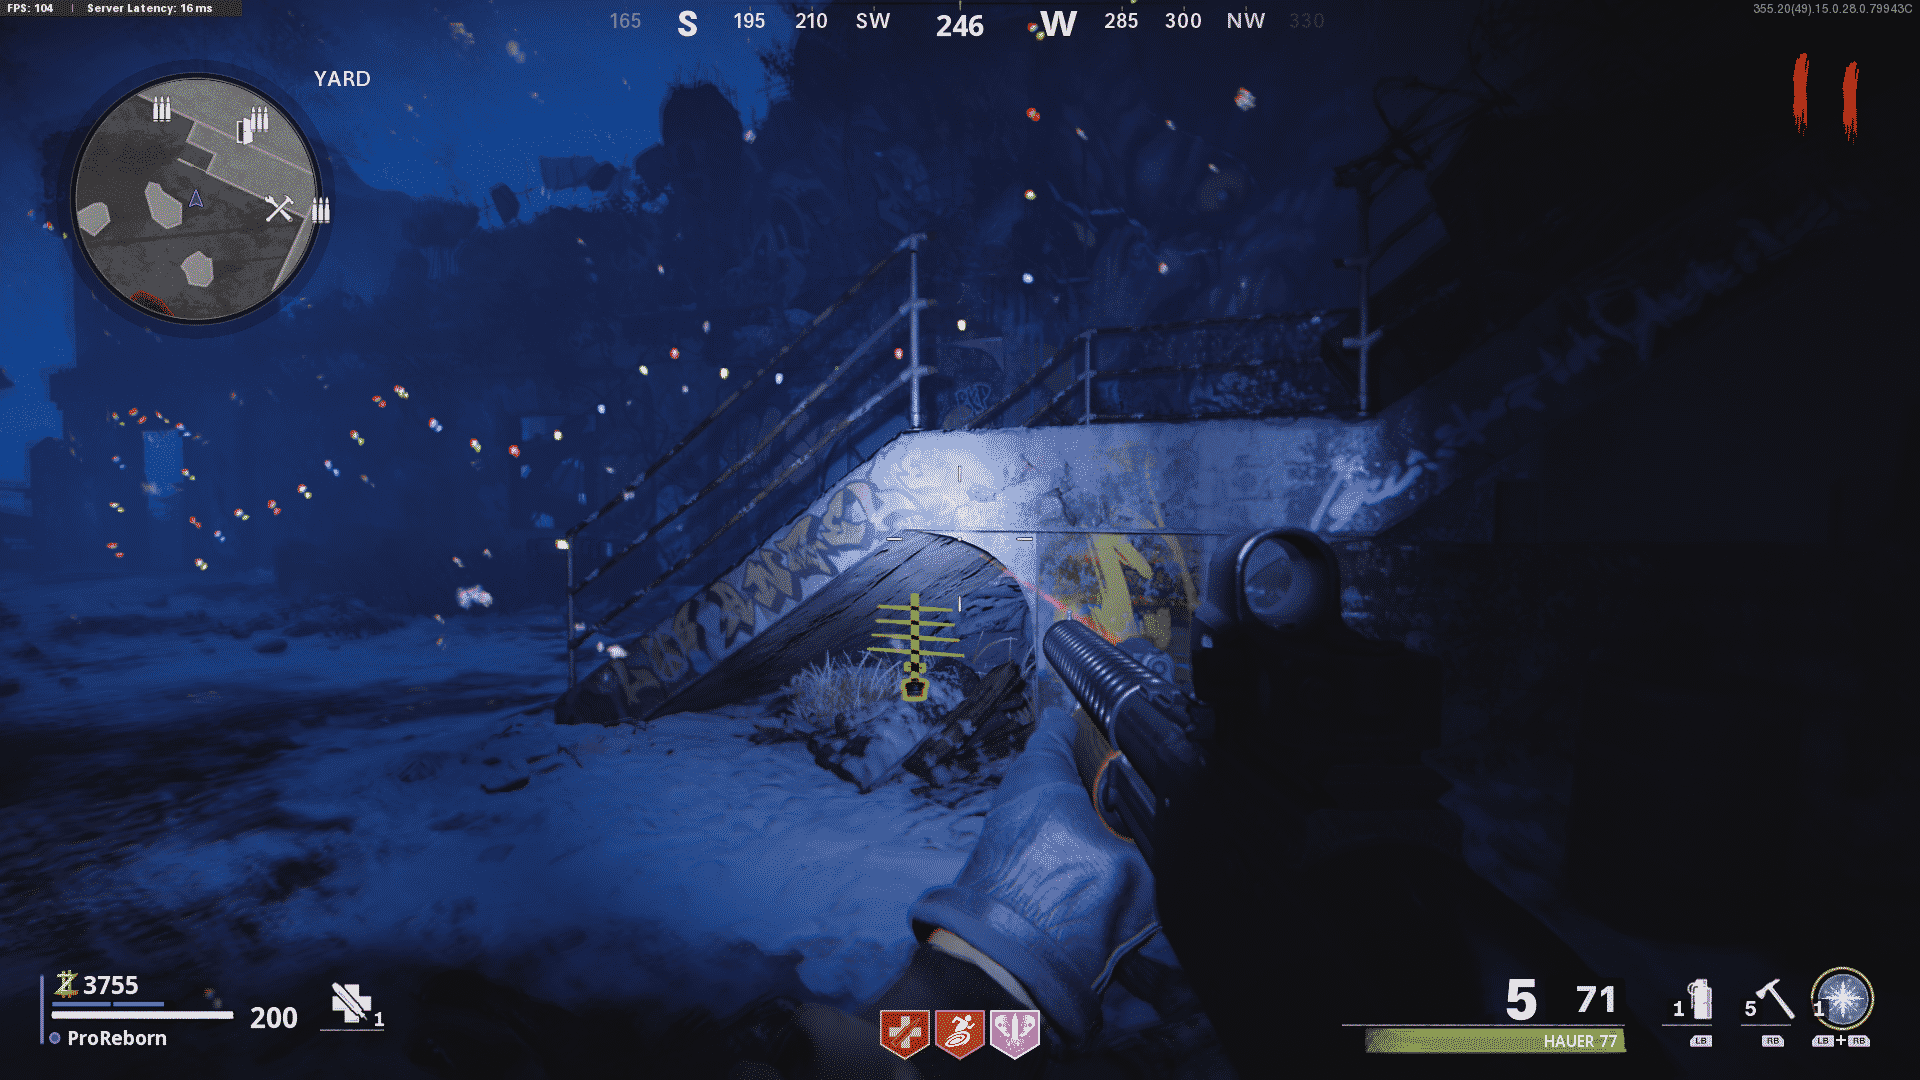
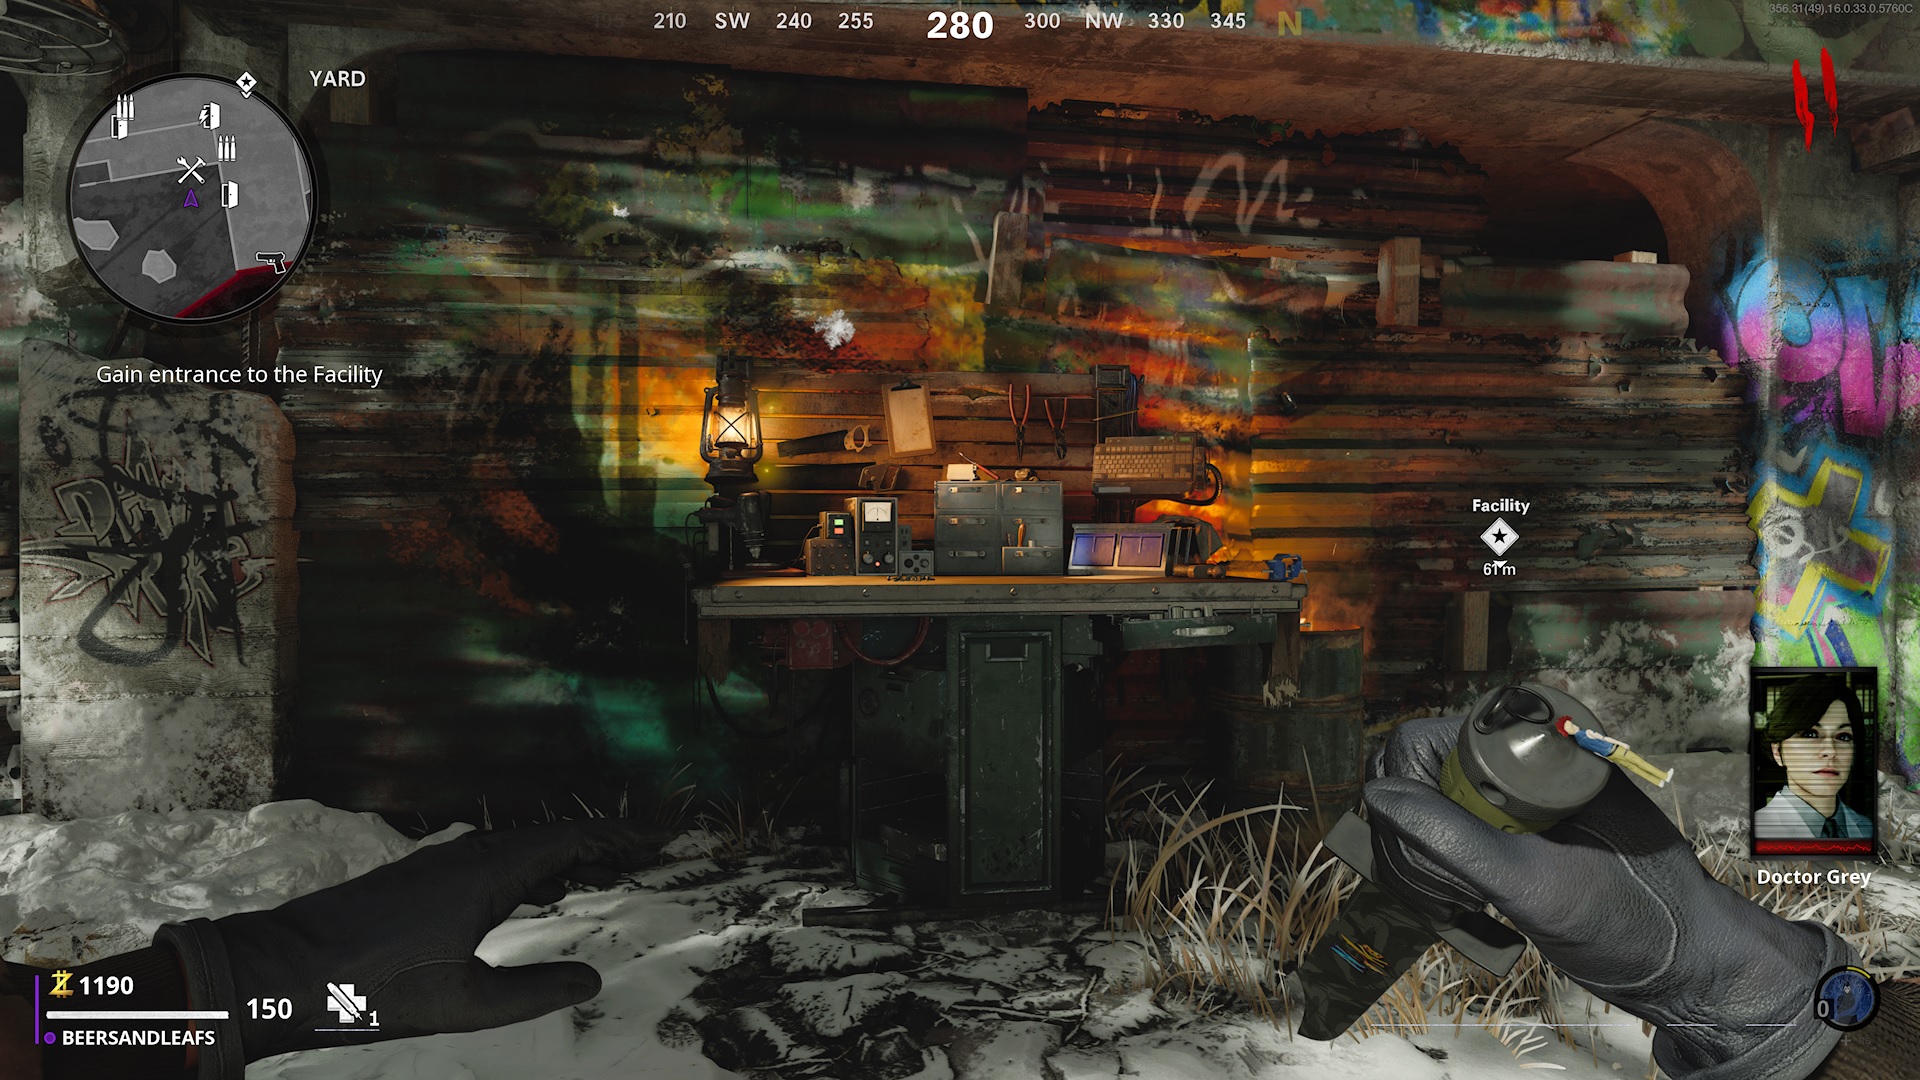
Yard: The last piece should be in a very familiar spot, considering it is the spawn area. Under the stairs, under the ‘Los Angel’ graffiti.

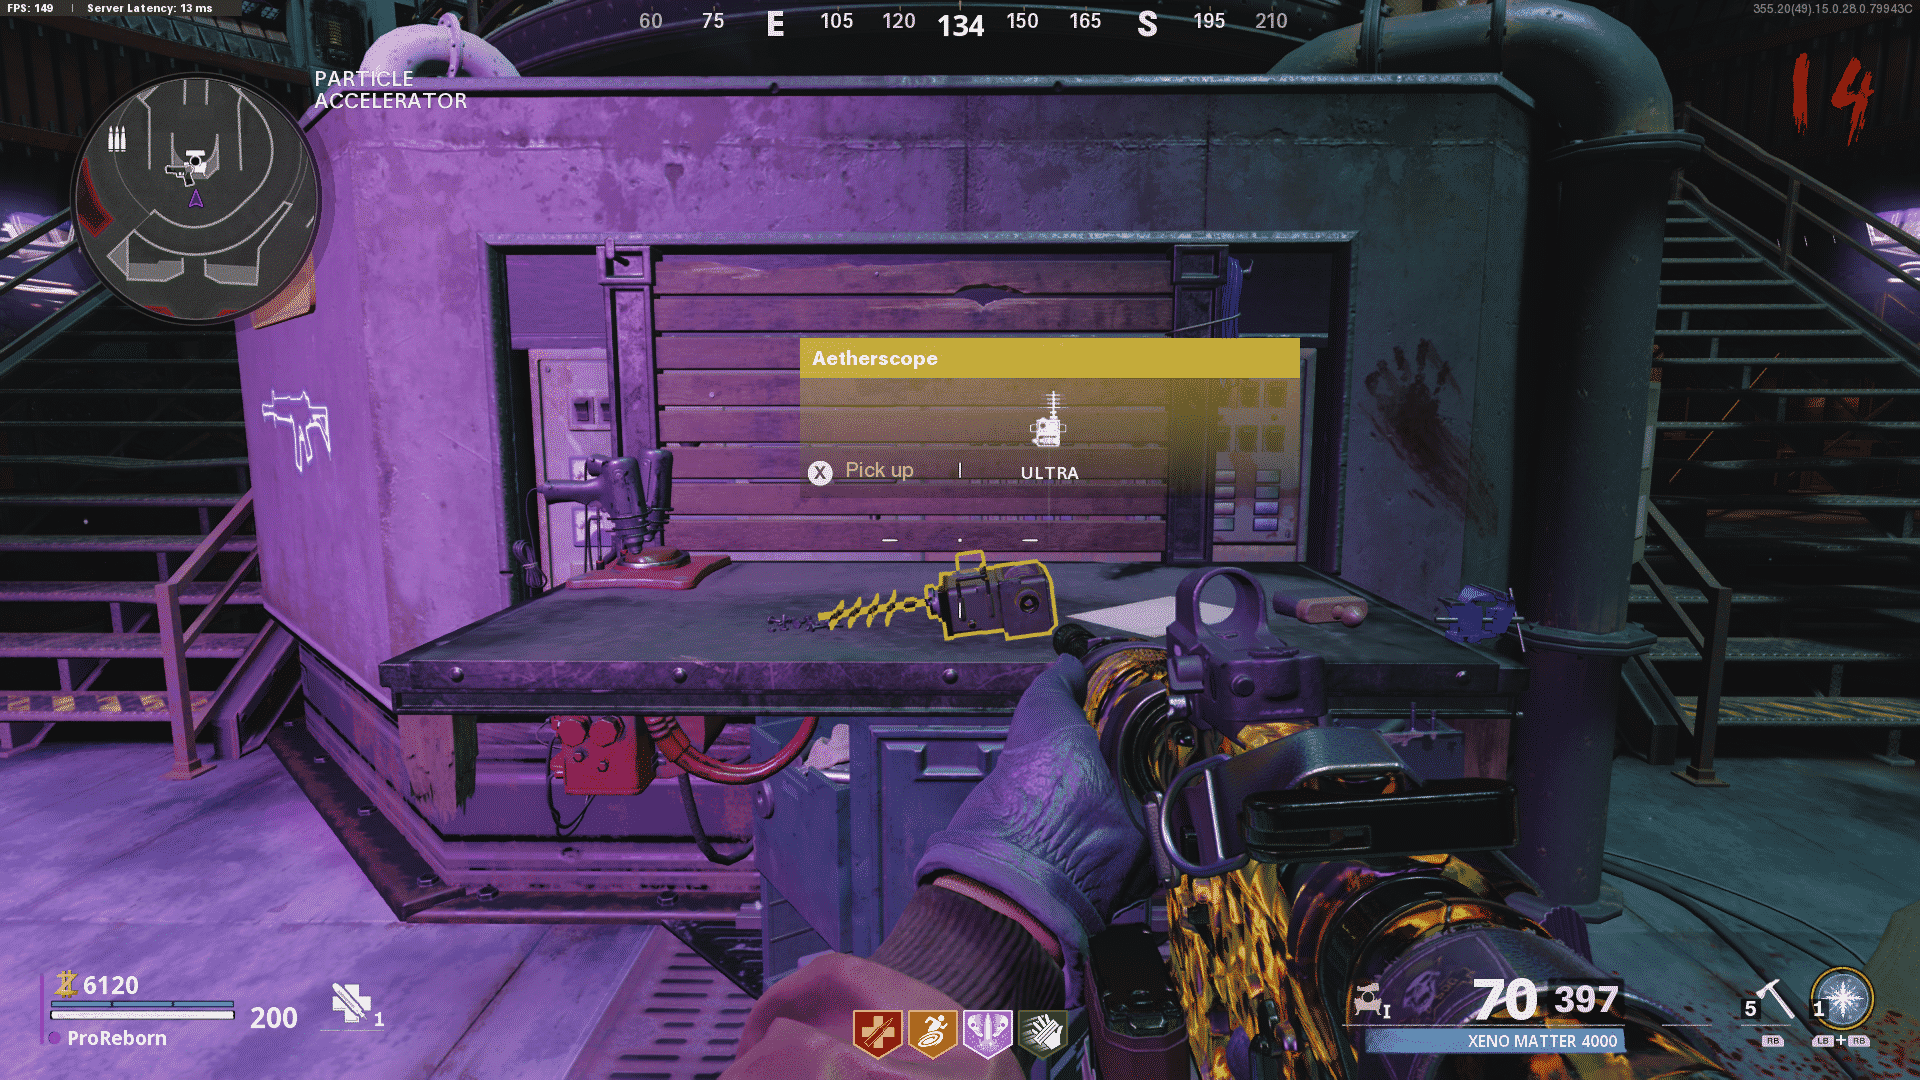
In the Particle Accelerator, use the crafting table located right under the pack-a-punch. Once picked up it will work for all teammates and appear around the radar. The scope detects anomalies in the Dark Aether, like boss zombies and intel.

Find Doctor Vogel’s Diary
How to find Doctor Vogel’s Diary and the spectral reflections
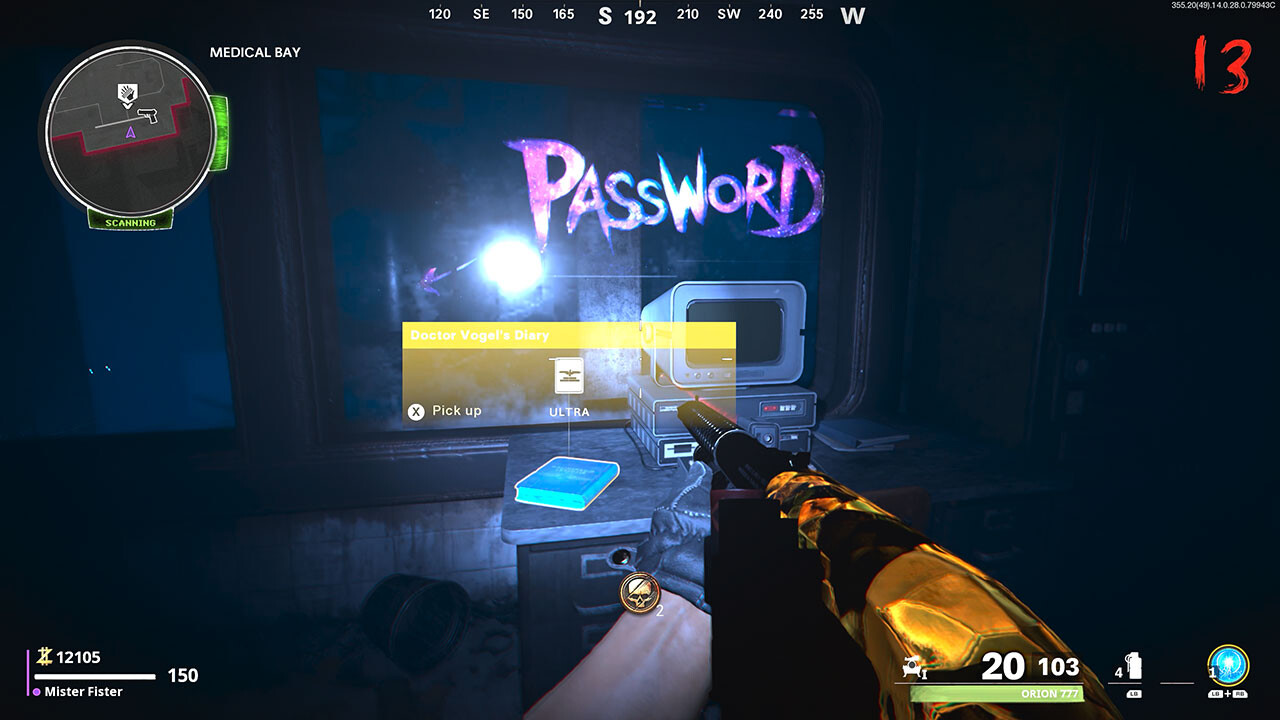
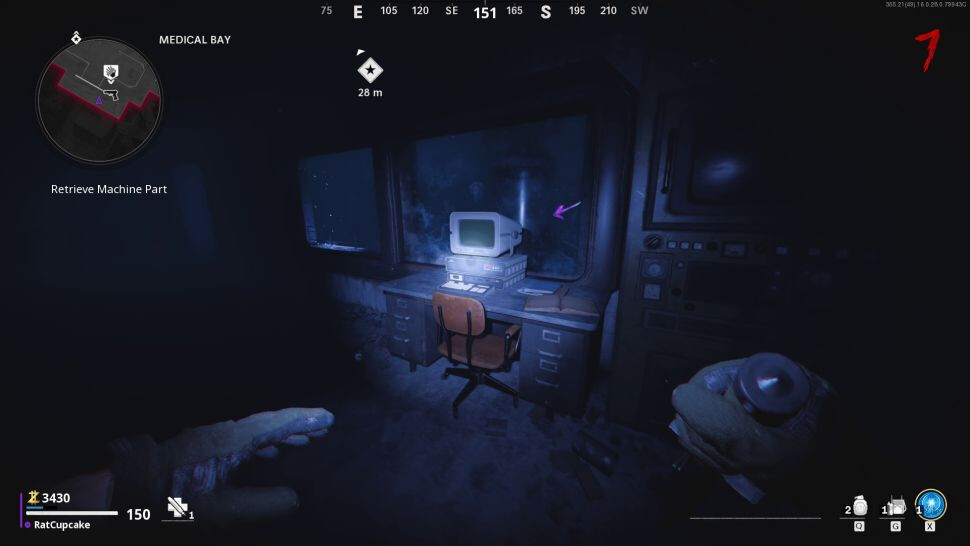
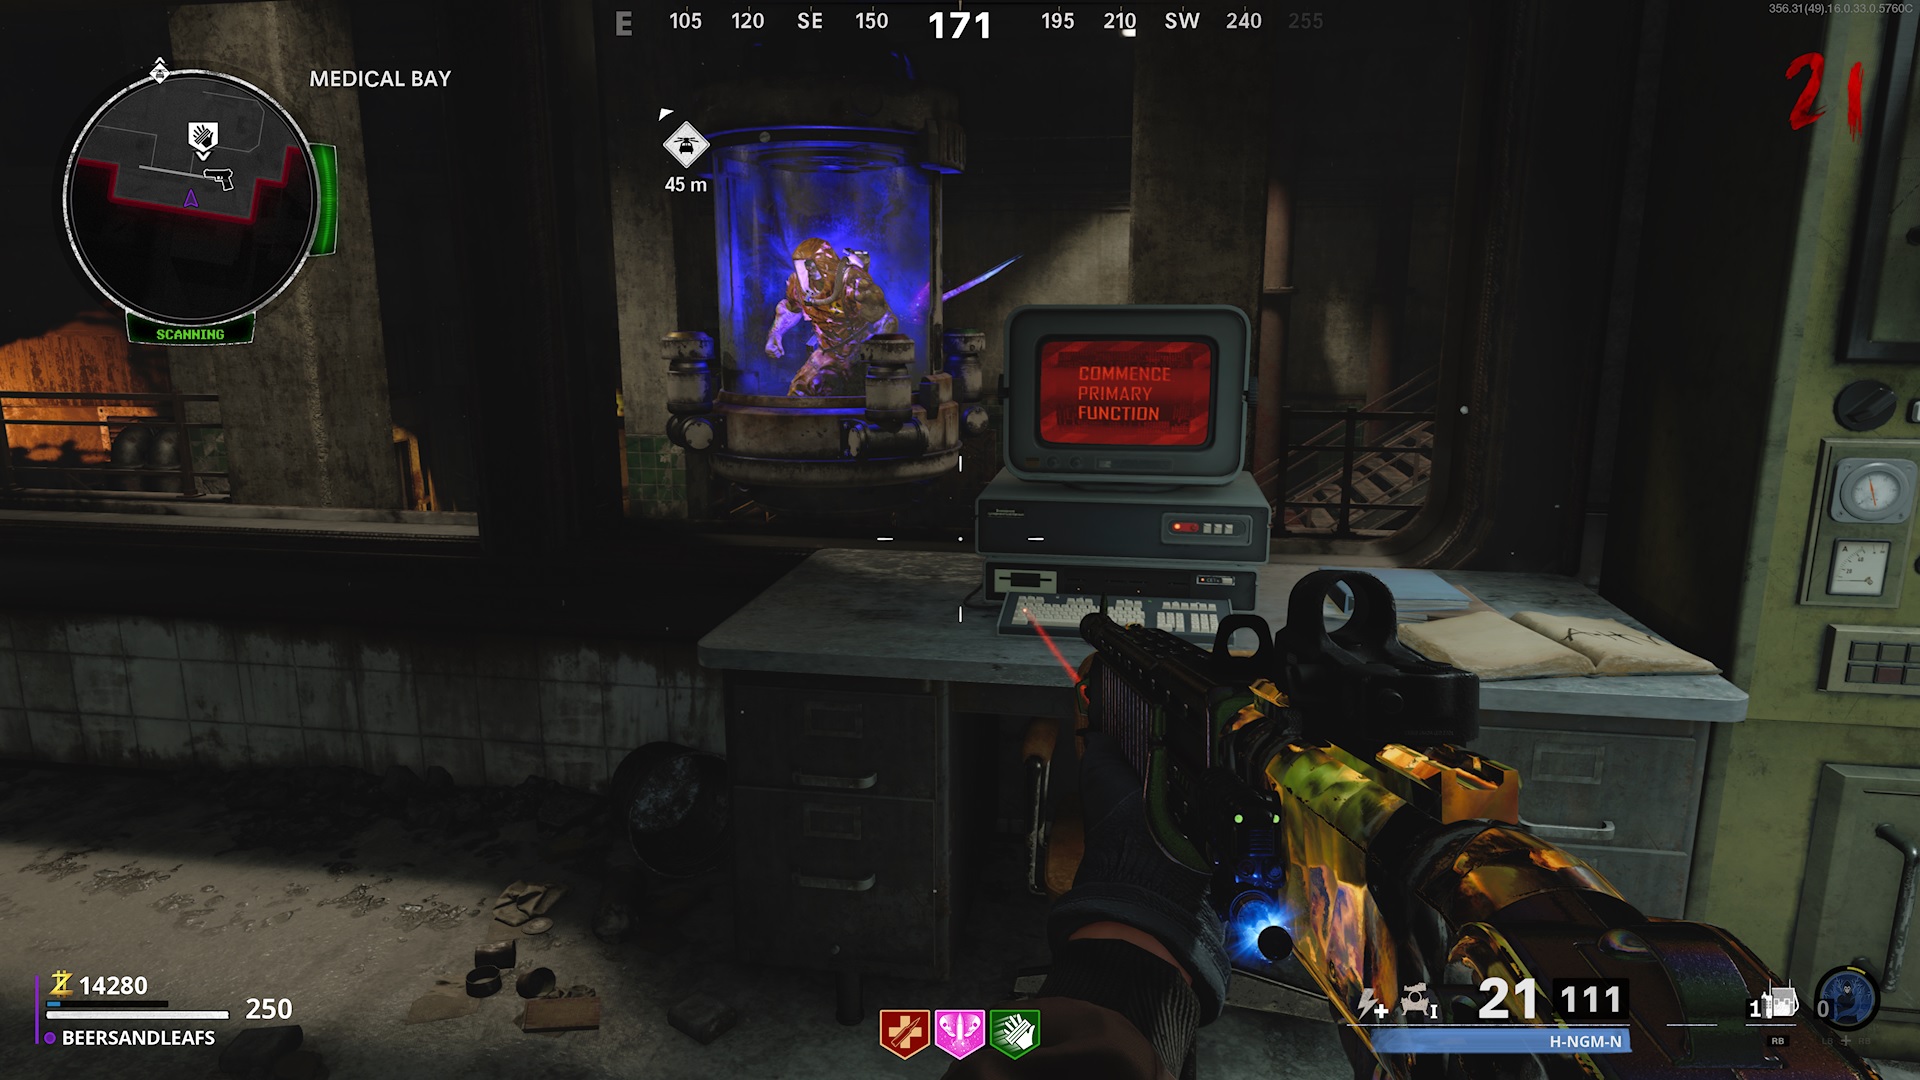
There’s more Dark Aether travelling to do, so let’s keep going. Head to the Medical Bay and enter the anomaly. Check the room right near you with the computer terminal on the desk and pick up Doctor Vogel’s Diary .

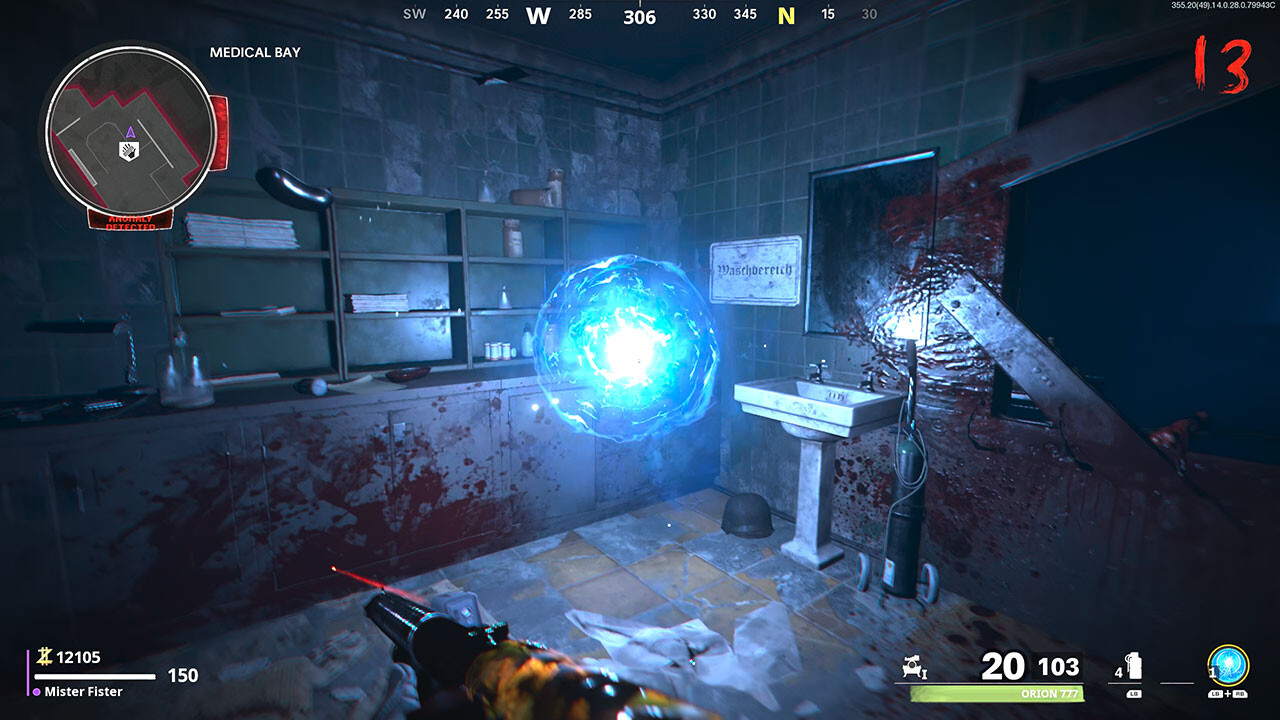
Then head under that room you’ll hear “Anomoly detected”, but you may not see anything. They will show up once you are close enough.

Once it shows up interact with the anomaly to reveal a ‘spectral reflection’. and again to give it the diary. A Red Magaton will spawn, so be careful. You don’t need to kill his, as you get nothing for it. However, while the ghost is talking DO NOT shoot or hit anything, and he will stay still until the spirit is done.
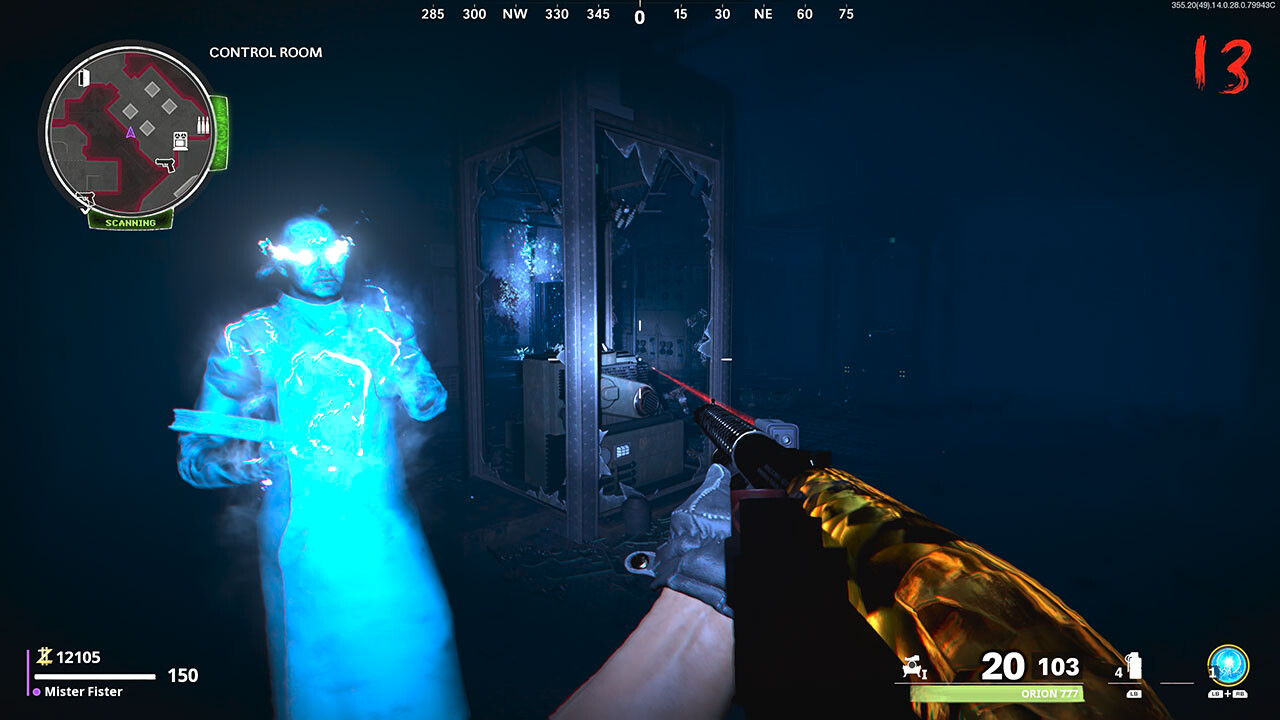
Next up is the Control Room on the right hand side if you’re looking at the trials machine.

Look for another blue anomaly and repeat the same process to give the figure the diary.
There’s one more stop, so let’s retrace our steps to the crafting table in the Particle Accelerator where we built the Aetherscope.

Repeat the process a third time and hand the diary over. Exit the Dark Aether and go back to the Medical Bay to enter the password on the PC that was beside the diary you picked up.

Unlock the D.I.E. upgrades
How to unlock the Cold War Wonder Weapon upgrades
D.I.E. Cryo-Emitter
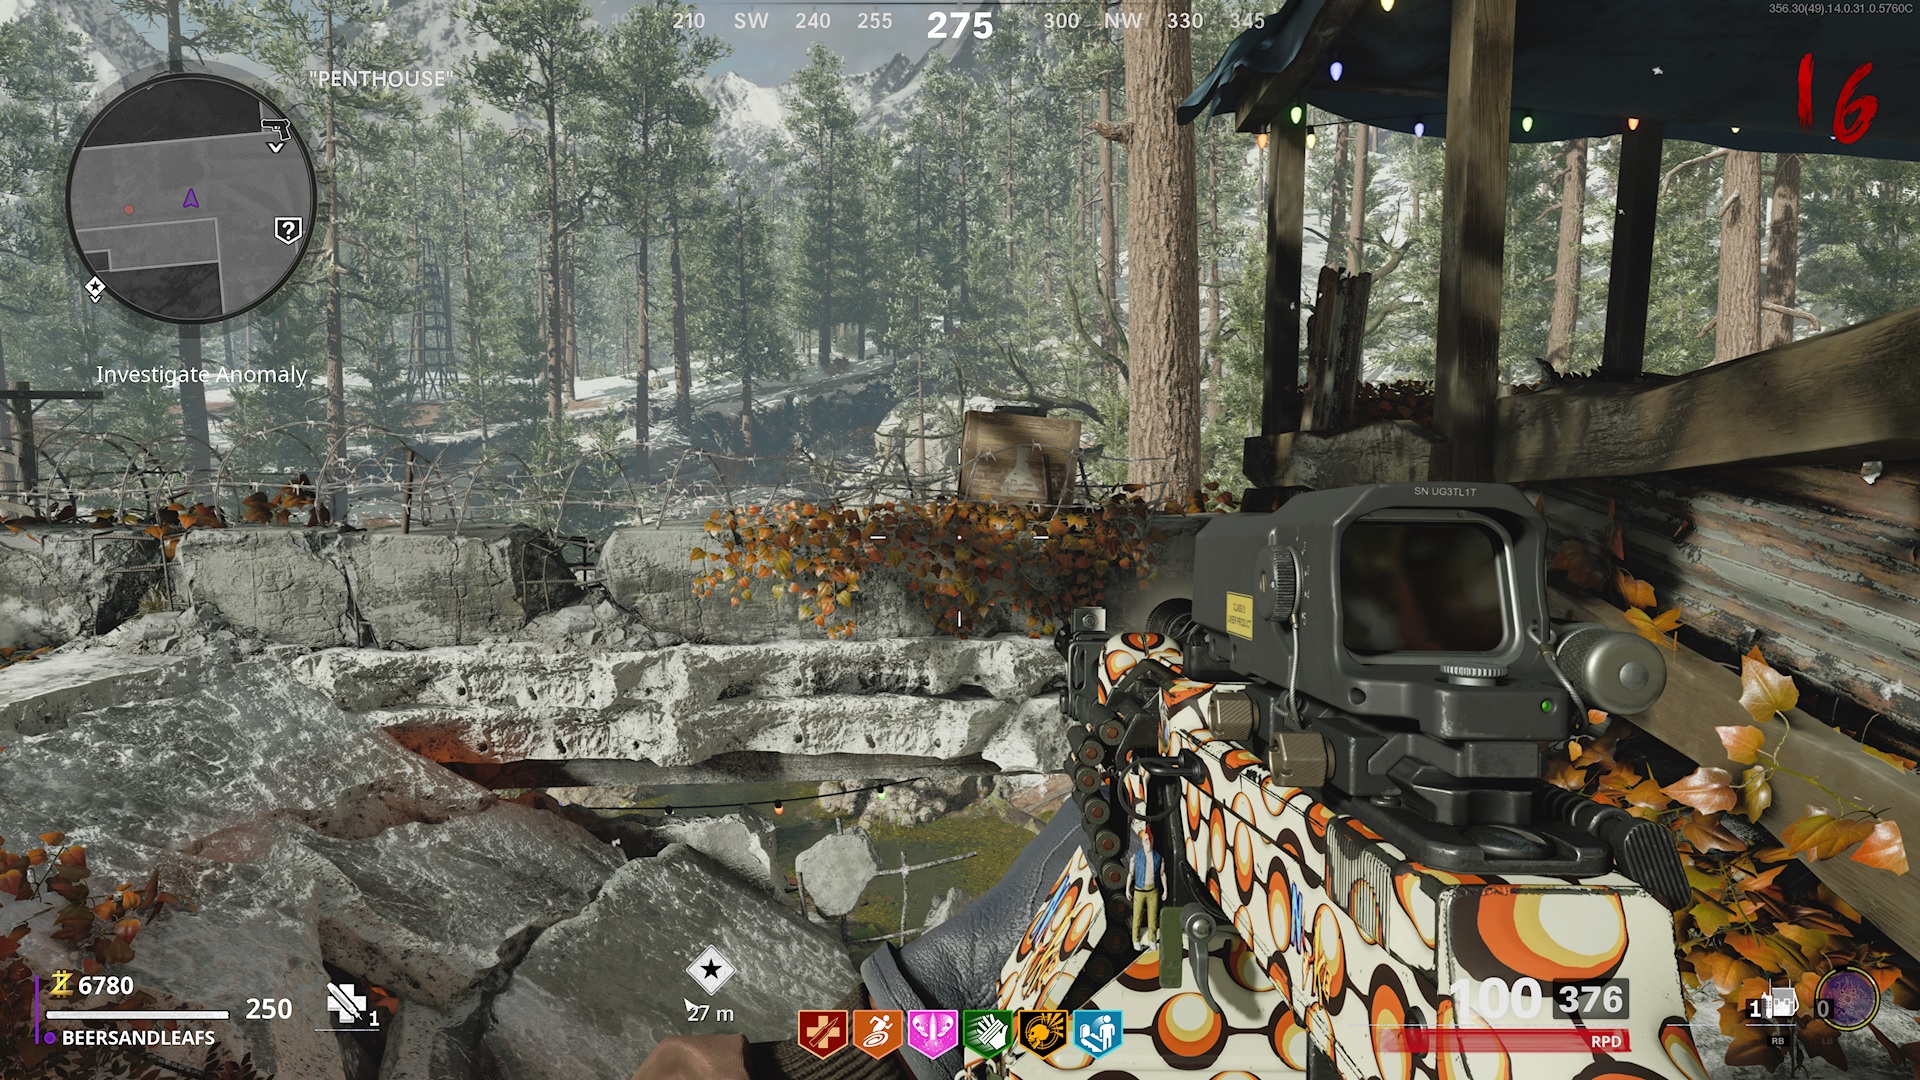
Back in the building where you found the Wonder Weapon, walk up the stairs and up the slope to the Penthouse. Shoot the box perched up to the left,

on the edge and run back out to the pond where it landed to pick up the Empty Flask . While you’re up here, you can also collect another important item. Run to the other side of the Penthouse, above where the bunny door was and look for the Empty Canister in the corner.

It’s out of reach, so use your Wonder Weapon to drag it towards you.
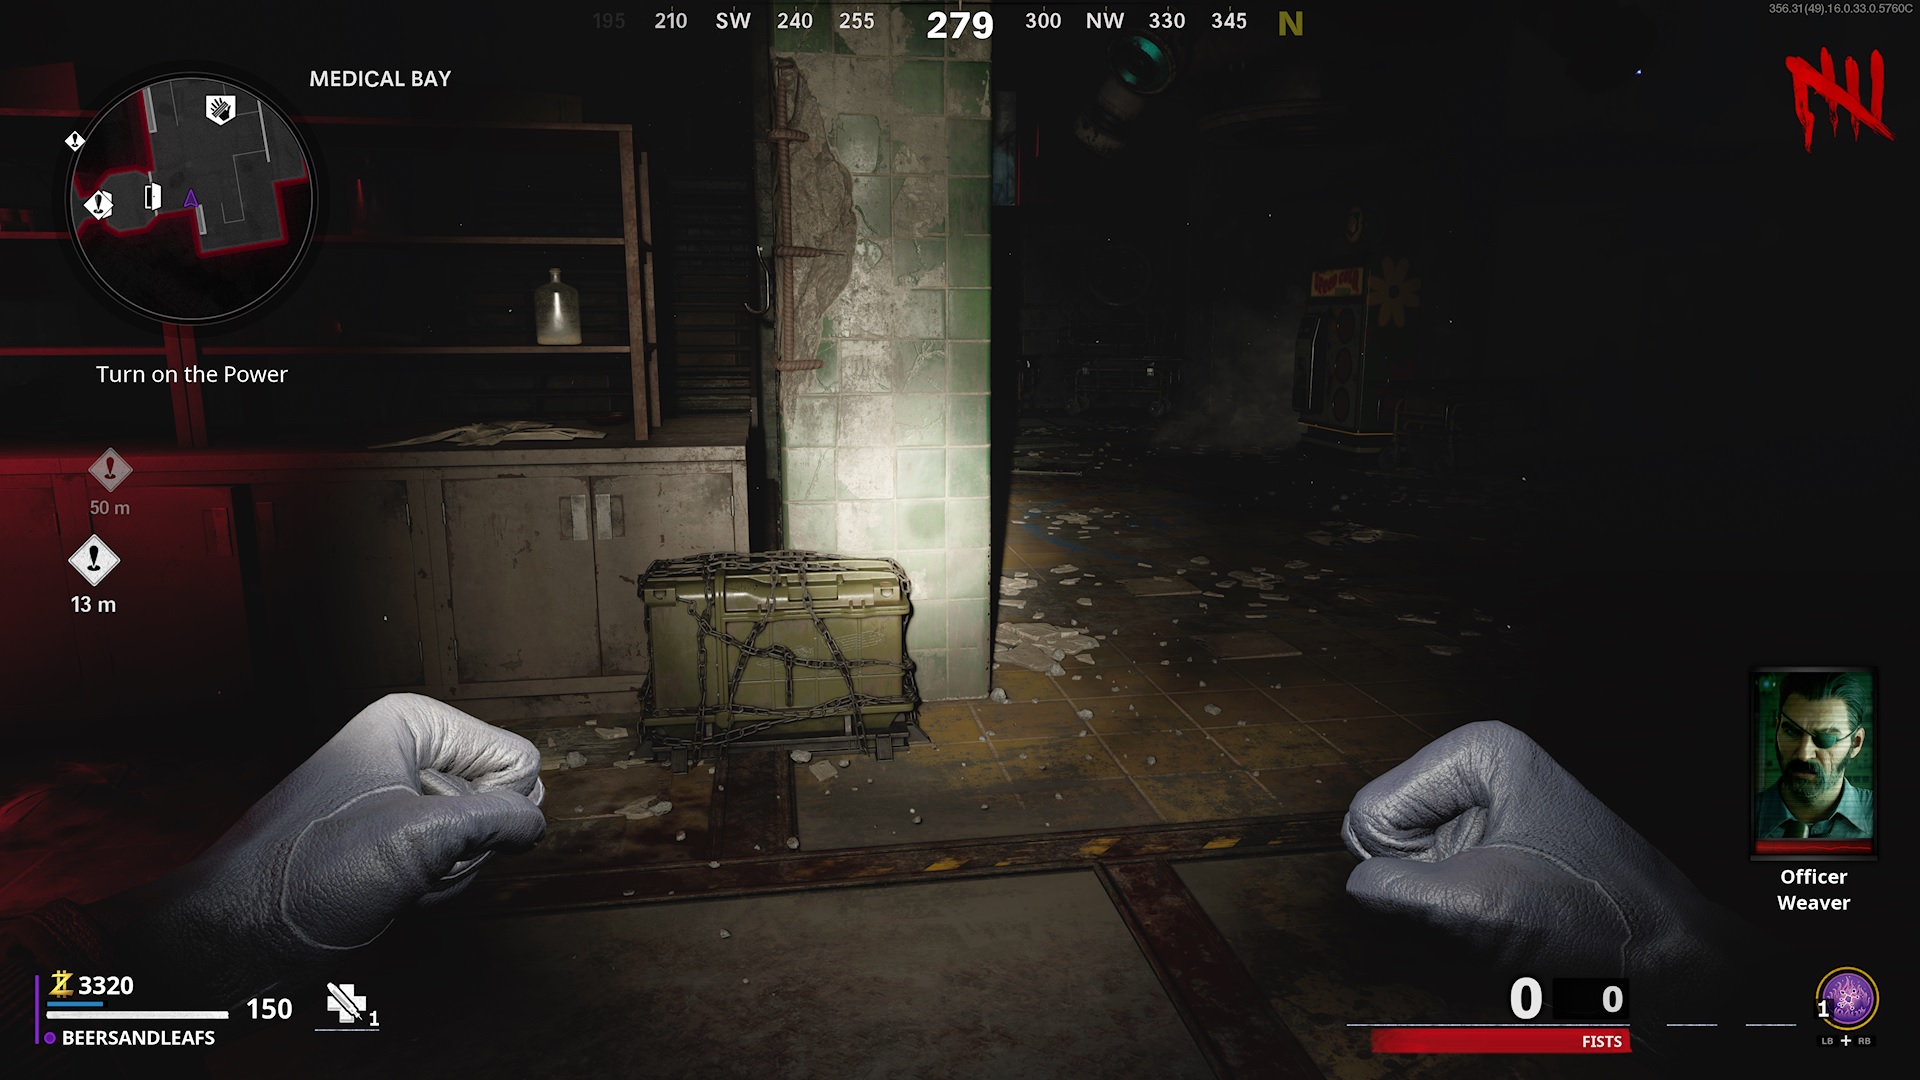
Drop down into the Pond and return to the Mutated Fungus tree. It prompts you to collect cryogenic liquid, so interact, and survive for a bit, until it’s full. Take the flask to the Medical Bay and look for the chained crate, tucked behind a divider across from the Deadshot Daquiri Machine.

Pour the cryogenic liquid over it to switch to the D.I.E. Cryo-Emitter. YOU CAN AND NEED TO, INTERACT WITH THIS AND THE OTHER CRATES WHENEVER YOU WANT OR NEED TO SWITCH THE GUNS ABILITY.
D.I.E. Nova 5
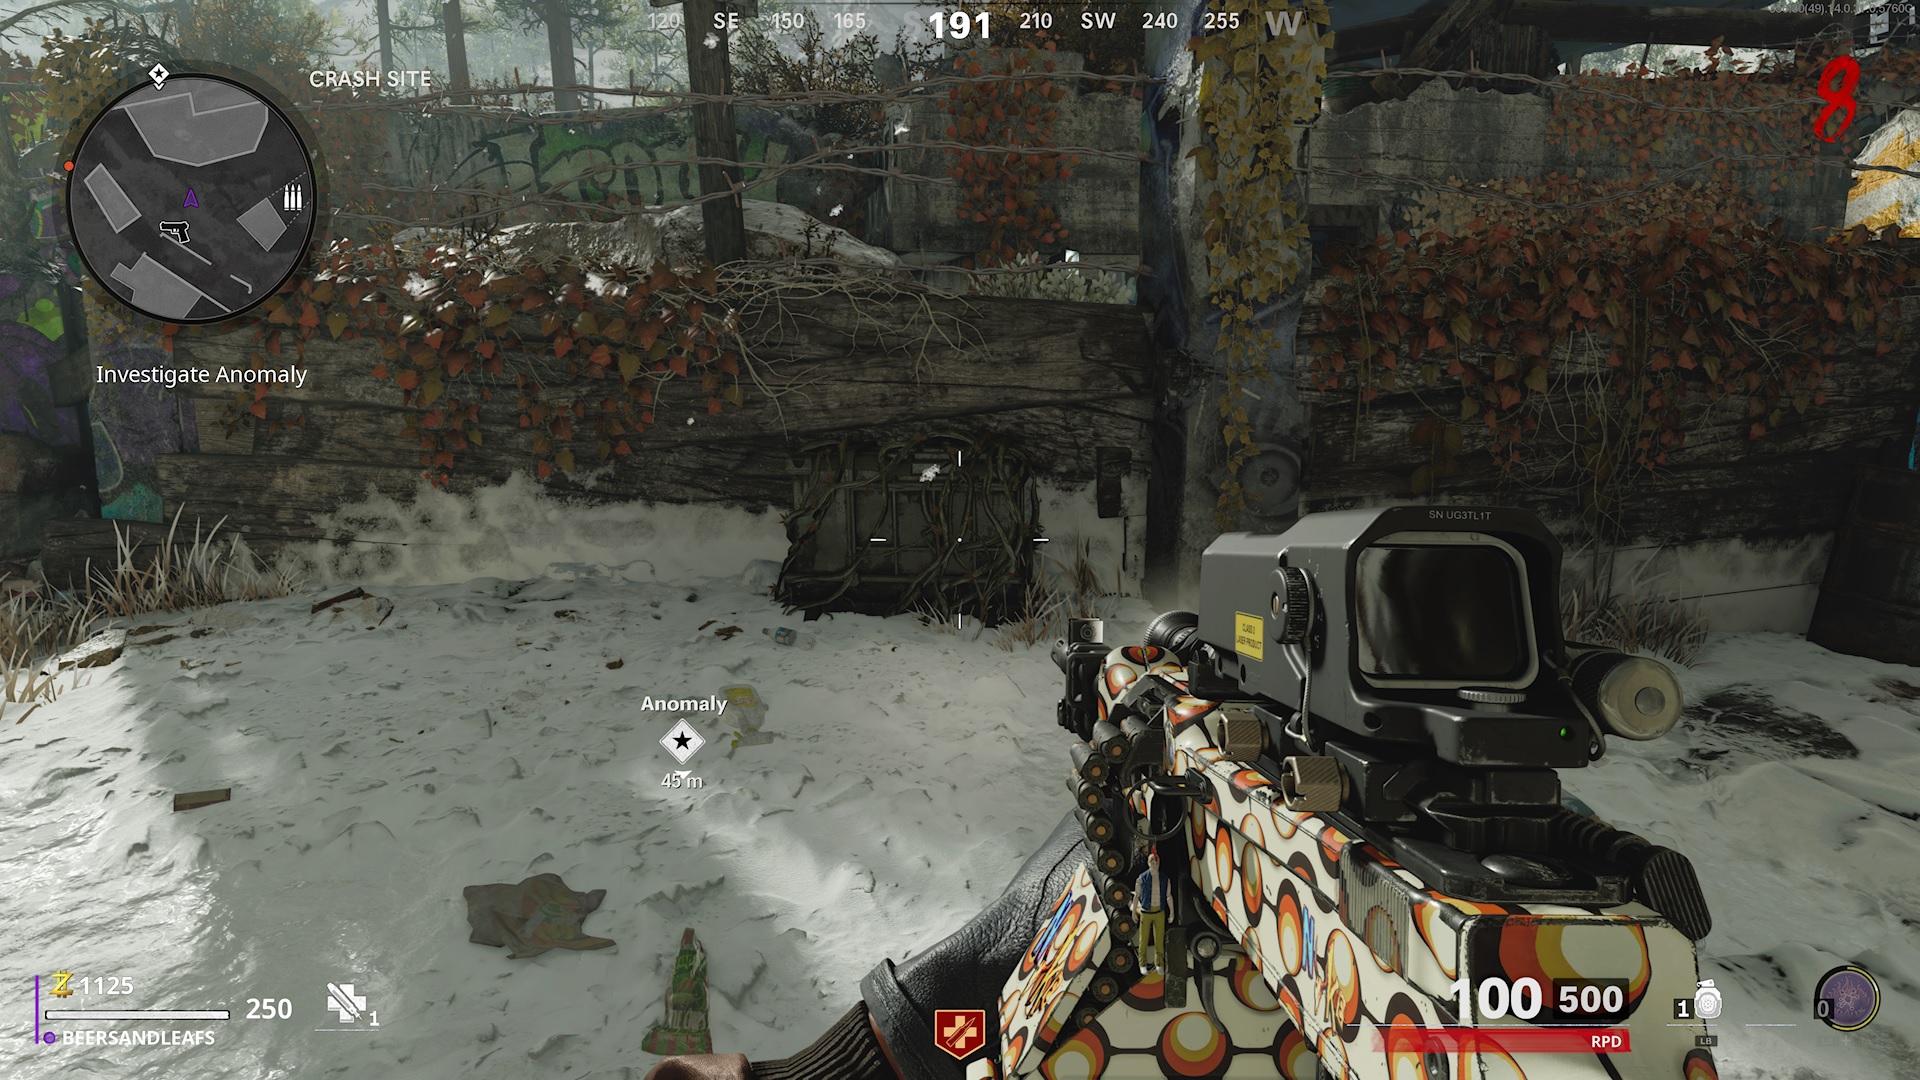
Make tracks to the Weapons Lab, drop down onto the lower level, and place the Empty Canister in the machine on the wall by interacting with the white contaption that looks like a hot water heater. Now you need to wait for a Plaguehound to spawn and lure it here, and kill it close to the canister, so it fills up with Plaguehound Gas. Take the item to the Crash Site and place it on top of the vine covered crate opposite the crashed plane against the fence/wall of the building.

Melee the item to switch to the D.I.E. Nova-5.
D.I.E. Electrobolt
Take a trip to the Dark Aether by paying the Particle Accelerator another visit. There are three crystals to find, and you need to use the D.I.E. Shockwave to extract them, but you need to make three separate trips as you can’t carry them all at once. Here’s where you can find each crystal:
-
Nacht Der Untoten building: Head to the Penthouse.
-
Pond: On the right side of the clearing, near the entrance to the tunnel
-
Crash Site: On the right side, just before you enter the Tunnel.
Discharge each crystal into a crate in the corner on the lowest level of the Particle Accelerator. After all three have been discharged, open the Weapons Crate to switch to the D.I.E. Electrobolt.
D.I.E. Thermophasic
Go to the Pond, enter the Dark Aether, and head to the Crash Site. Shoot the grey box on the floor (under the plane) to pick up the Fuse . Now head back to the Weapons Lab to insert the Fuse into the Plasma Cutter machine. After leaving the Dark Aether, return to the Pond and look for the weapon crate perched on the truck. Open it to switch to the D.I.E. Thermophasic.
Find the Decontamination Agent
How to find the Decontamination Agent
In the Medical Bay, shoot the large device hanging from the ceiling, using all four D.I.E wonder weapon upgrades and shooting one of the four parts of the machine that hang down. There are four attachments on it so you’ll know once you’ve successfully hit the right one, as it will turn upwards, then go to the next crate for the next attachment and continue.
Walk through the doorway towards Pack-a-Punch and enter the Dark Aether and then run back into the medical bay and up the stairs to find a blue anomaly. You’ll see two soldiers, similar to the spectral reflections we encountered earlier. After returning to the normal version of the map, pick up the Dark Aether Wrench.
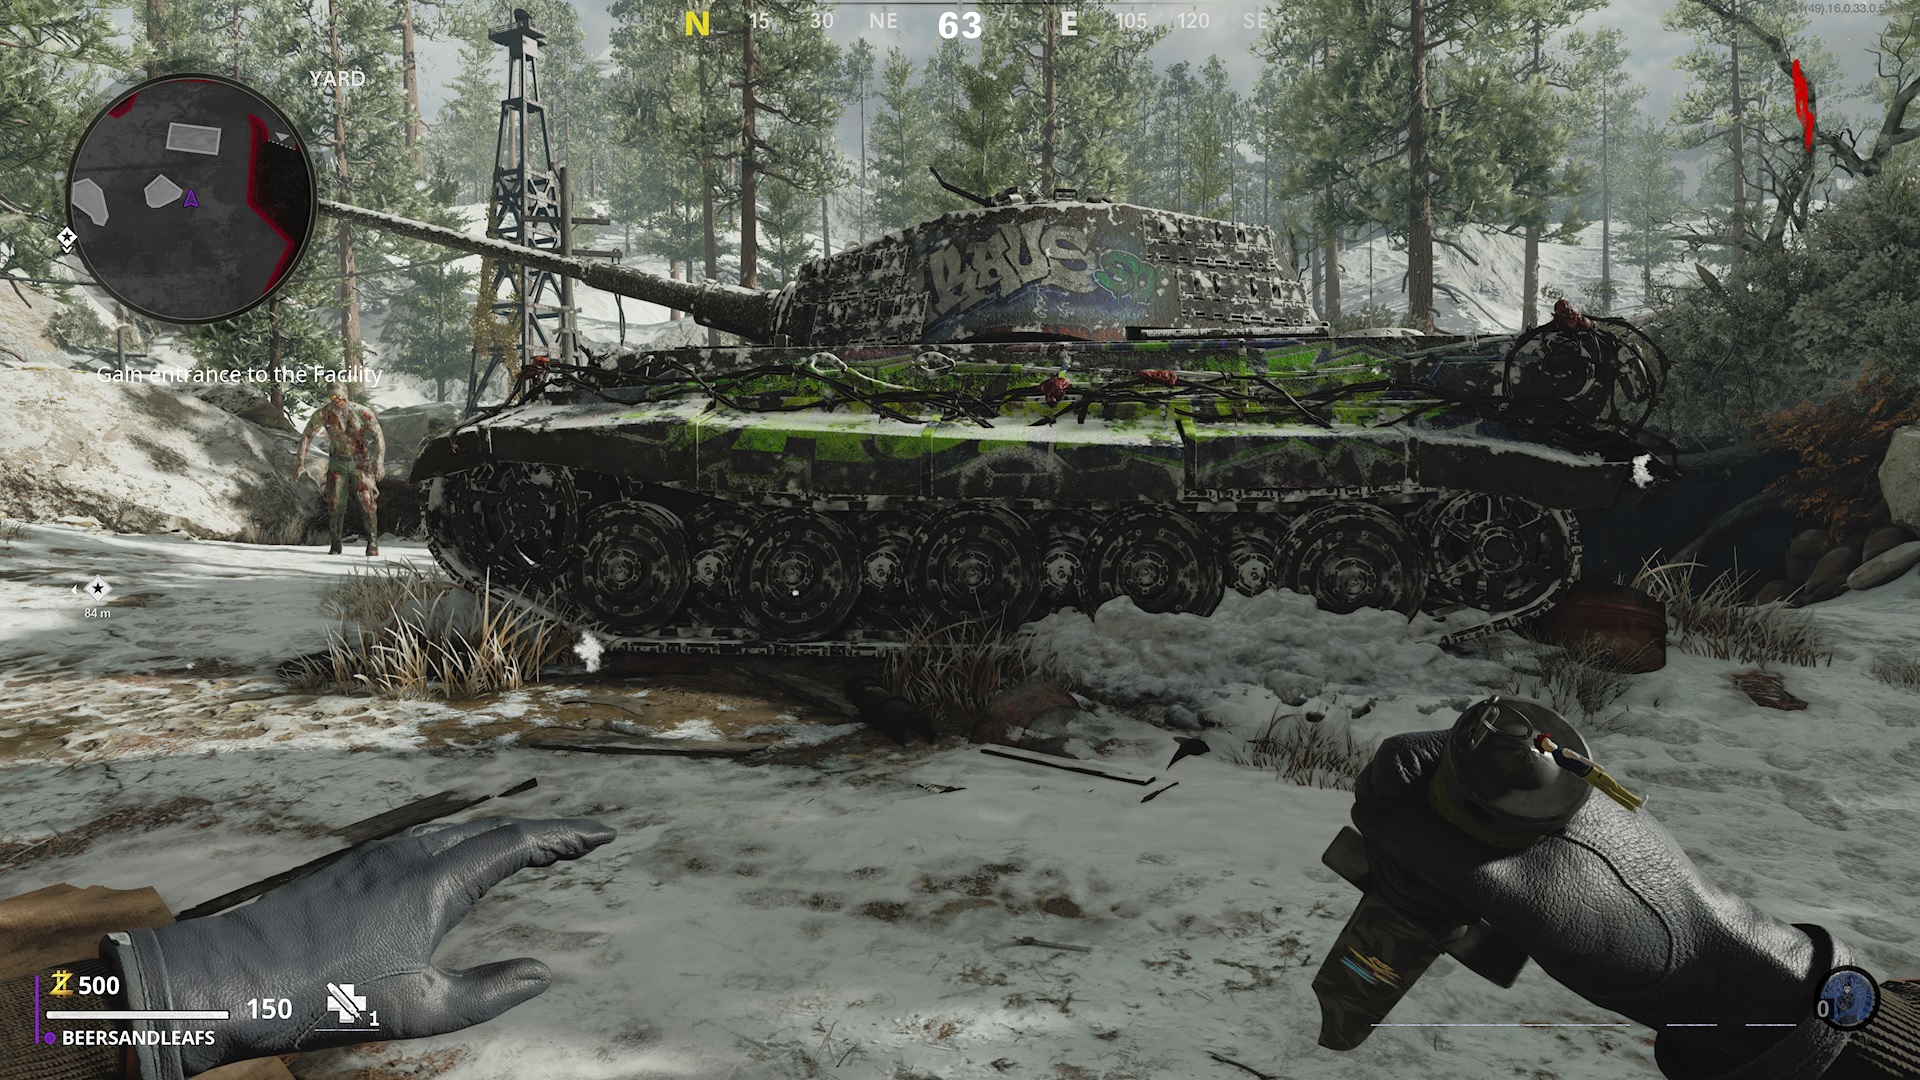
Run to the Yard (Spawn area) and stand near the tank.

Use the Dark Aether Wrench multiple times and this will encourage a zombie to try to climb out of it. Kill the zombie, and throw an explosive - preferablly a C4 as these work best - on the door on the top of the vehicle. The tank proceeds to damage a tree in the Crash Site, which is where we need to go next. Search the floor for the Decontamination Agent at the Crash Site. Be wary of nearby zombies and Plaguehounds, and take the item to the Medical Bay.
You can now place it in the small box outside the room with the computer.

Now, prodede to continue popping zombie skulls until you encounter another Megaton, lure him back to the medical bay, under the device. Kill it so that it splits into its Blaster and Bomber halves, then position them under the device on the ceiling so they’re sucked into the container.

You’re now ready to head to the computer again to initiate the purification process.
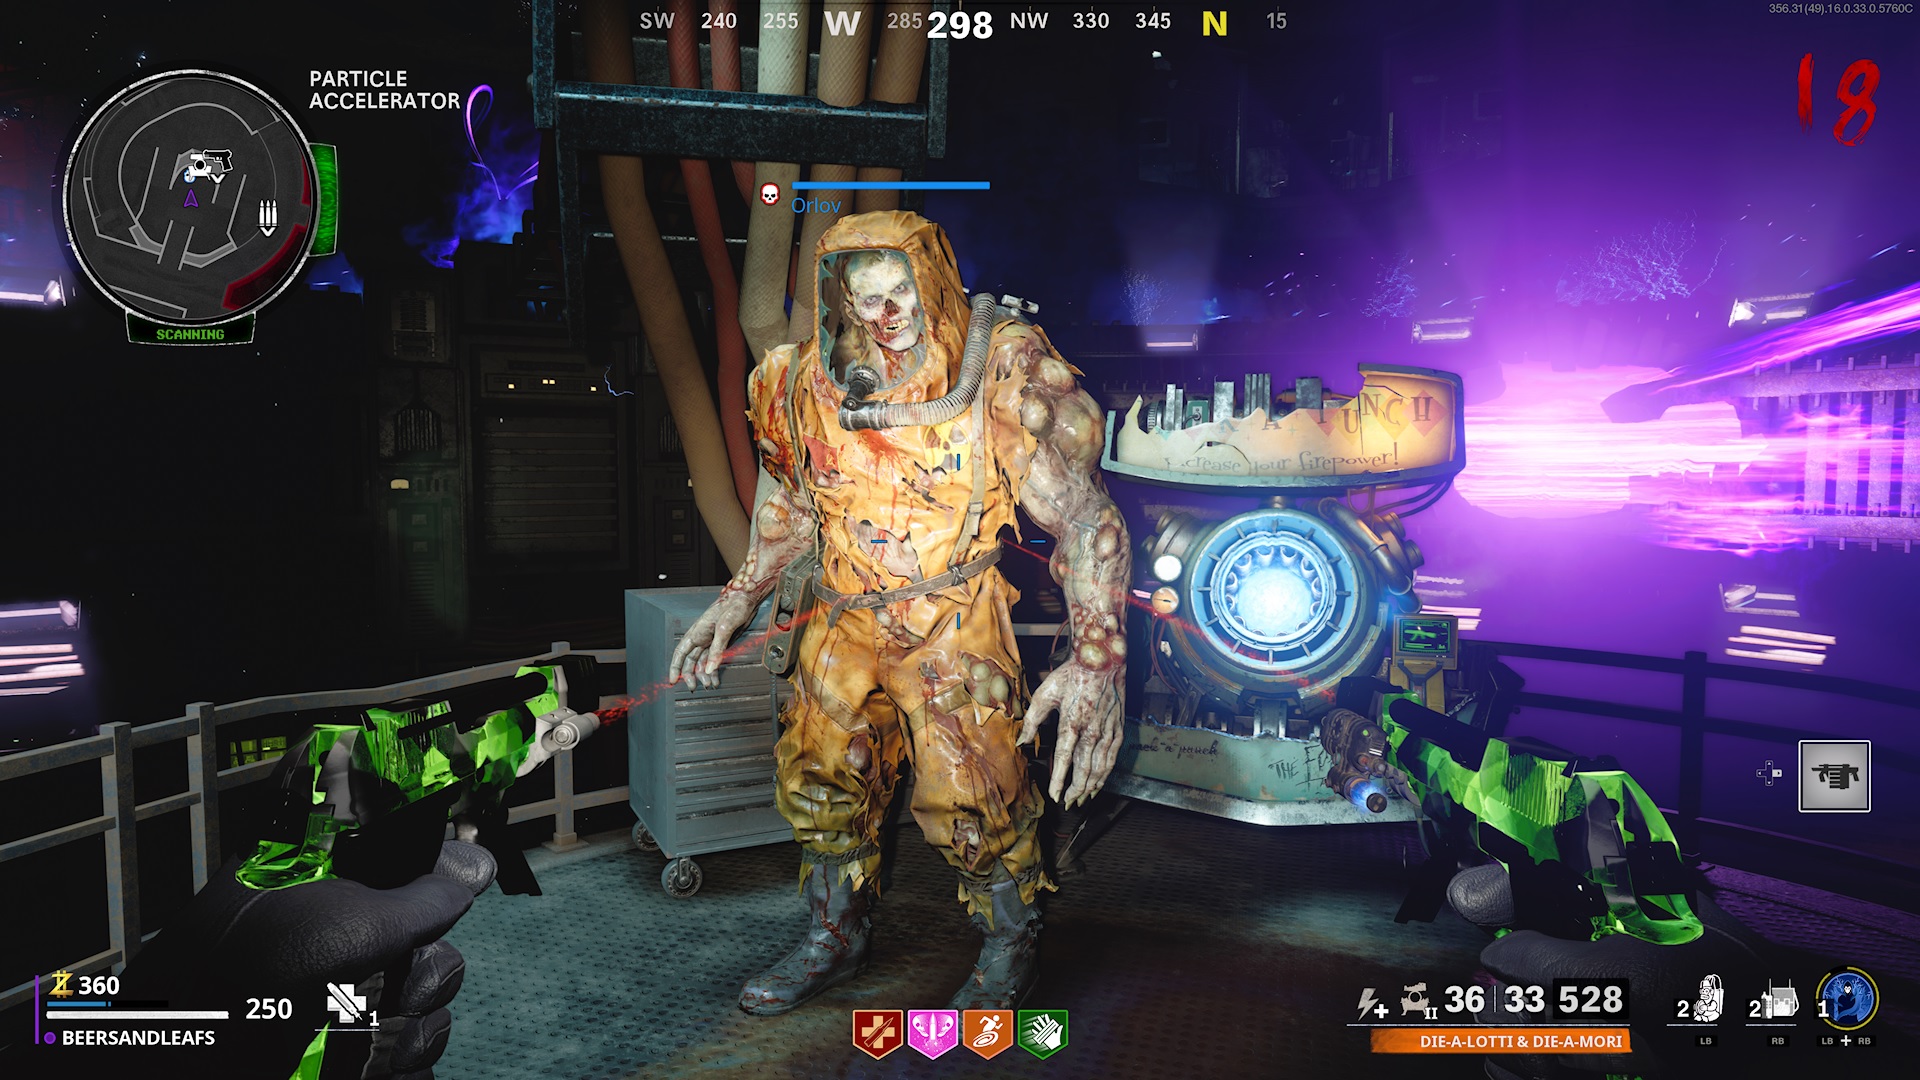
Take care of the enemies you run into, and head back to the Living Room in the Nacht Der Untoten building to enter the Dark Aether. Walk into the Omega Outpost room to find a blue anomaly. Speak to Orlov and, once you’re back in the normal world, pick up the Orlov Family Photo to trigger a final fight.
It’s worth noting that you should buy tactical, lethal, and support items from the nearby crafting table before interacting with the photograph. Spend a couple of minutes spending your points on upgrades to ensure you’re fully prepared for the fight ahead.

How to exfil in the Cold War Zombies Easter Egg
You’re now standing in the Particle Accelerator with Orlov.

Your mission is simple: Protect Orlov for three waves. However, the upcoming waves of enemies will include regular zombies, heavy zombies, Megatons, and Plaguehounds. Remember to use your wonder weapon to keep the undead at bay. Most people prefer to use the D.I.E. Electrobolt upgrade as it’s the most powerful and efficient way to complete the fight.
Go to the Exfil Site
After you’ve battled through those waves of zombies, you need to leave the facility as quickly as possible. The best route is through the Weapons Lab and out through the Tunnel to access the Exfil Site at the Pond. Stay away from the blue beams along the way as these can kill you.
Head to safety when the helicopter arrives to complete the Easter egg.
@codplayers
