Like the Die Maschine one, I’m going to go through it again and take screenshots to add to this, to make things a little easier for those that need it.
This Easter egg isn’t actually that difficult — in fact, it’s pretty possible for normal players to complete solo, not quite as easy as Die Maschine. If you’re working together and know what you’re doing, you can finish this Easter egg in less than 17 rounds.
This Easter egg is all about Dr. Peck and Ravenov are locked in separate offices across the map, and you’ll be returning to these guys often to learn about your next steps on the quest.
I suggest using Aether Shroud if trying the Easter Egg.
Step #1: Turn On Power & Pack-A-Punch
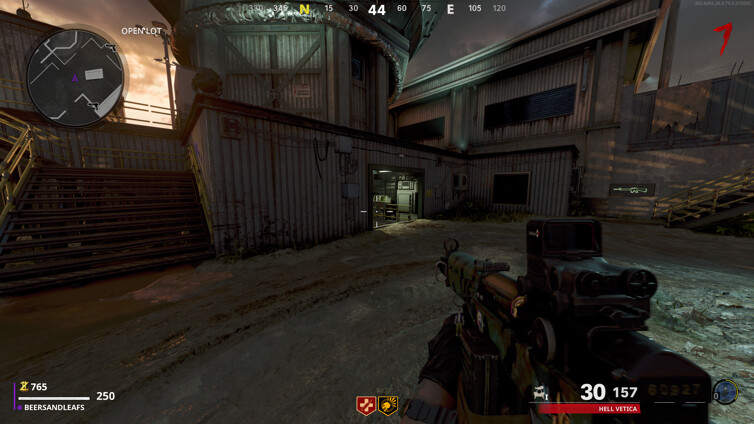
Right off the start, talk to Ravenov in the spawn village,
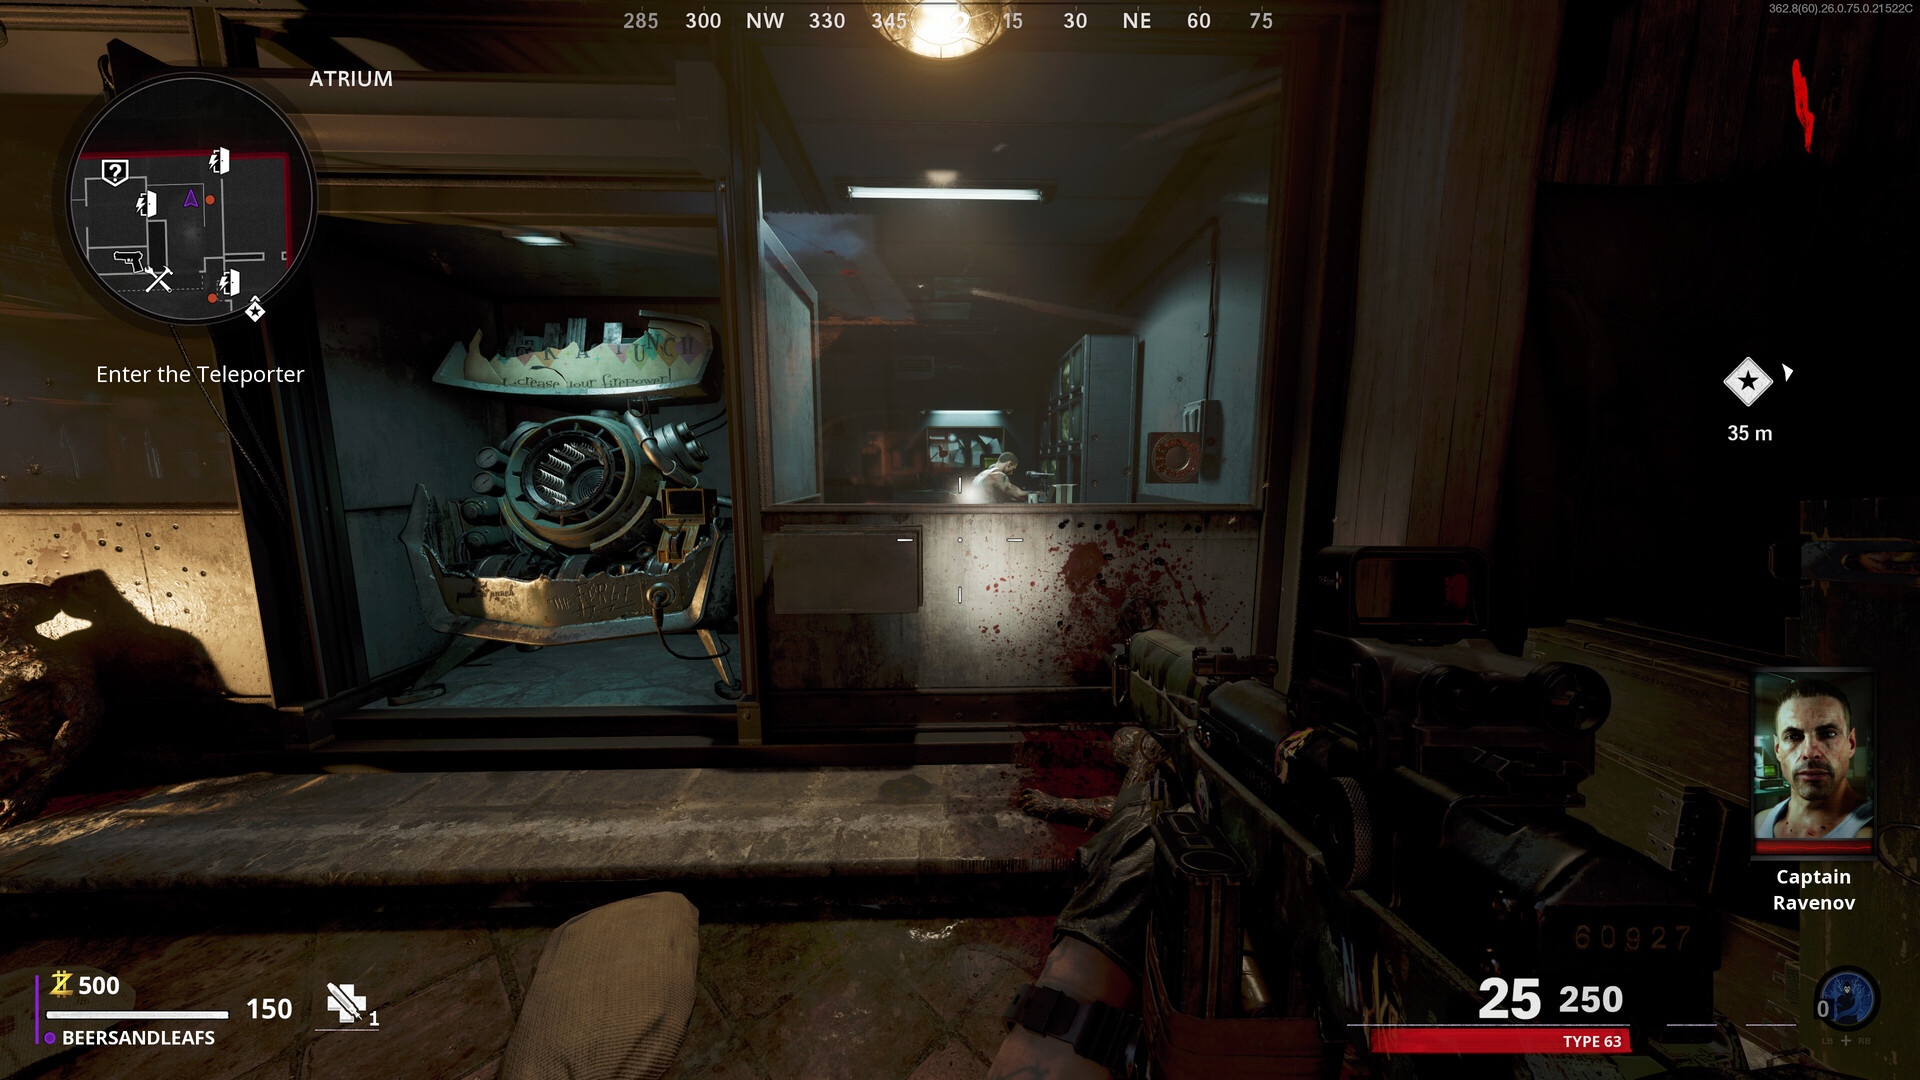
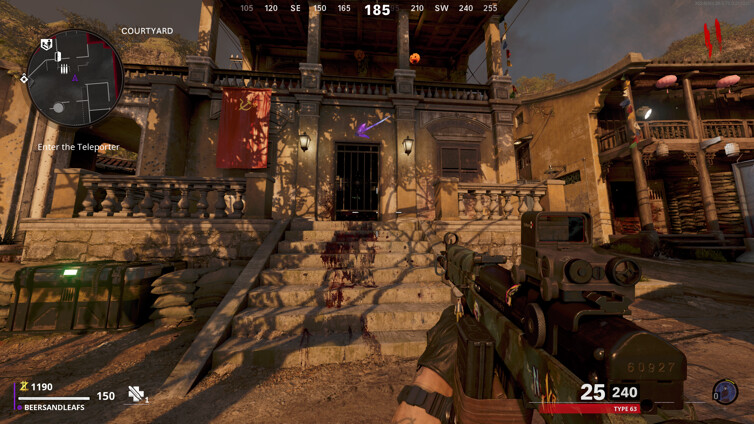
then proceed to the Teleporter that is labelled on the screen.
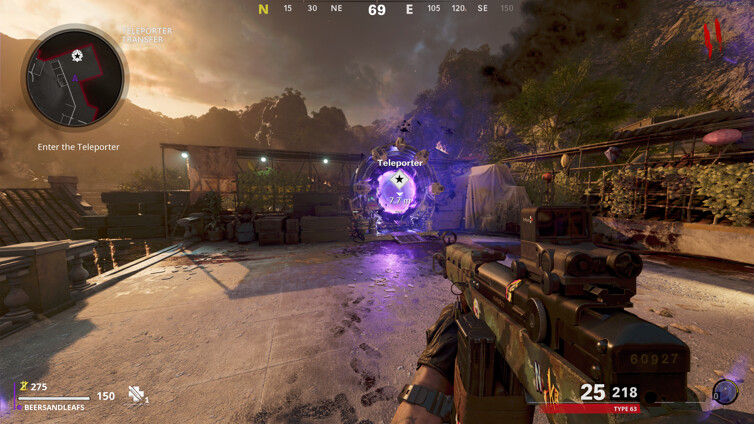
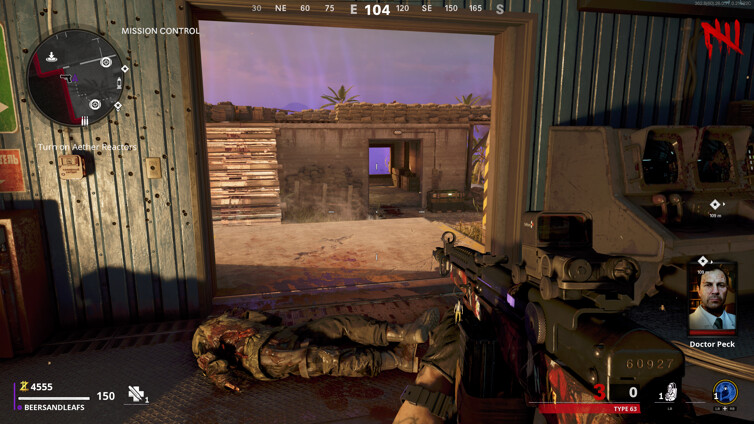
Get here by going through the gate/door across the street from Ravenov.
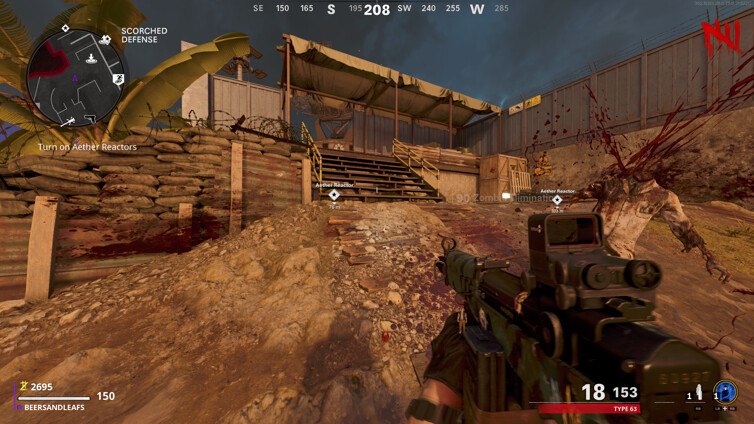
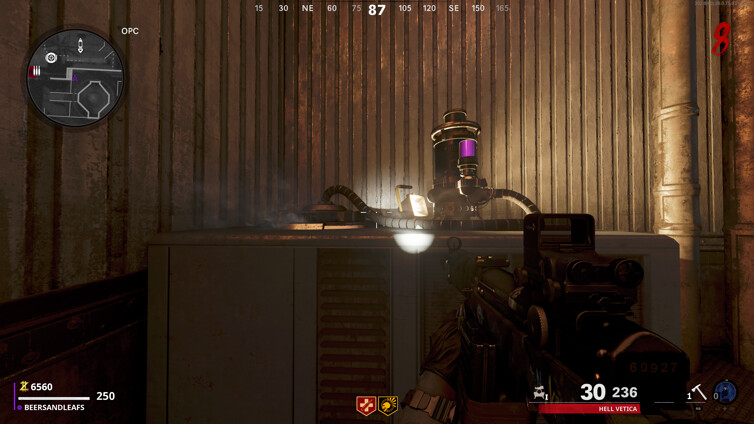
At the Firebase, reach and activate three Aether Generators. Starting with the one on the left,
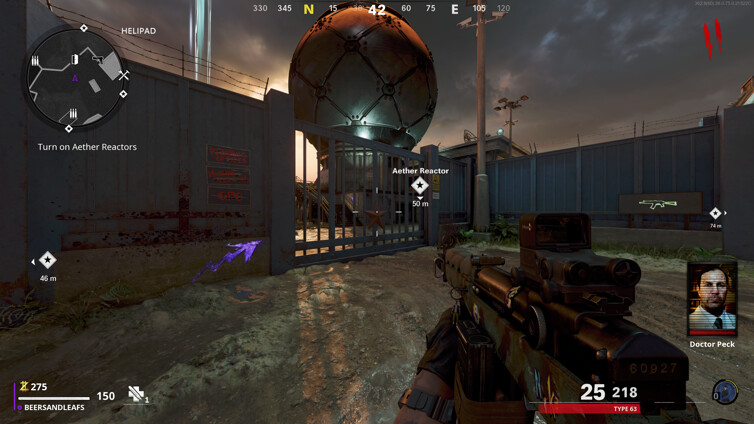
Military Command, as you teleport into the base. Once activated,
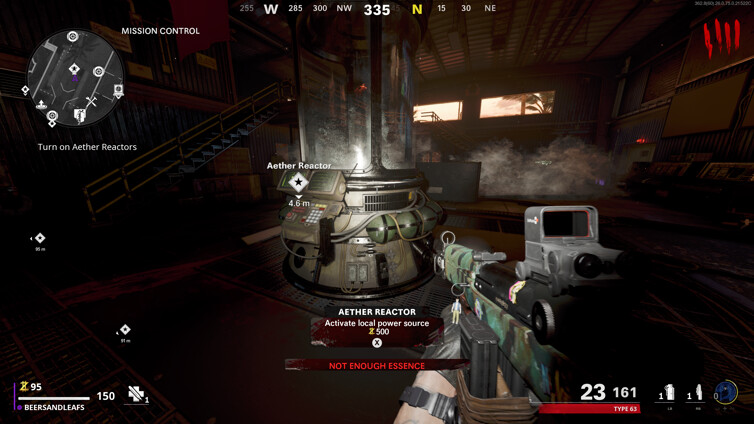
you need to defend the generator nodes
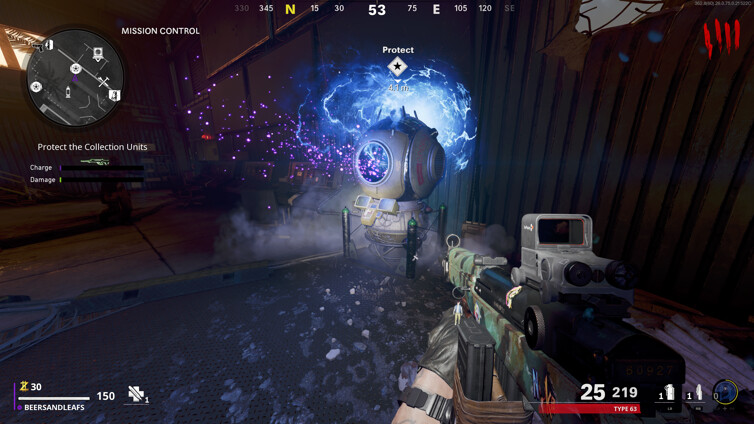
and kill zombies near the nodes until the “CHARGE” meter is full.
Now, to save cash go through the newly opened door to the left
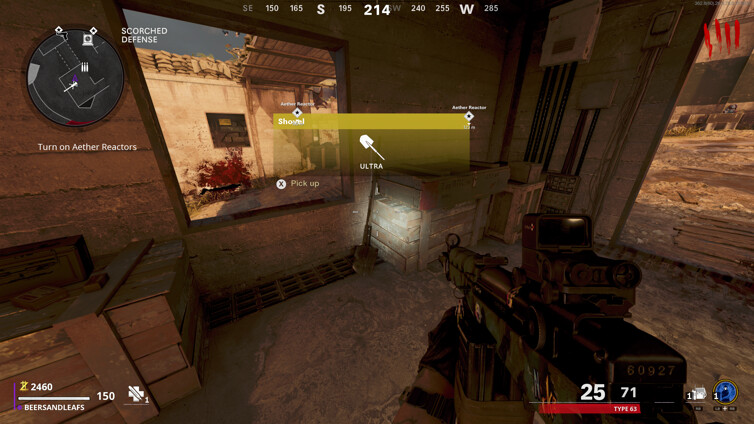
Go into the bunker ahead of you, and on your right is a shovel you need for later.
Then go left out of the bunker and straight up the stairs at the end.
Keep heading straight across and go into the Data Center and repeat the Aether Generator Process.
Now, go through the newly opened doors on the ground floor

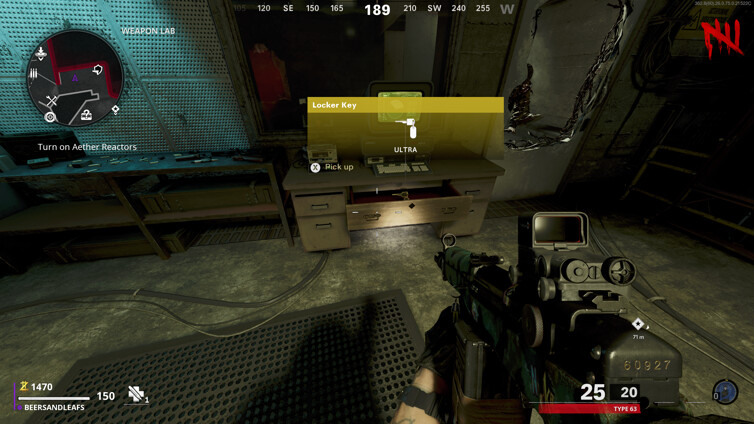
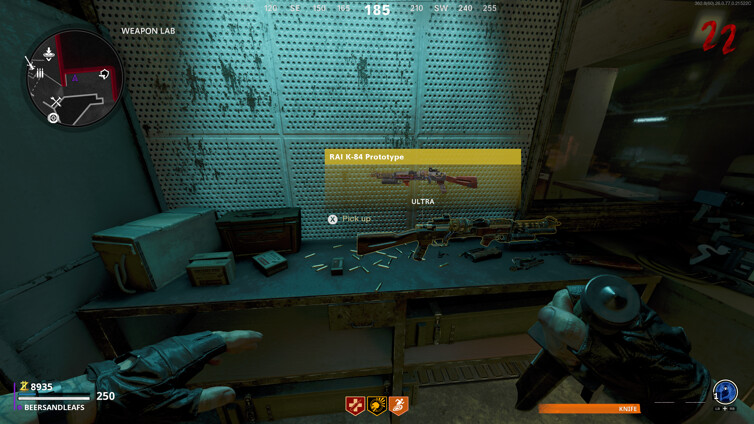
and go through the next door leading into the Weapons Lab.
On your left there is a workbench with a blueprint above it,
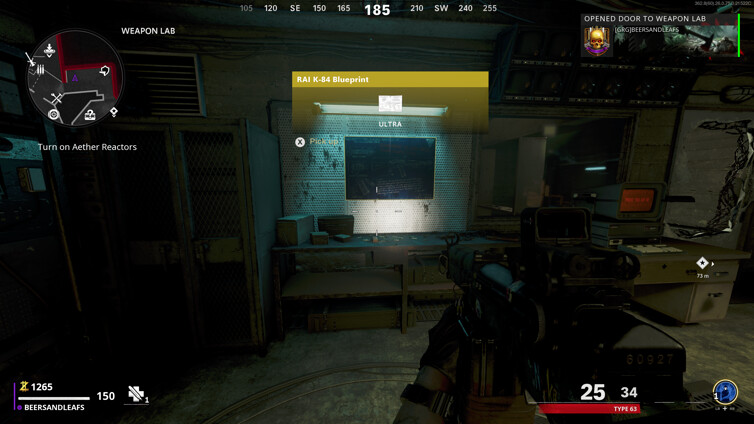
grab that and then start collecting parts for the Wonder Weapon, go back to the Scorched Defense section - where you grabbed the shovel - but go right when you enter the area, and stay right on the path, which leads you to a tank with a dead body next to it.
Interact with it to retrieve the eyeball. Go back to the Weapons Lab and interact with the computer beside the bench where you got the blueprint
and retrieve the key.
Now, follow the marker to the final Generator in the Mission Control section.
After all three generators are recharged, return to, and speak to Ravenov and right after you start the conversation, go up the stairs beside you - the zombies will not bother you during this conversation, as long as you don’t touch or kill any - turn left and look to the left for a stuffed bunny at the end of a small blocked walkway, directly above where the Pack-a-Punch machine is located. You need to ADS for about 15 seconds at the bunny. First, the bunny will turn his head, and a couple of seconds later you will hear an activation noise and a scream, and the rabbit will start floating and fly into you, causing you to teleport into a jungle in the Dark Aether.
While you are in the secret room, zombies and mimics will still be chasing you in an almost pitch-black area. There is a ton of free space to move, so do not worry about getting caught in a corner. Just avoid the odd tree or two you may come across, and you will be fine.
You will notice the rabbit we shot before floating in the air surrounded by a pink light in this darkness.

Run to it and shoot it to make it disappear. It will reappear in two other areas that you need to track down and shoot again. Once you hit the third rabbit, the zombies and mimics will disappear.
Look around in the darkness, and you will notice a weapon crate has spawned that you can run up to and open, much like the one that appears during the Coffin Dance Easter egg. When you open it, you will receive a free can of Juggernog, some salvage, and in some cases, a free legendary tier weapon. The game places you directly in front of the teleporter to the Firebase when you are done here.in the village and the Pack-a-Punch machine will reactivate. If you have enough cash, you can pack your gun now, or in the room next to it (The Village Mess Hall), there is a Wonderfizz Machine,
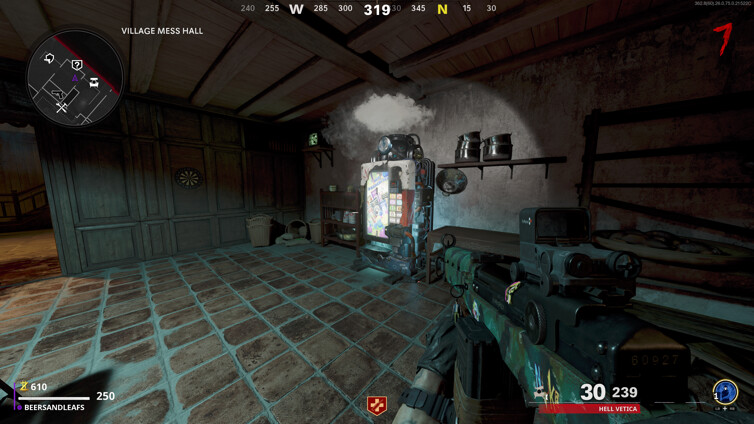
and you can buy perks if you want.
Step #2: Build & Place the Gas Dispersal Device
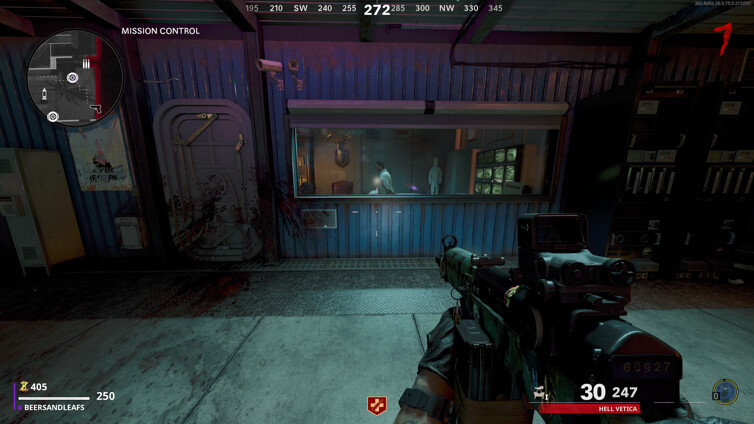
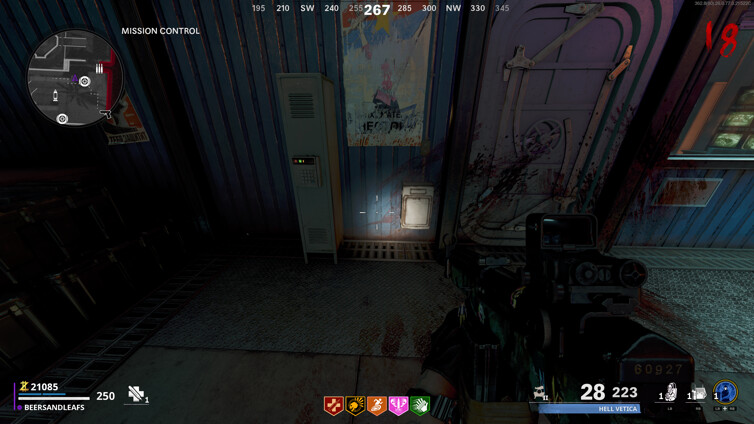
After talking to Ravenov and restoring power, Dr. Peck will contact you. Go to his location in Mission Control and talk to Dr. Peck. Use the intercom on the left side of his window.
After talking to Peck, go back to Ravenov in the Village to gain the ID Card.
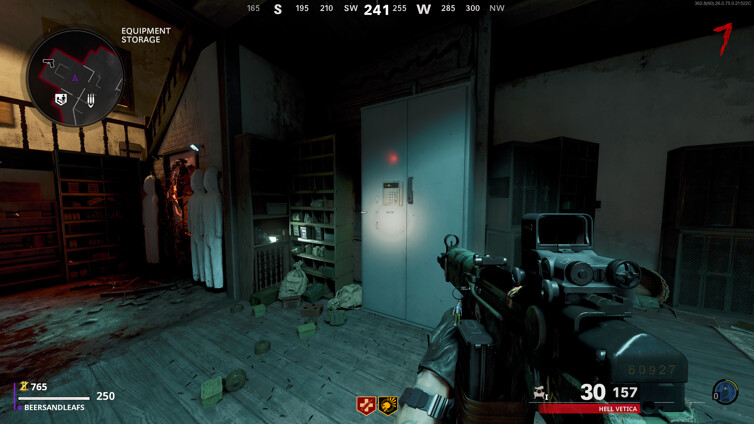
The ID card allows you to open larger lockers. Go and open the three lockers in the following locations.
- Locker #1: Equipment Storage – In the first floor on the right when entering from the Village Courtyard - the same room you opened first to get to the teleporter.
- Locker #2: Engineering – Left of the Helipad, in the lower levels outside of Mission Control. It’s in the engine room.
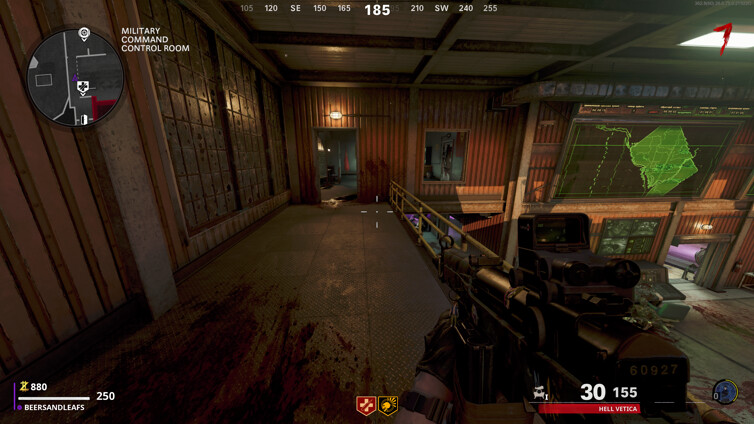
- Locker #3: Colonel’s Office – Inside the small office on the upper floor of Military Command.
In each locker, collect the canister key items.

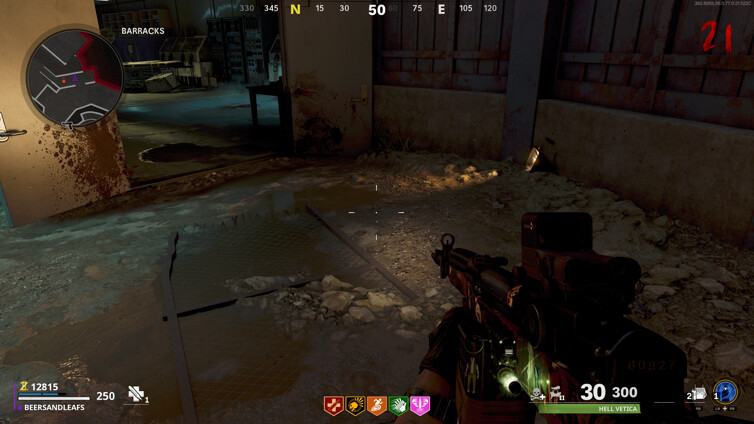
Once you have all three, go to the Field Hospital in the Barracks.
Inside, use the blue / red device on the table
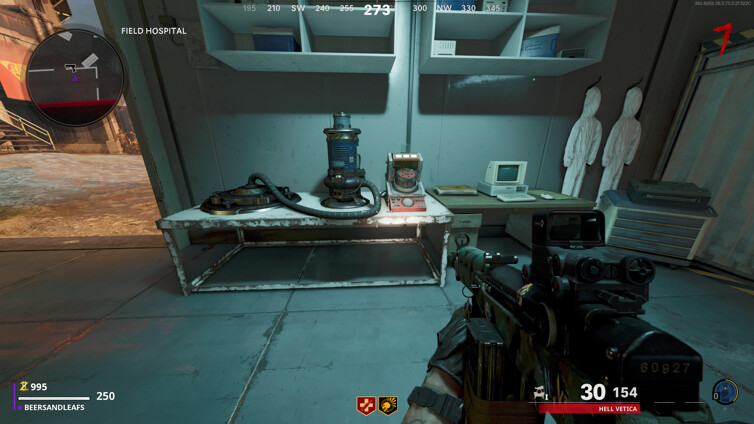
near the doors to combine the chemicals. Go outside after this step because Hellhounds will spawn when attempting to use the device, so be prepared.
Now, head into the two barracks right across from the field hospital, and go through opening the lockers
– there are 9 – until the mimic spawns
and you kill it to collect a part for the wonder weapon.
If you kill it and there is no drop, keep opening, you can have three of them spawn before you get it.
Now go back into the hospital and interact with the machine, then again to collect the Agent Delivery System. Next, travel to the OPC — the upper area outside Mission Control with the big globe-like building— and place all of the items on the Air Conditioner in the corner, to the left of the stairs leading up to the globe.
Now, your Aether Shroud and knowledge of a dart board will come in handy.
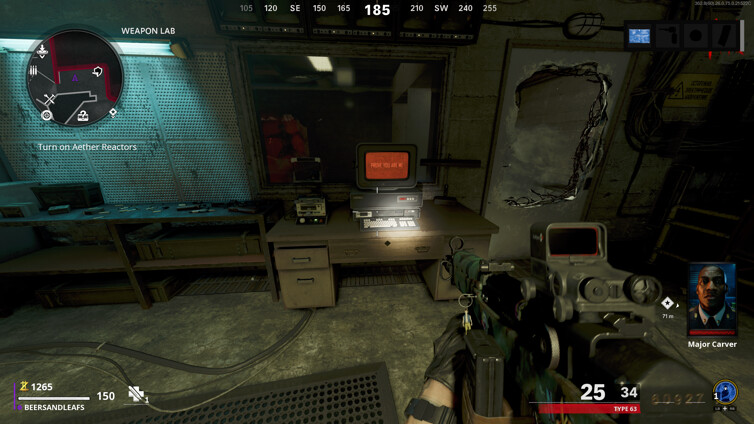
Go back to the Weapons Lab and interact with the PC and it will start to do stuff.
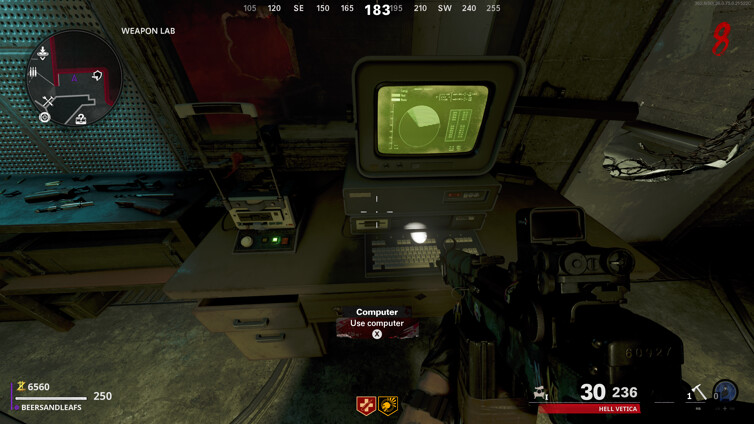
The screen is set up like a dart board, and you need to take note of the three locations it stops on – it will blink and make a sound – Here’s a reference picture I found:

after getting these three spots, go back to the village and go to the dart board in the Mess Hall near the pack-a-punch.
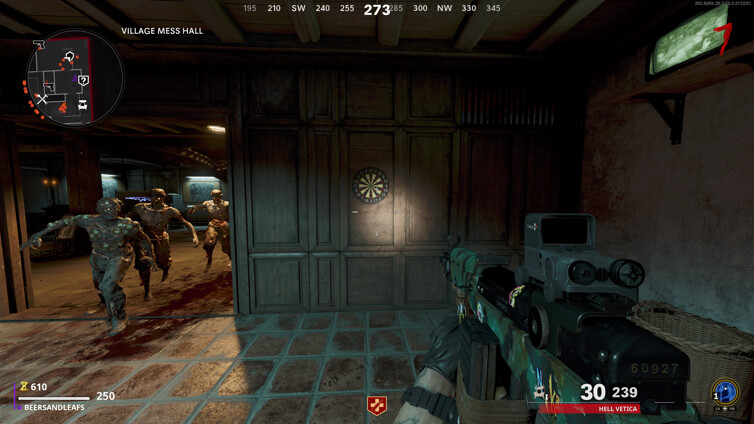
You can treat it like a combo lock and count right, left, right if you don’t have a dart board memorized. Again, don’t use a shotgun, but shoot each location in order and then the bullseye twice. This will give you the part. If playing solo you WILL need to use shroud, decoys or monkey bombs to avoid getting hit during these two steps.
Step #3: Trap Mimic Essence
Go to Dr. Peck and watch the cut scene after placing the device on the Air Conditioner. Zombies won’t attack so you’re safe for a short while — Peck will send you to the Data Center next.
At the Data Center, look for a computer with a brain X-Ray on the monitor.
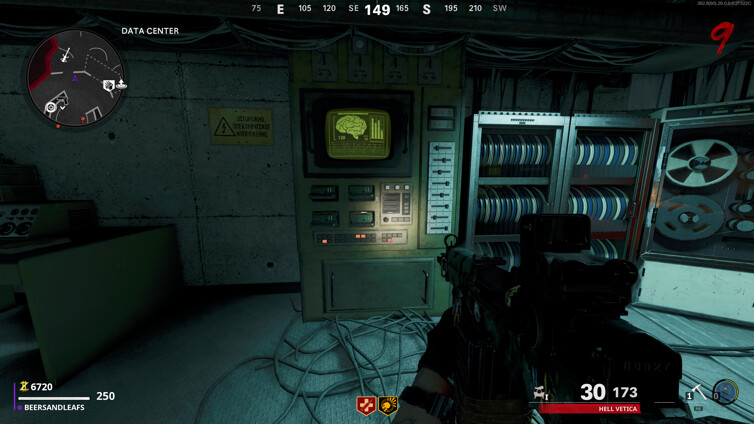
This is the Memory Transference Station — use it and collect the Essence Trap.
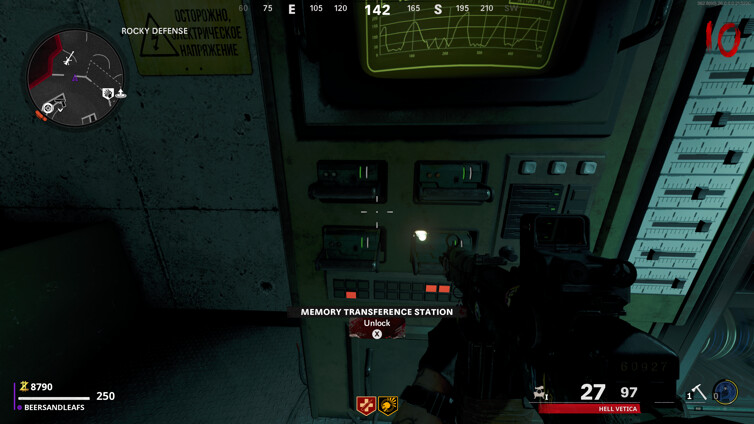
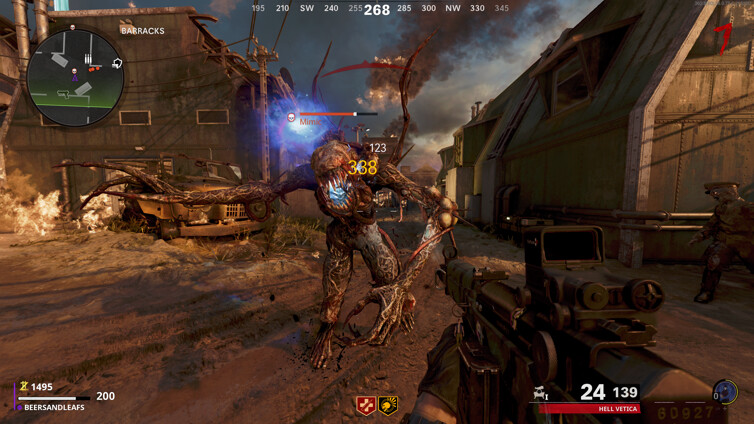
The Essence Trap is a Tactical you can deploy at any time — double tap reload like using C4 when an enemy is standing in the Essence Trap to trap them. This only works when they’re low on HP, so you need to damage the mimic until the health is extremely low.
For this step, you need to use the Essence Trap to capture specific Mimics, in three specific areas, which are Military Command/Colonels office area, Motor Pool area and Dr. Peck’s apartment ( area above Pack-a-Punch)… Not all Mimics will work — you want to capture Mimics that spawn in from a drop on the ground and not just random. For example you see a score streak on the ground
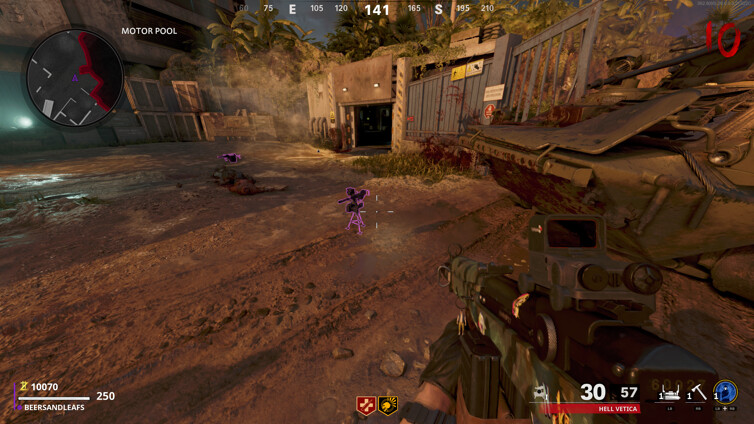
and as you get close to it, it turns into a Mimic. And not every Mimic that spaws correctly, will be the one you need. Try your best not to get close to any items on the ground after one spawns in. More than one at a time can make things challenging, and very hard to determine the correct one.
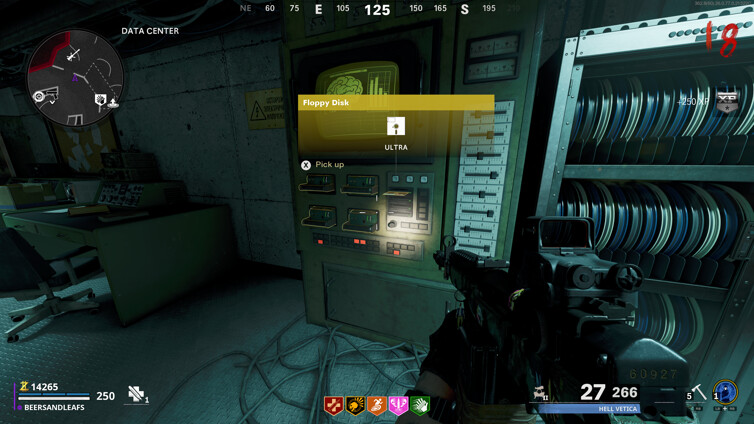
After capturing a Mimic Essence, return to the Memory Transference Station in the Data Center to bank it, then you can catch a new Mimic Essence from a different area.
You’ll know if you got the correct Mimic if Weaver says you’ve found what you need, or to keep looking. Search the map for the code-carrying Mimics which will only spawn once per round. So, if you get one, you have to finish the round to get a new one to spawn.
Once you get and bank all three correct Mimic Essences, the machine will reward you with a Floppy Disc.
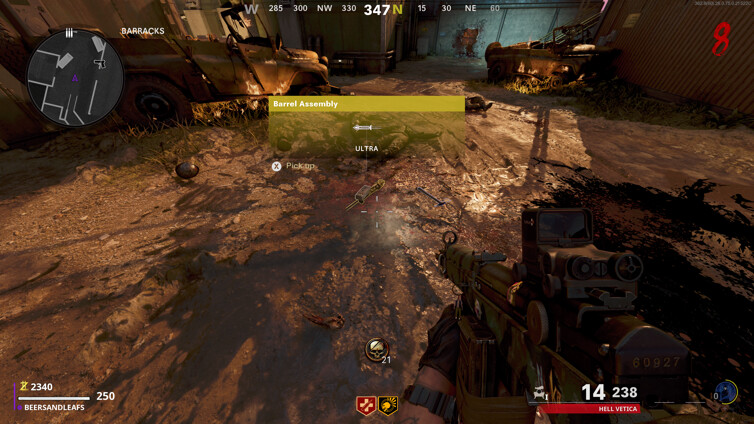
Now, to continue building the Wonder Weapon. If you are near round 15 now, I suggest flipping a round or two until a Mangler spawns and kill it while he is charging his arm (shoot the arm)

to collect the part for the gun. Note: You may not have to kill him while it’s charging, but I haven’t tried that yet.
Take the part and go to the Weapons lab and interact with the charging station
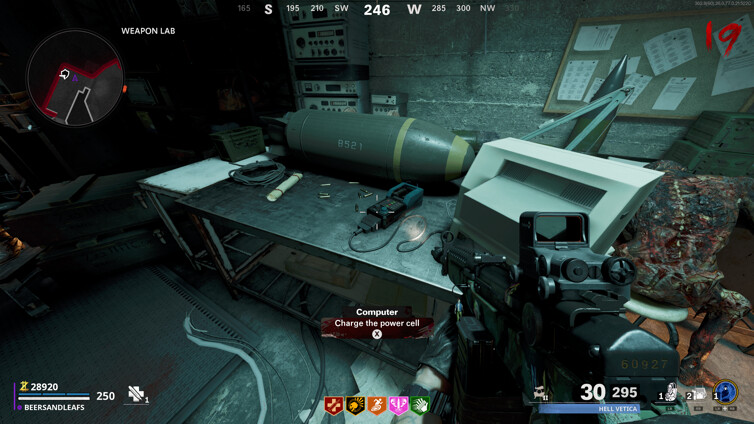
and then flip a round. Now it’s charged and you can retrieve it, then build the gun on the nearby bench.
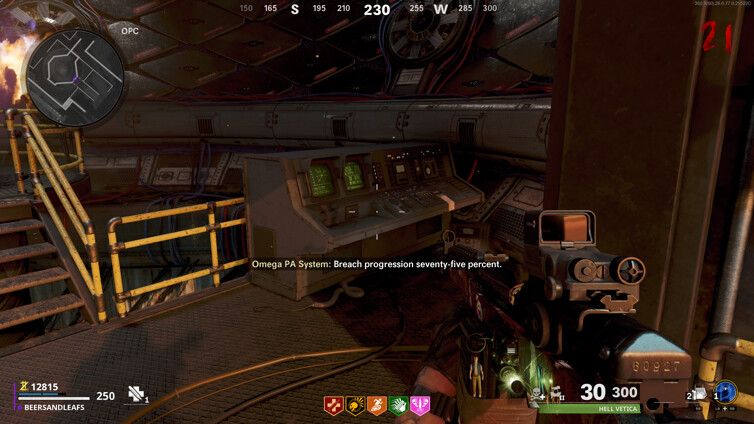
Step #4: Unlock the OPC
Take the Floppy Disc to the Planning Offices — the room above Engineering — and look for a computer against the wall with Brain on it and an interaction prompt.

Use the disc on the machine to unlock the doors to the OPC.
Now you can finally get inside that weird globe structure. There’s a strange anomaly inside — you need to talk to Dr. Peck to begin the next step.
Step #5: Using the Aethermeter
After talking to Dr. Peck at Mission Control, use the locker near his window to collect the Aethermeter key item.
Using this item, you’ll need to dig up Aether Containers hidden around the map.
Before digging up Aether Containers, you need to get the Shovel item, if you didn’t grab it earlier.
With the shovel, you need to find three specific locations and dig them up to collect Aether Containers. You can dig them up in any order and they will beep like a metal detector when you are near one.
- Container Spot #1: Barracks – In the corner to the right of the Field Hospital,left of the stairs to the Data Center.
The container won’t sit still — to stop it from moving, use the Ray Gun Wonder Weapon alt-fire (up on the d-pad) on the container, then pick it up.
- Container Spot #2: Open Lot – In the corner of the Open Lot near the Engineering Building window.
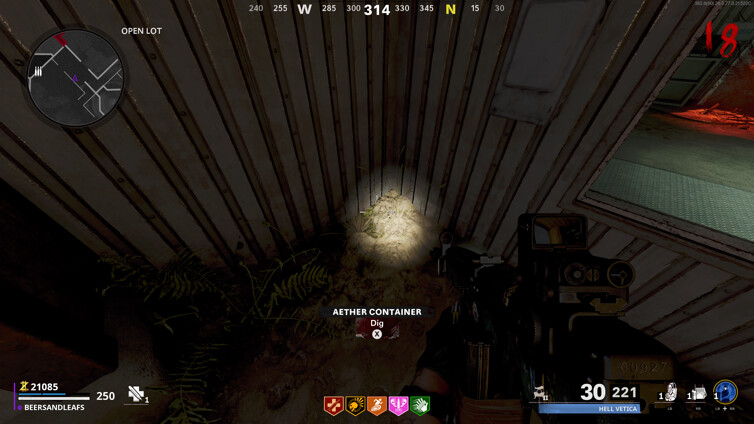
This will spawn fake Containers and a real one. Look for one that doesn’t have black smoke coming from the crystal inside. Careful, if you select a fake one some mimics will spawn, and you will have to finish the round to try again.
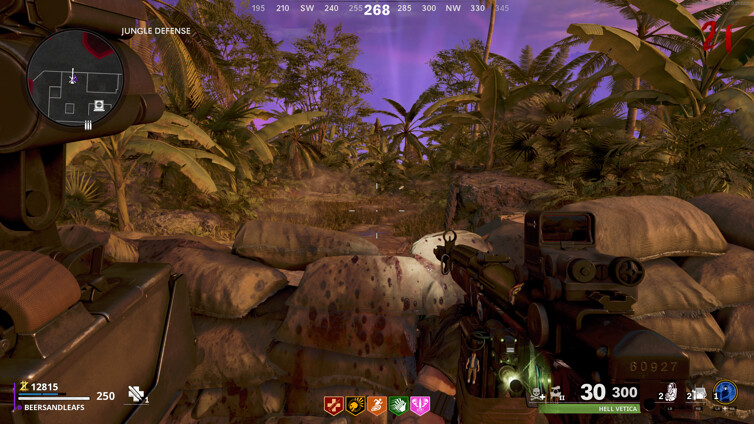
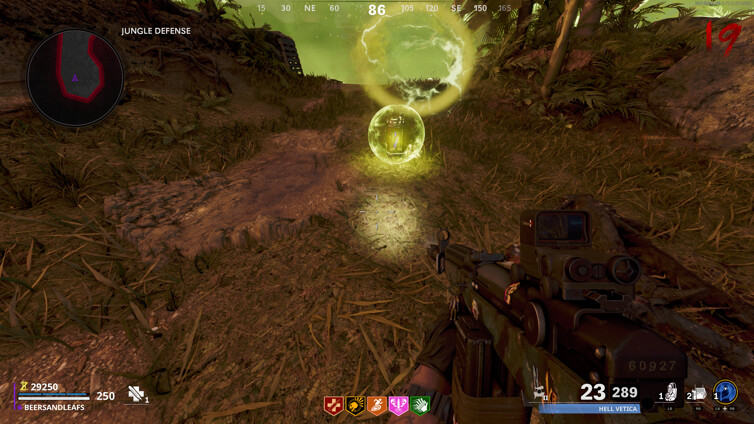
- Container Spot #3: Jungle Defense – Down the middle path at the far end near the edge of the map. Digging it up will begin a lockdown event that you have to survive.
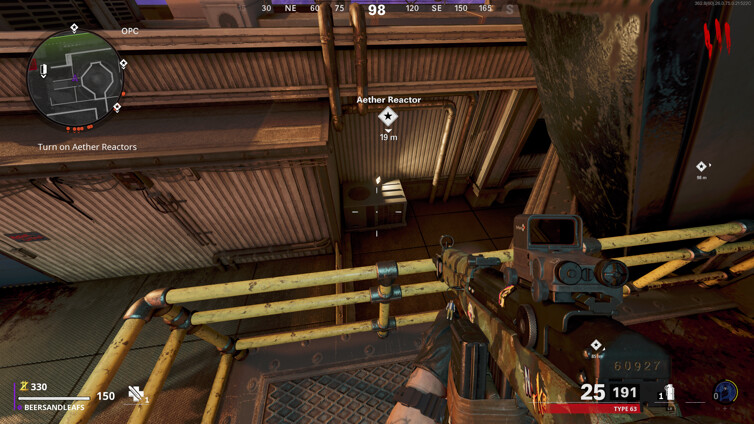
Once you have all three containers, use the Aether Containers on the Aether Reactors. Use a Container on all three reactors — Mission Control, Data Center, and Military Command.
Return to the OPC anomaly and watch the short scene as it stabilizes.
Step #6: Align the Satellite
WARNING: Completing this step will initiate the final boss! Be prepared for a tough fight before finishing this step. Stock up on monkey bombs, max your armor and weapons as much as possible and wait for either aether shroud or ring of fire to refill
Wait a round, and Weaver will eventually contact you again. When he does, go to the Planning Offices and look for a computer with a monitor mounted to the wall in the corner
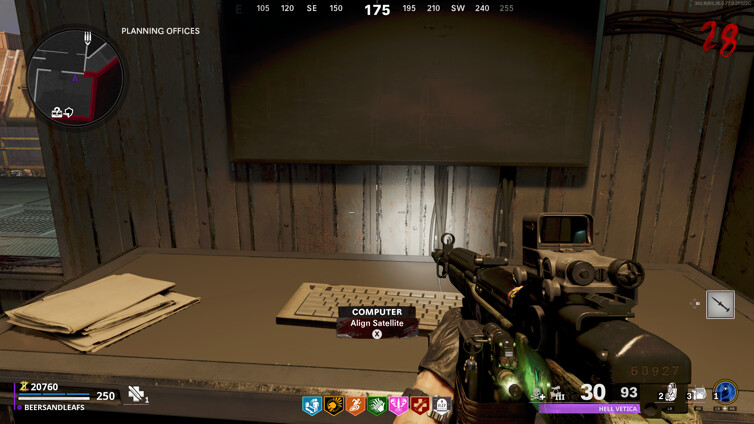
Interact to “Align Satellite” and a mini-game will appear on the monitor where you’ll control the tiny white dot.
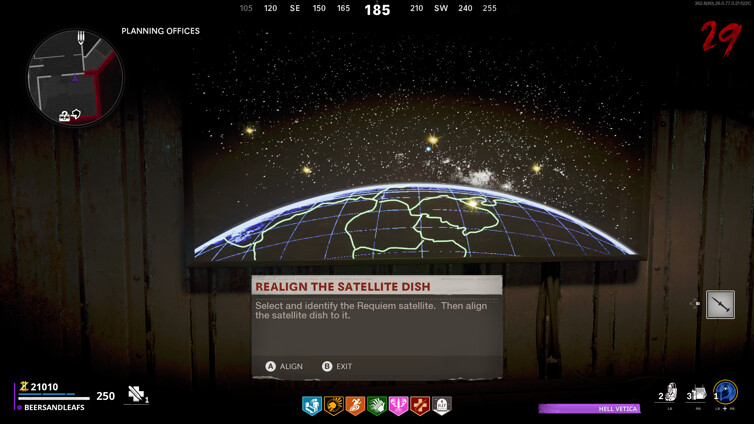
Your goal is to move that tiny white dot onto the yellow dots on the monitor using the d-pad — each yellow dot has a country flag, but your job is to find a yellow dot that makes a “?” appear instead of a flag, then press align.
Step #7: The Final Battle
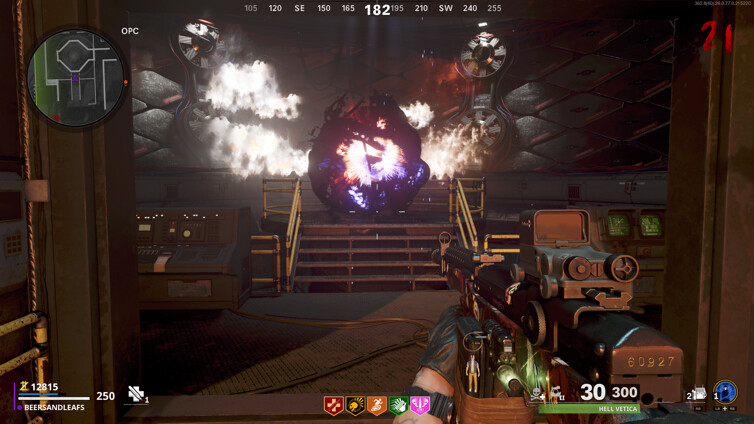
After aligning the satellite, the satellite dishes in the base will generate bright red beams of energy.
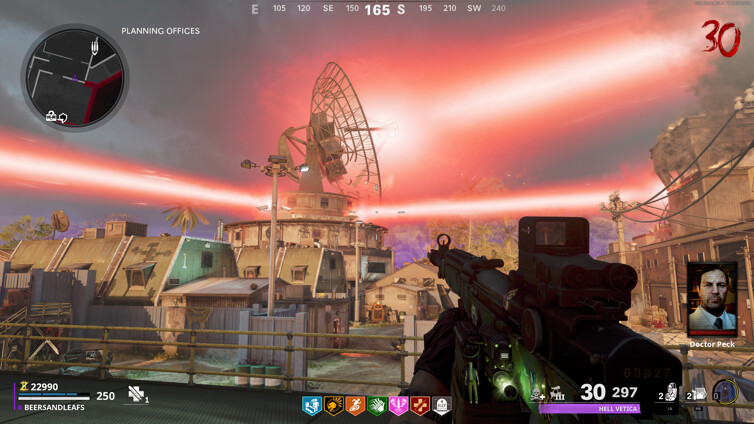
Go to the OPC and interact with the computer to teleport into the final battle area of the Village.
For this fight, you’ll encounter the massive Orda zombie.
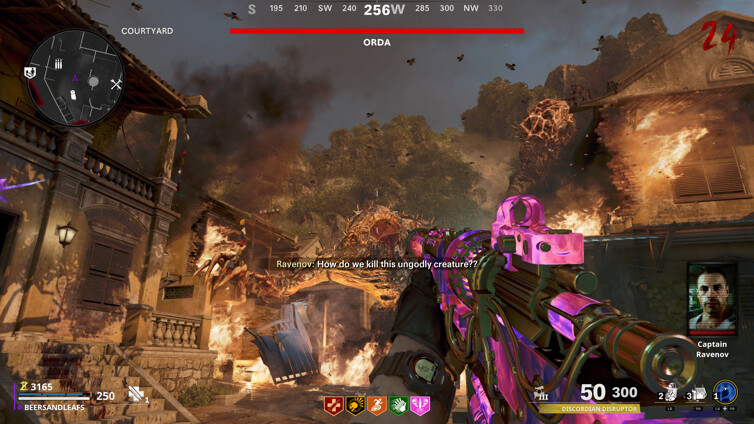
Aim for the glowing hole in the giant zombie’s head as armies of Mimics, Manglers, and zombies spawn in the small arena.
Take your time, focus your fire as much as you can on the boss using Decoys / Monkey Bombs.
You’ve completed this Easter Egg!!