Well, it’s that time again.
A new Zombies Easter Egg, and here’s the guide for it. I’m going to go through it a couple of times and make this more detailed, like the other ones I’ve posted.
First things first, turn subtitles on in your settings, then if you’re going in solo try and have your Aether Shroud fully upgraded because it will be unbeatable as an option for the final three steps… After completing it, I am going to suggest going with Aether Shroud, but If you’re going as a group make sure to spread Healing Aura, Frenzied Guard, Ateher Shroud and Ring of Fire across the squad.
Also, this is probably not the time to use just any weapon, don’t worry too much about levelling up guns. Use the M16 as your primary and one of the shotguns as your secondary. You can go with the Rai Kai as a secondary if you want or if you don’t get a shotgun drop in the game. I’ve completed it solo twice now and have tried a bunch of guns. Create a class with each of these weapons and save it as a cutom blueprint (press LT on Xbox while in the attachments screen for custom mod options), that way if or when you get a drop in the game of a higher tiered version, you can press start and apply custom mod to the gun and this essentially means you get free tier upgrades with the attachments that you choose.
M16 - Optic Visiontech 2x, Muzzle Flash Guard 5.56, Barrel 20.5 Task Force, Body Steady Aim Laser, Underbarrel Bruiser Grip, Magazine Salvo 54 Fast Mag, Handle Airborne Elastic Wrap, Stock Raider Pad
Gallo Shotgun - Muzzle infantry V-choke, Barrel 24.8 Task Force, Magazine 12 Rnd Stanac, Handle Airborne Elastic Wrap, Stock Marathon
Hauer Shotgun - Barrel 25.2 Task Force, Body Ember Sighting Point, Magazine STANAG 8 Rnd Tube, Handle Serpent Grip, Stock Marathon
If you don’t have the M16 fully levelled - or you just don’t like the M16 @Lala_Calamari - you can try with the Carv, Fara, FFAR, or RPD - Just make sure you have the Task force Barrel on it and build the rest of the attachments for damage and salvage.
Edit* I was playing with the AMPs today and I HIGHLY SUGGEST MAXING THEM OUT AND MAKING A CLASS WITH THEM.
This is the class I was using and check out the quick clips:
Muzzle - Flash Guard 9
Barrel - 6.4" Task Force
Body - Ember Sighting Point
Magazine - Salvo 22 Rnd Fast Mag
Stock - Dual Wield
I know it sounds odd, but it melts. I paired it with a gallo and made the zombies my bitch.
http://wap.xboxdvr.com/gamer/beers-and-leafs/video/137303714
http://wap.xboxdvr.com/gamer/beers-and-leafs/video/137304098
http://wap.xboxdvr.com/gamer/beers-and-leafs/video/137304137
On top of these, if you find a hig tiered RPG, you can take it as a secondary as it does the most damage against the final boss, but only in a squad, otherwise you will be overun.
Also, be sure that when you get to World Tier 5, before you go down the elevator that your main gun is Pack-a-Punched to level 3 and damage tier is at level 5. If you can have both guns like this that would be even better and make life easier. So, before you go down the elvator cover the map and upgrade as much as you can beforehand. This is why it’s very important to do EVERY side quest and as many trials as you can. Also, I found that using Brain Rot and or Cyro Freeze are the best Ammo Mod options, especially in the final few steps.
Now that you’re weaponized and prepared, start the match.
Step One:
First, get to Round 3 simply by playing as normal. But, be sure to complete every side mission to loot up, as you’ll need to be as levelled up and strong as possible to complete the Easter Egg.
Step Two:
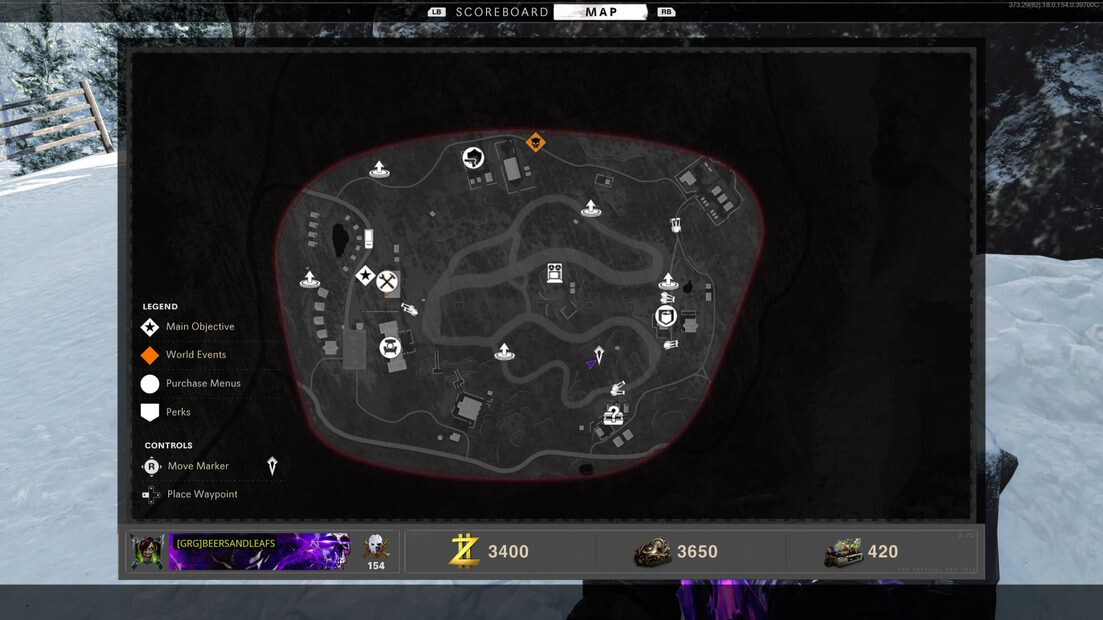
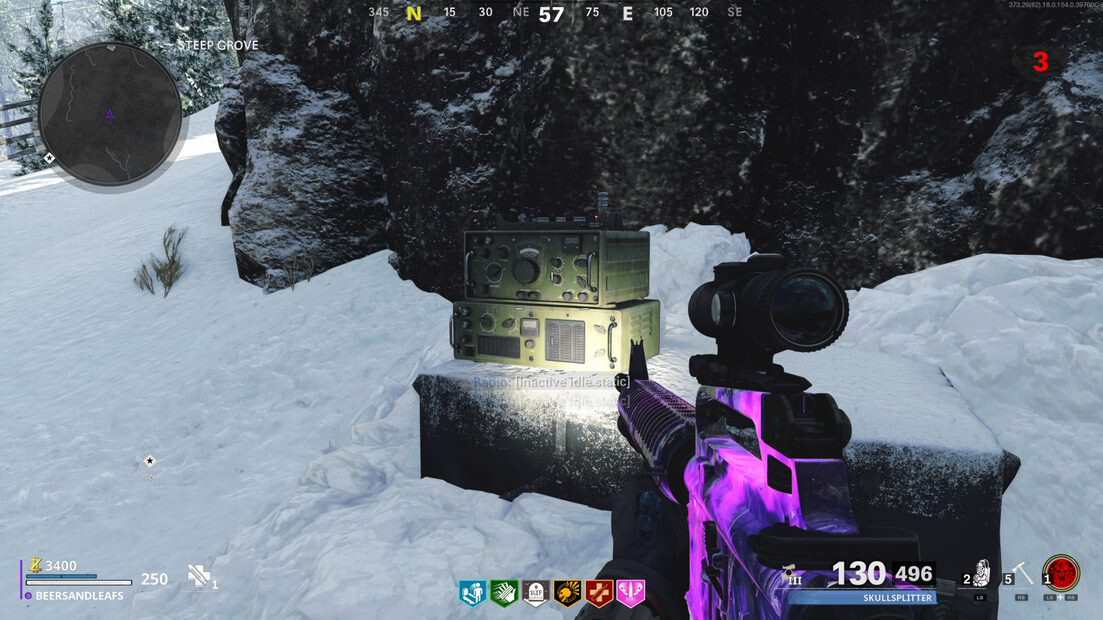
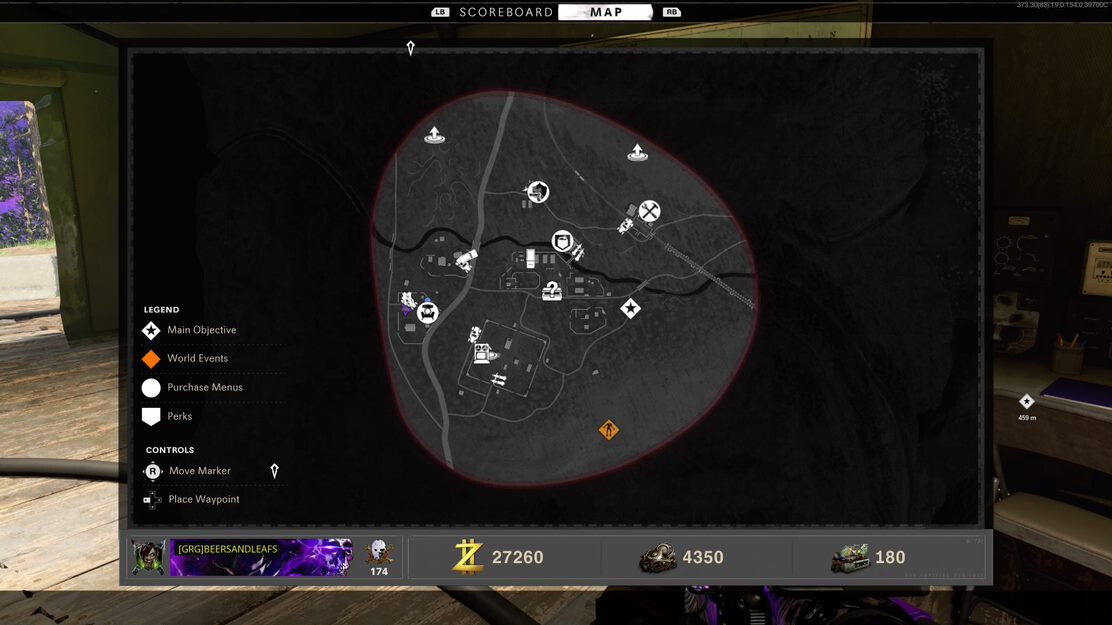
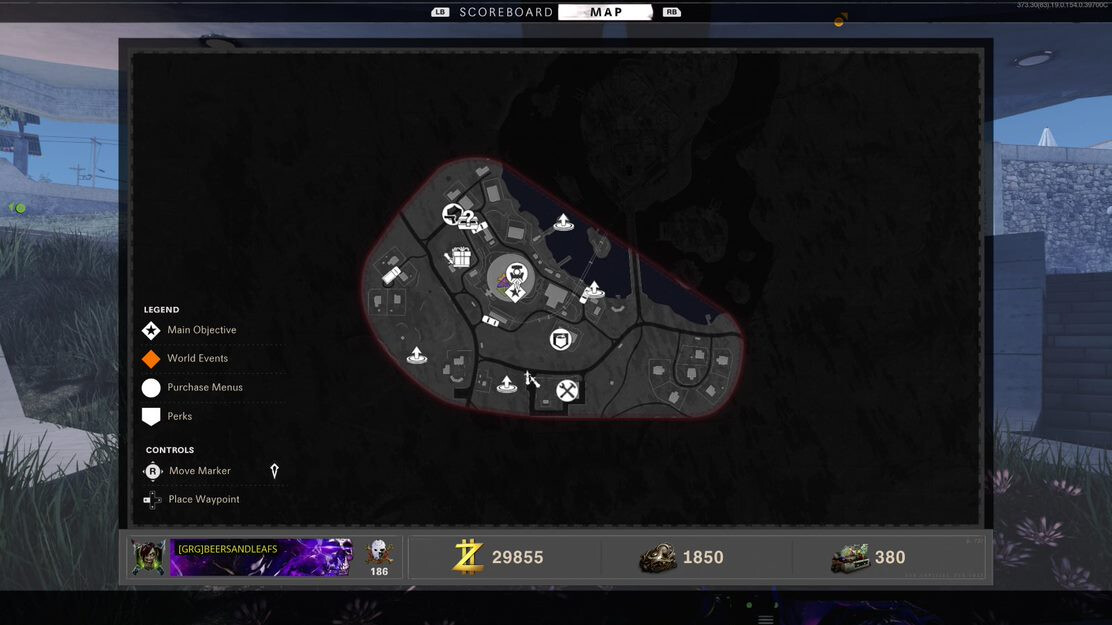
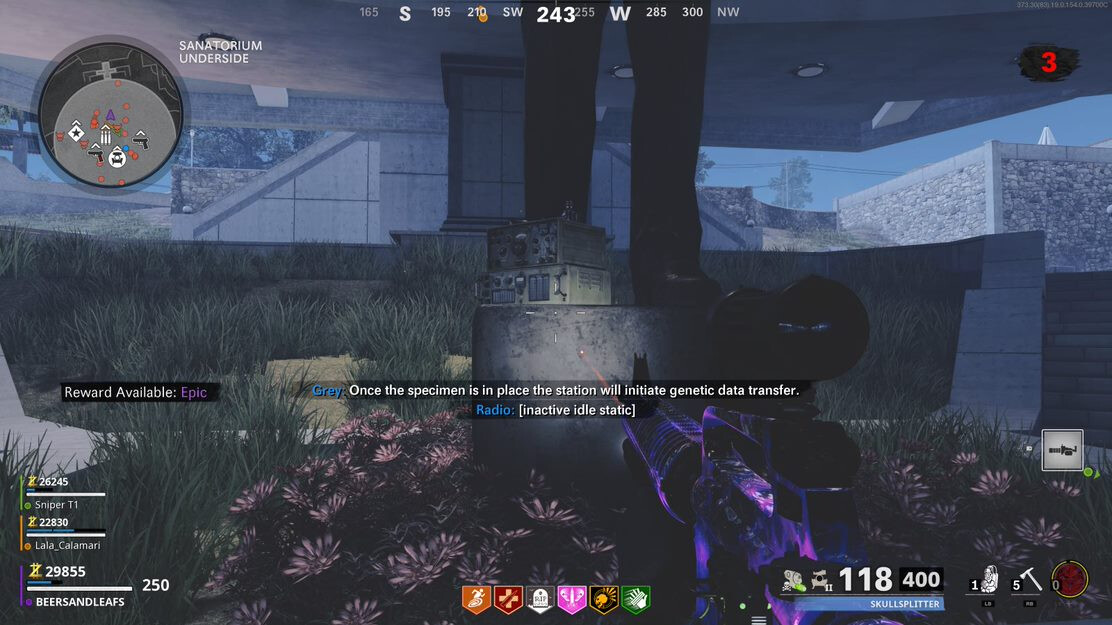
On Round 3, you’ll need to find a strange radio around the map with an unknown signal and interact with it and fight off the spawning horde. Having headphones will really help with this part, as you can hear radio noise as you get near by the radio or the amplifiers.
ALPINE LOCATION
RUKA LOCATION
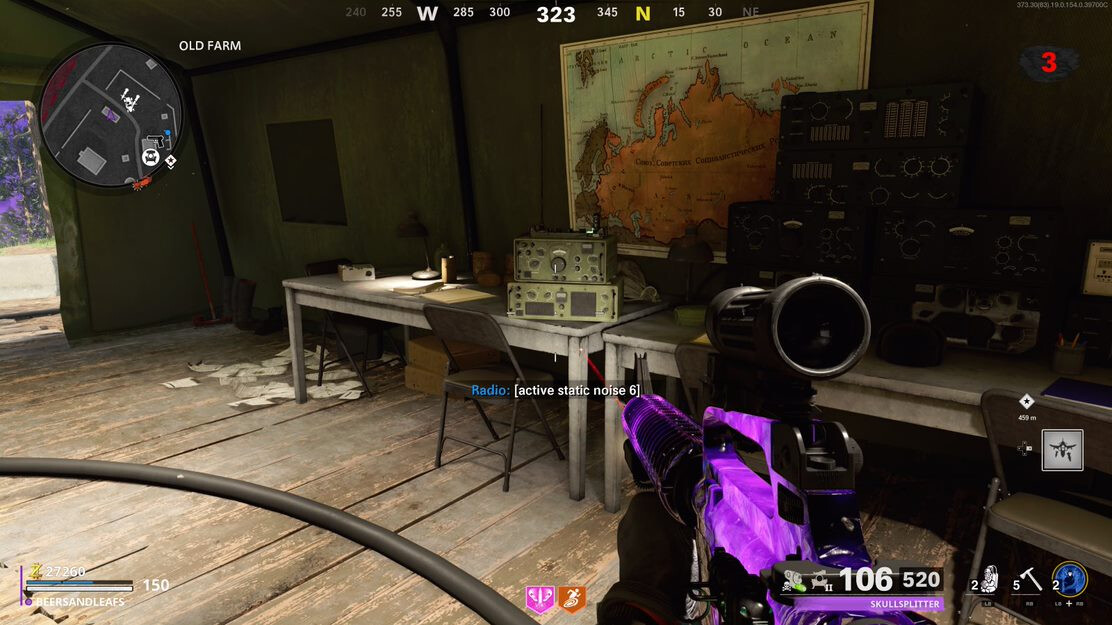
SANITORIUM LOCATION
DUGA LOCATION
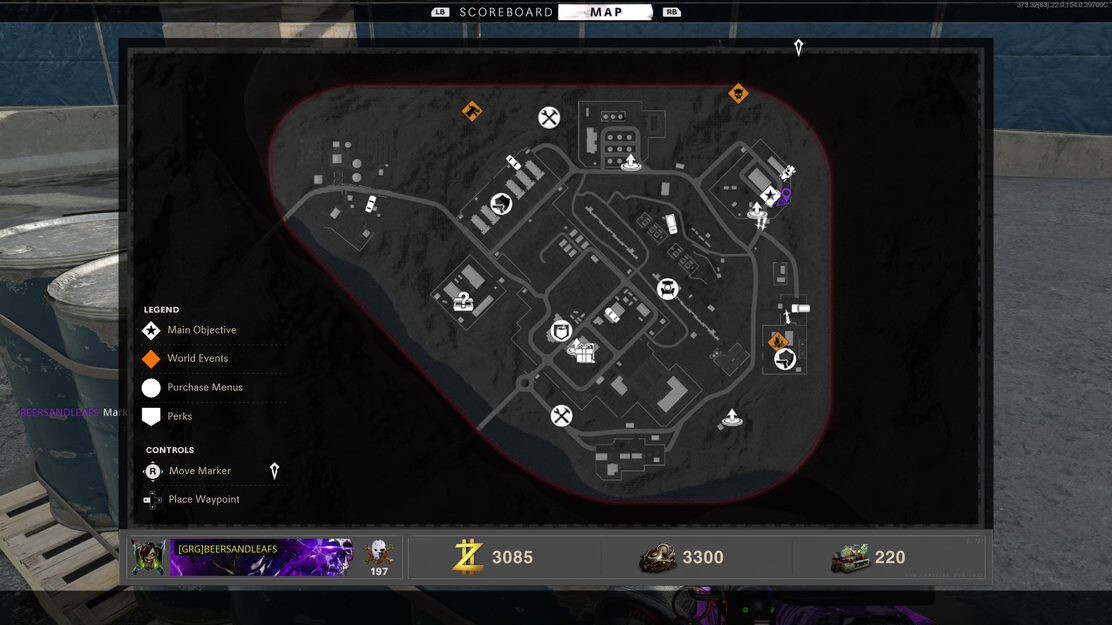
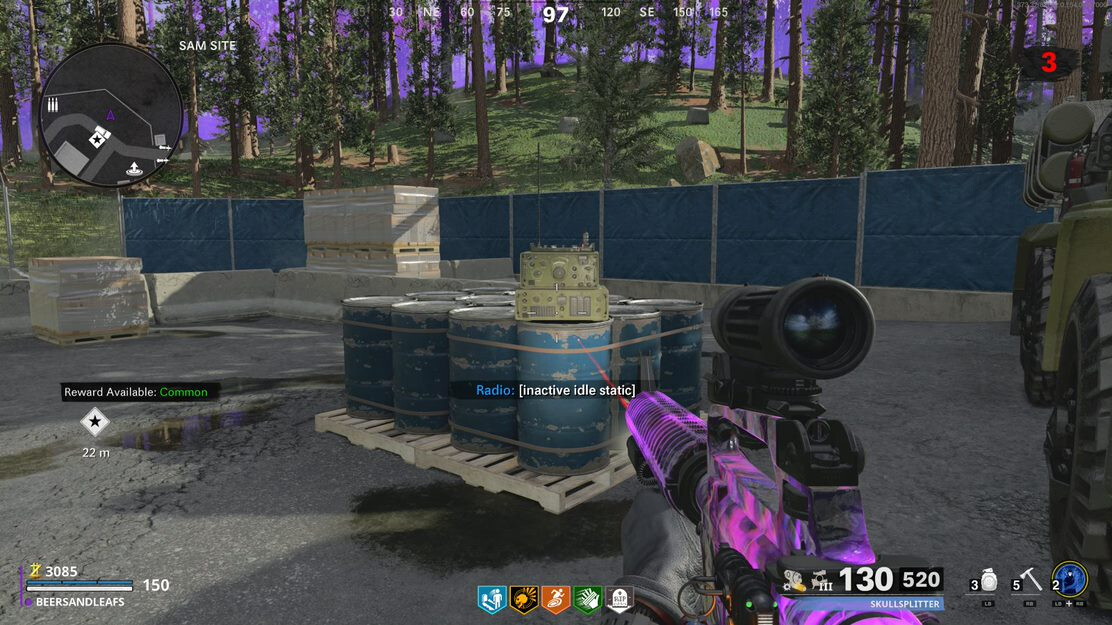
GOLOVA LOCATION
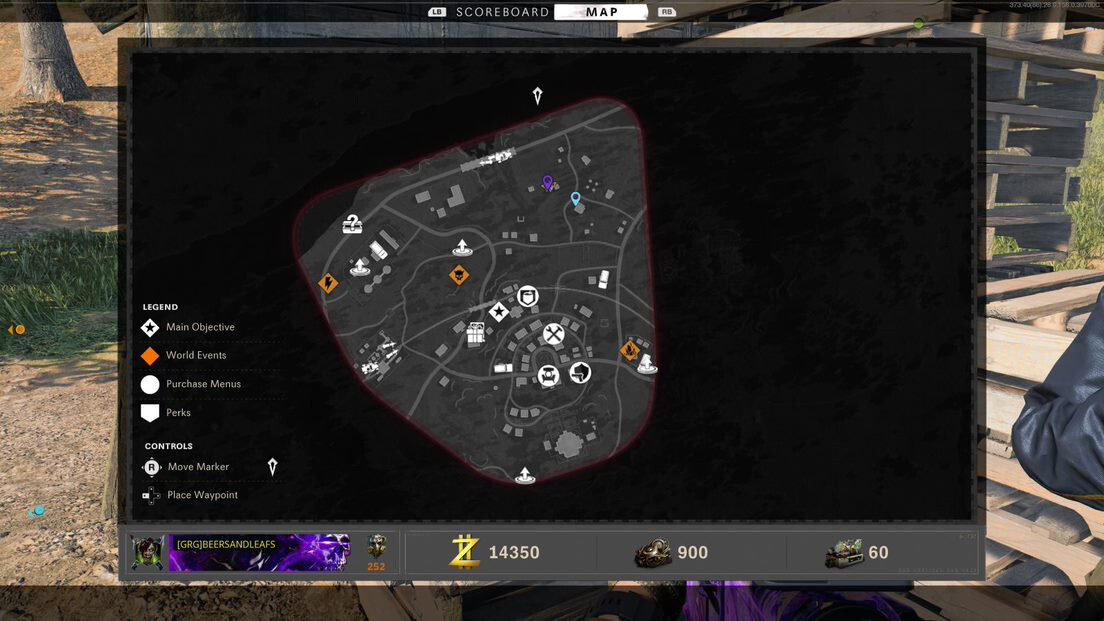
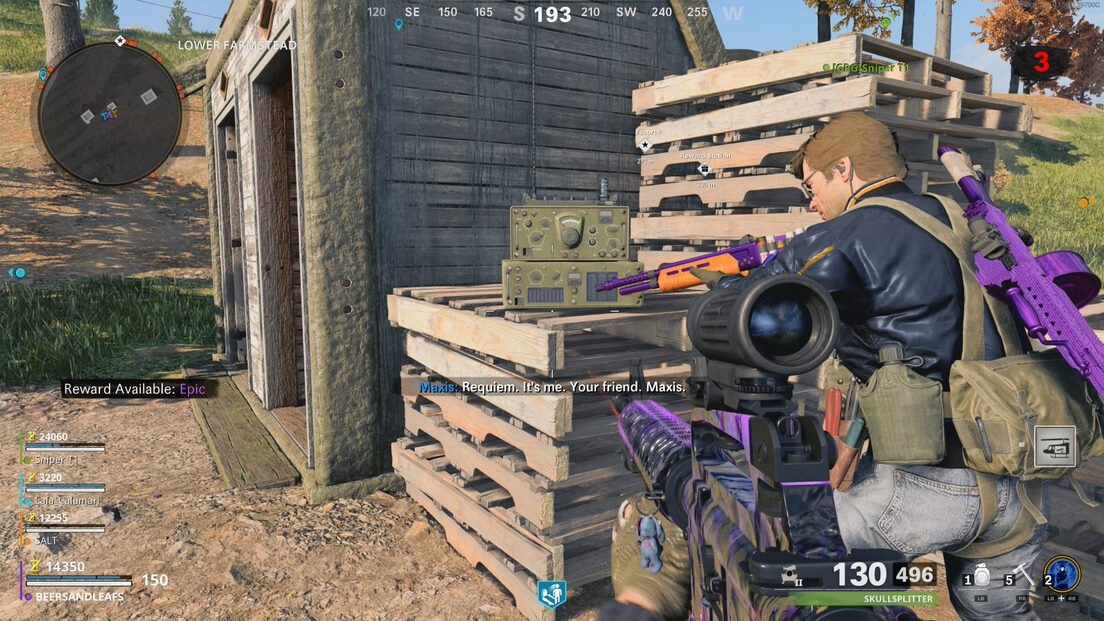
However, it’s worth noting that this is a separate radio from the music Easter Egg, and if a horde of zombies don’t spawn and afterwards you hear from Maxis, then this is the wrong radio. Next, you need to find the three amplifiers that are in a triangular area nearby.
ALPINE LOCATIONS
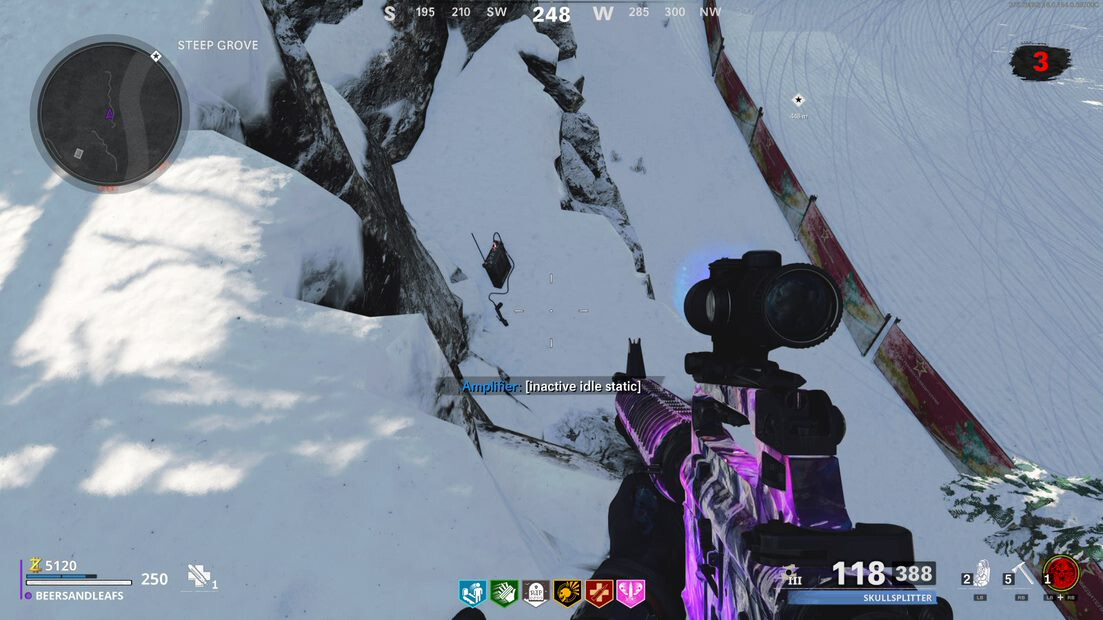
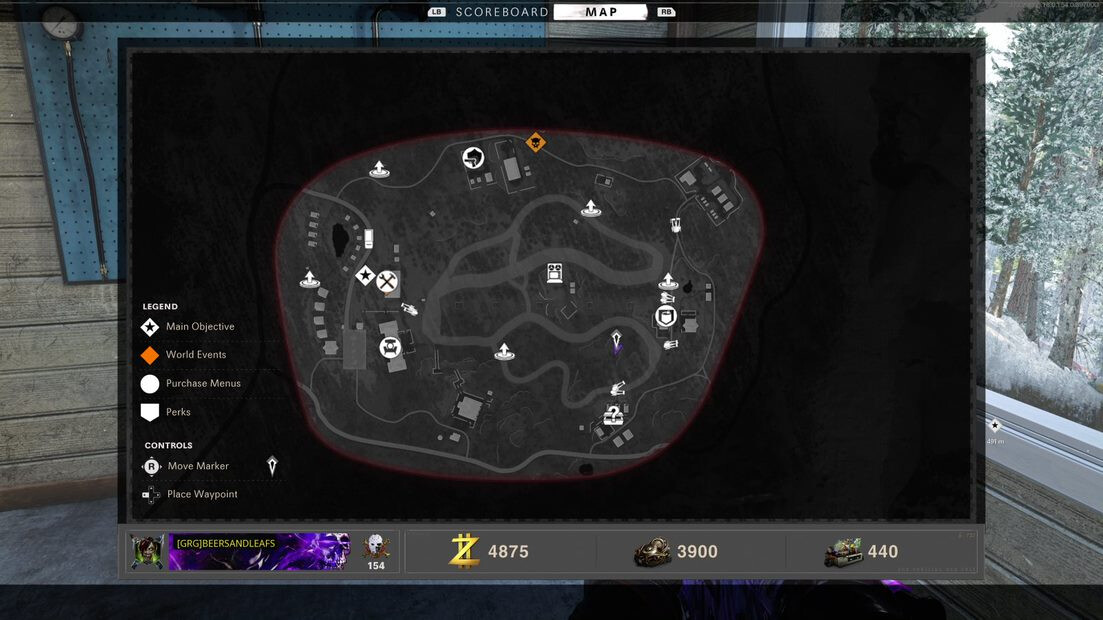
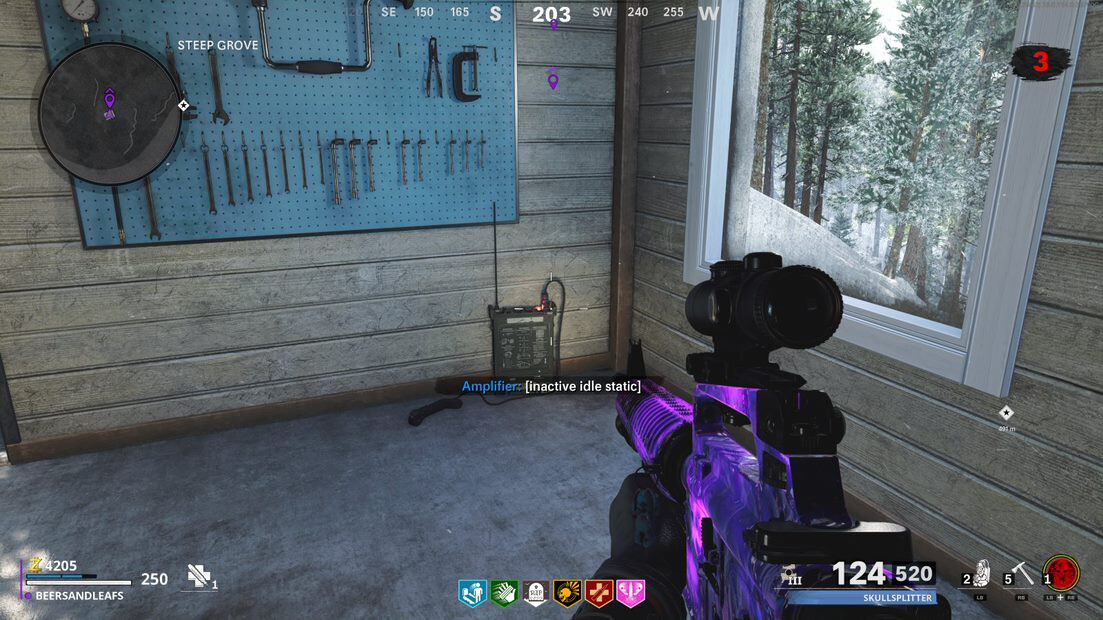
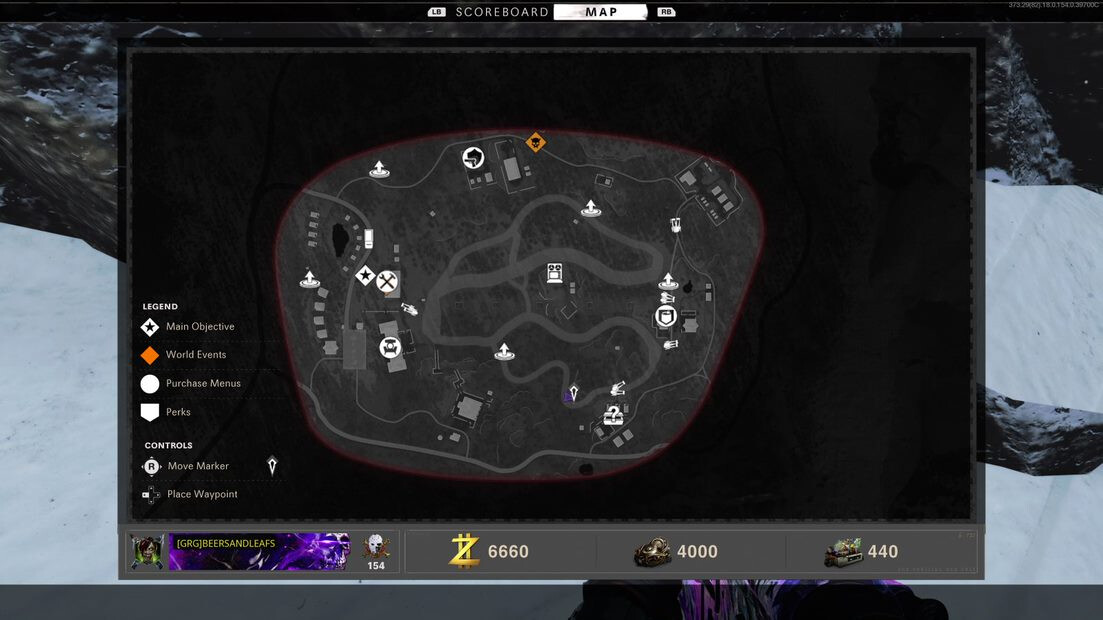
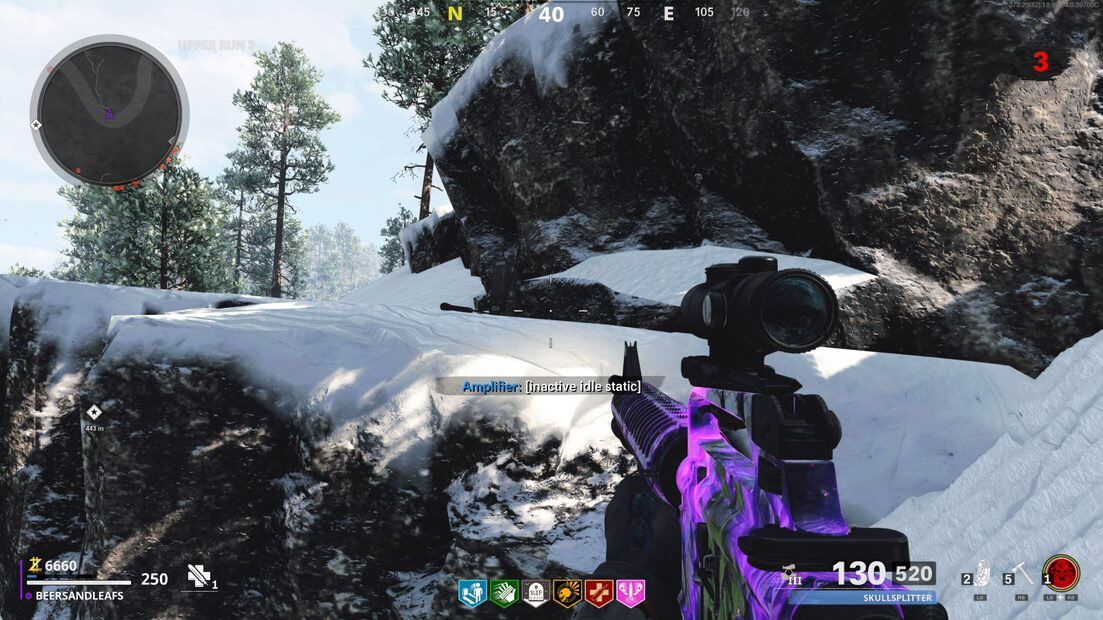
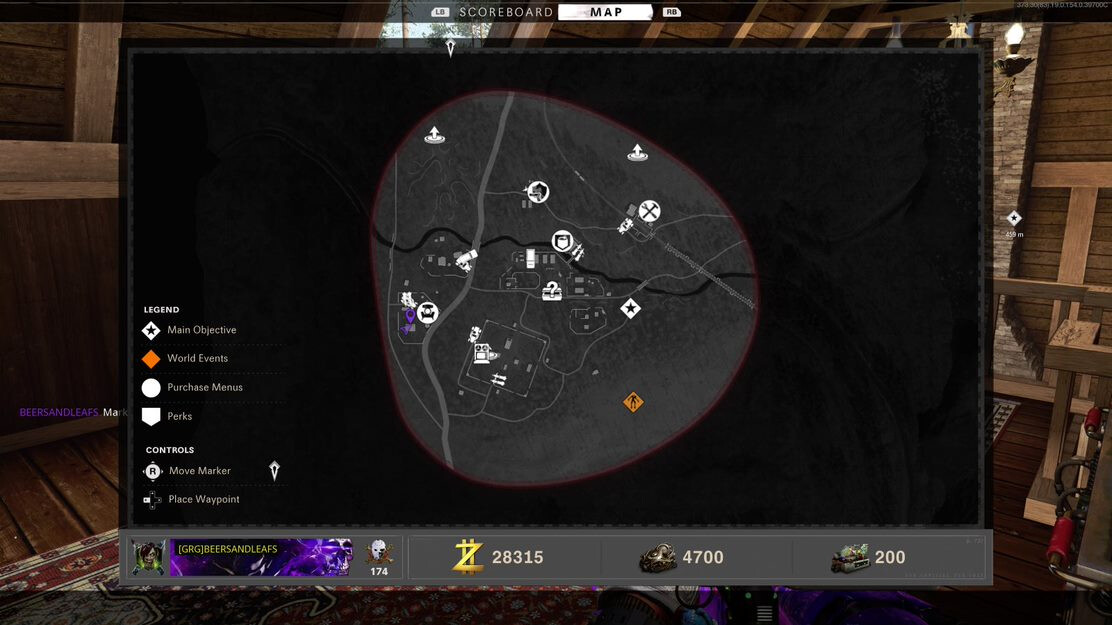
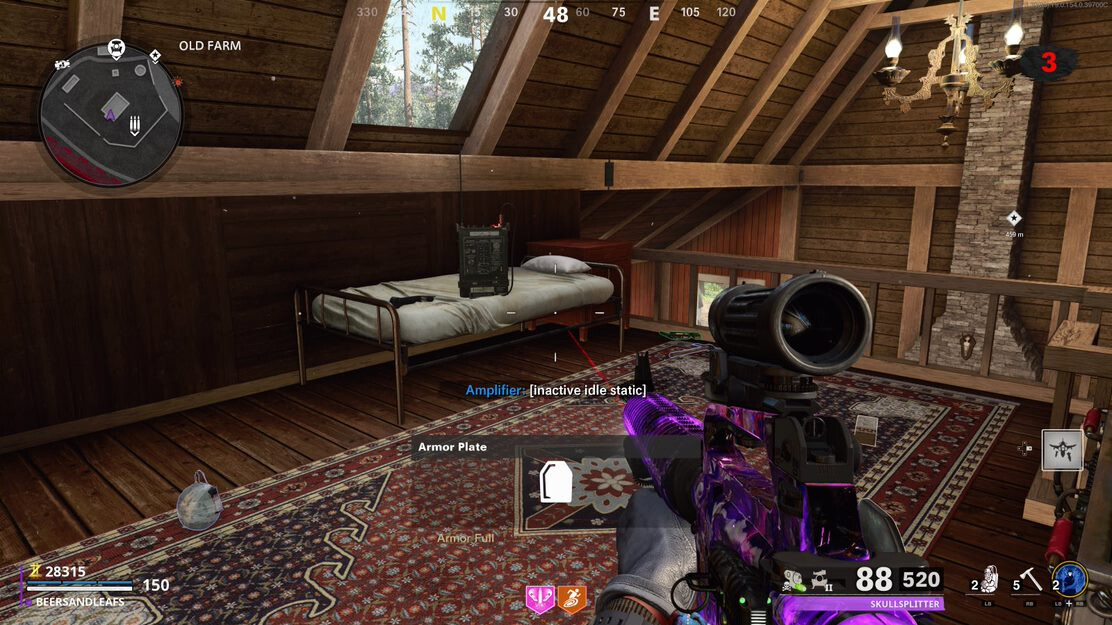
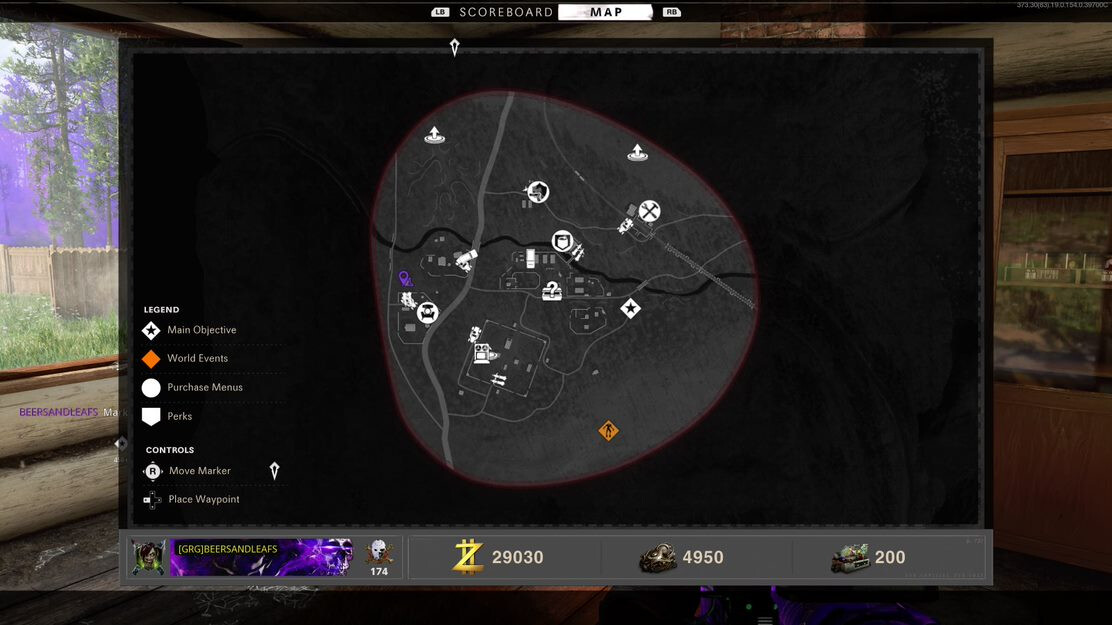
RUKA LOCATIONS
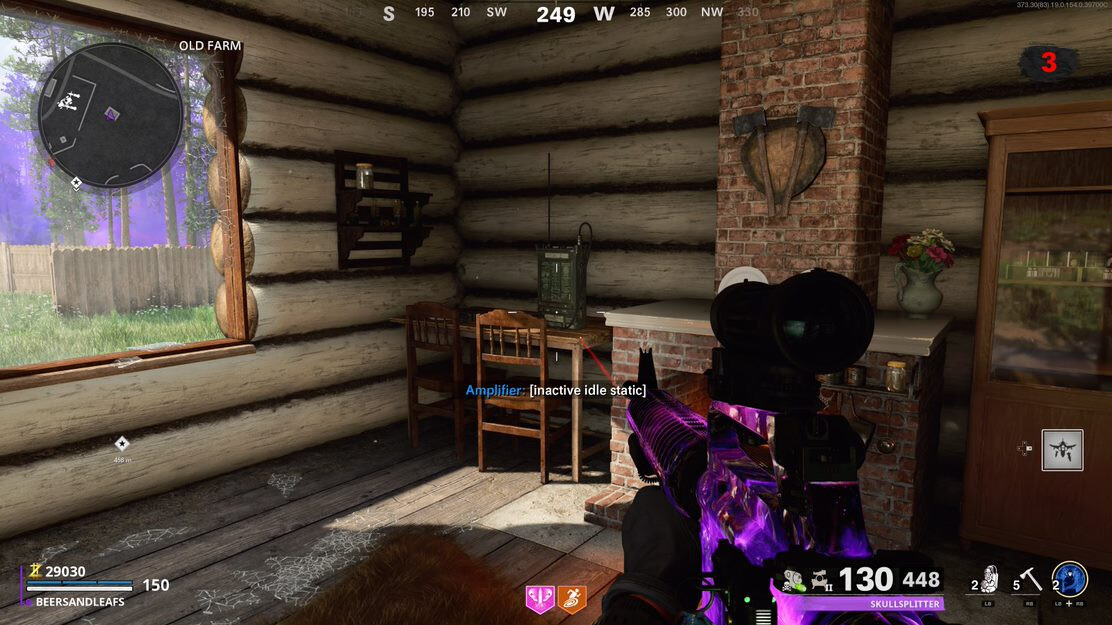
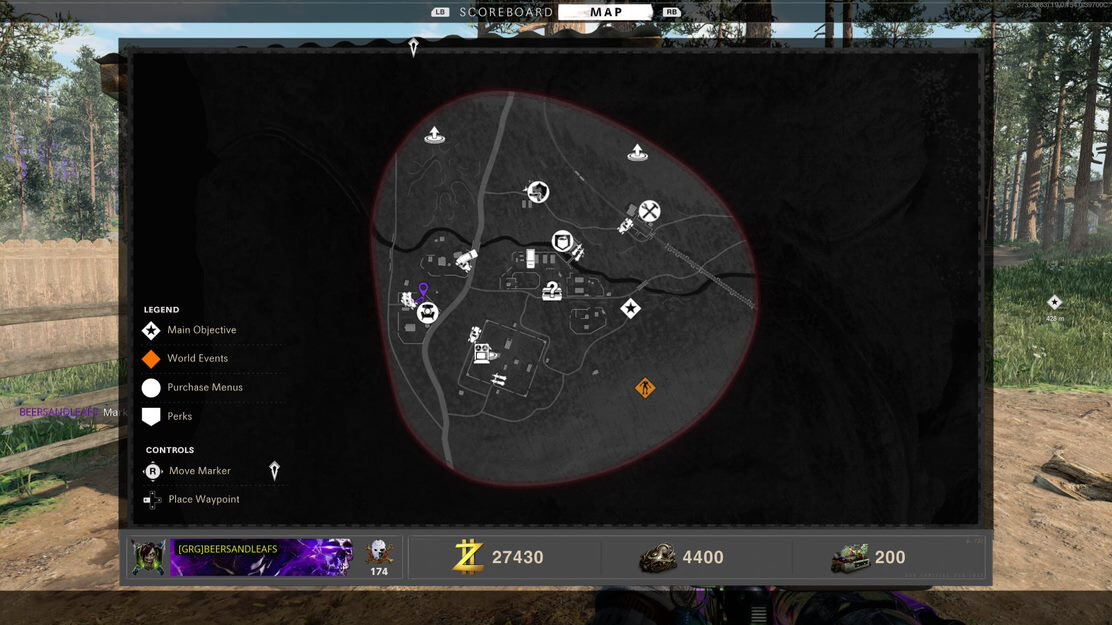
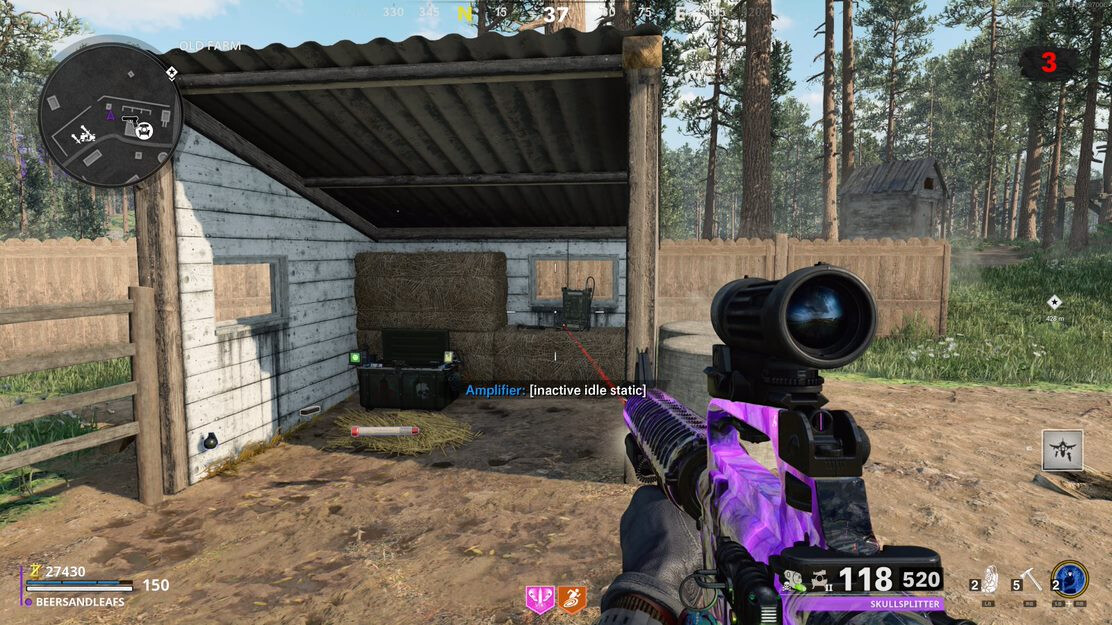
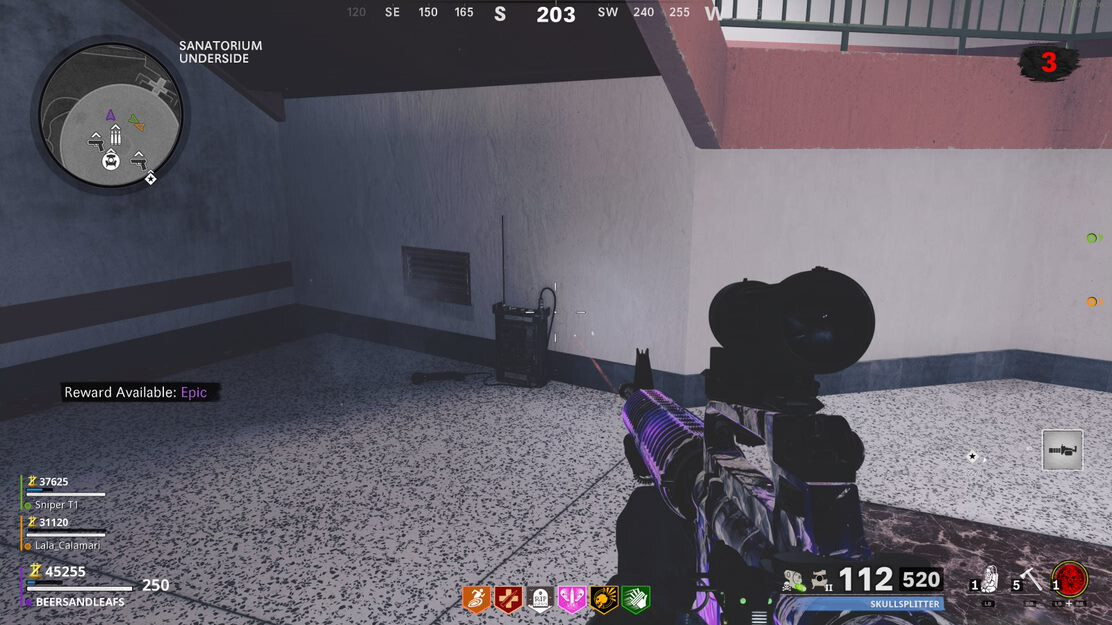
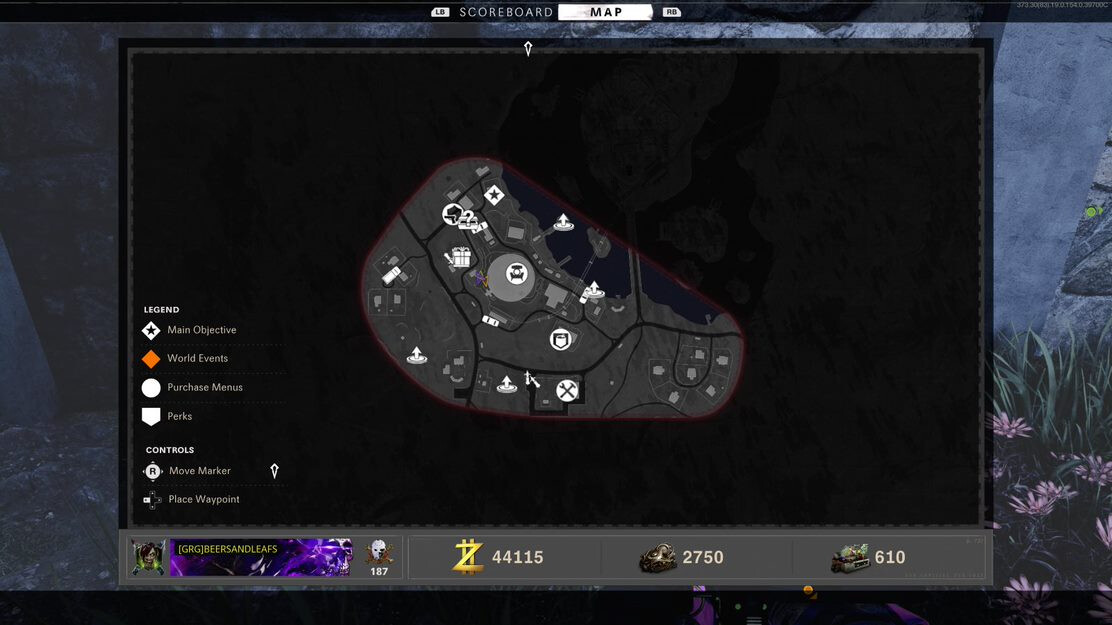
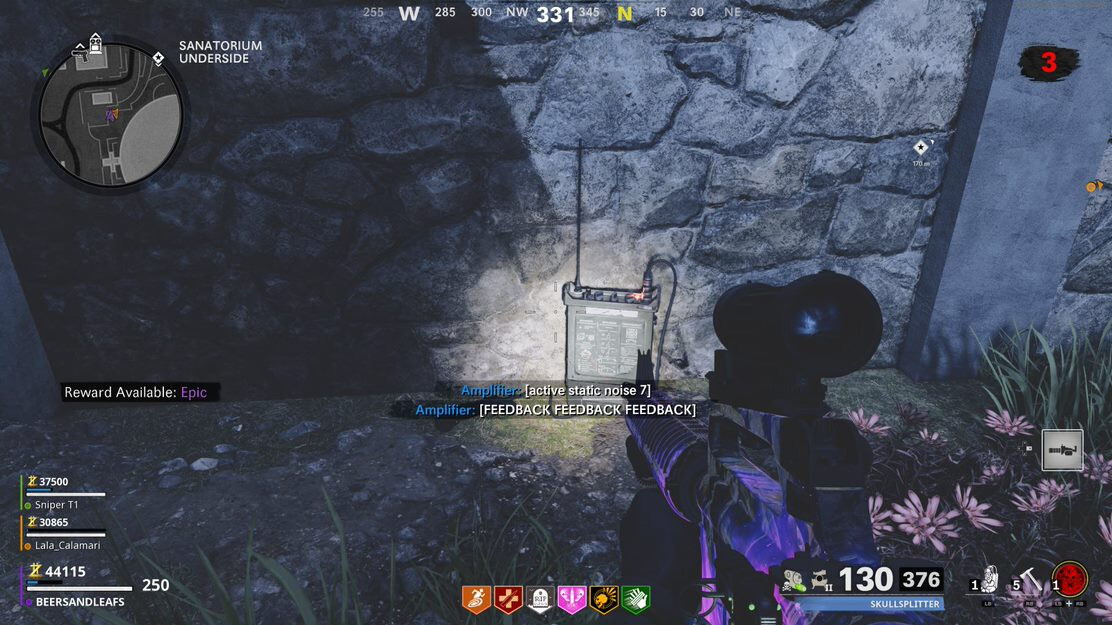
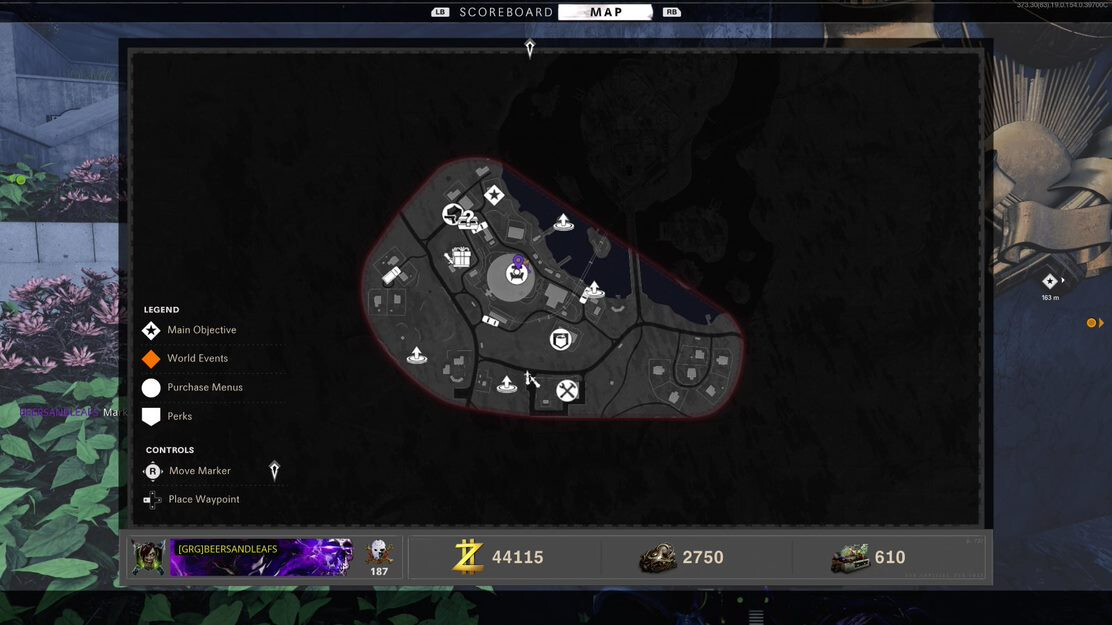
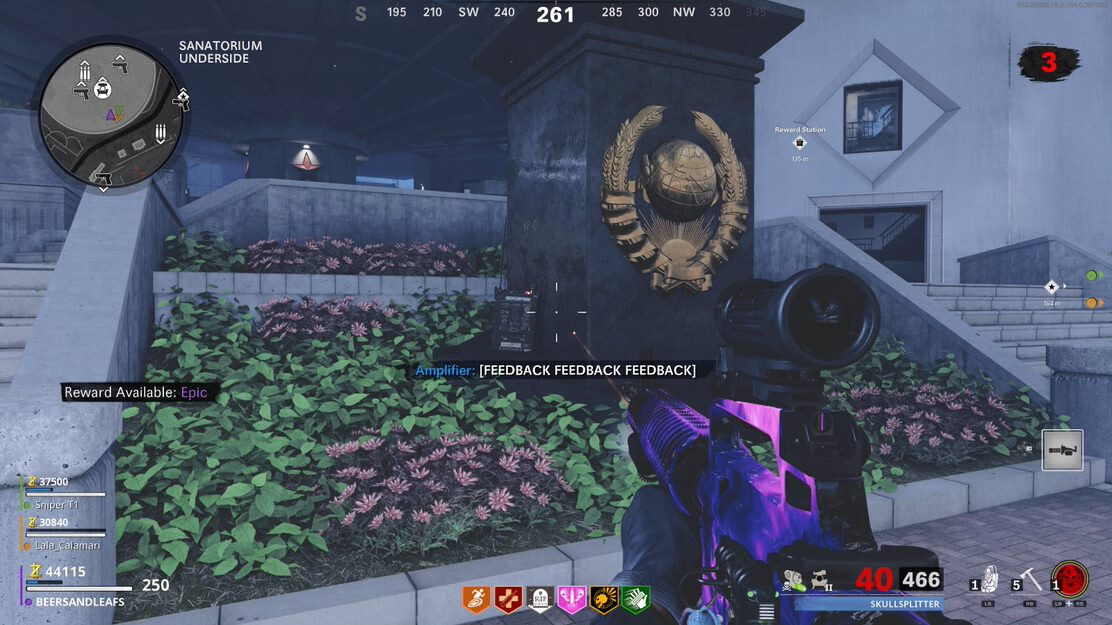
SANITORIUM LOCATIONS
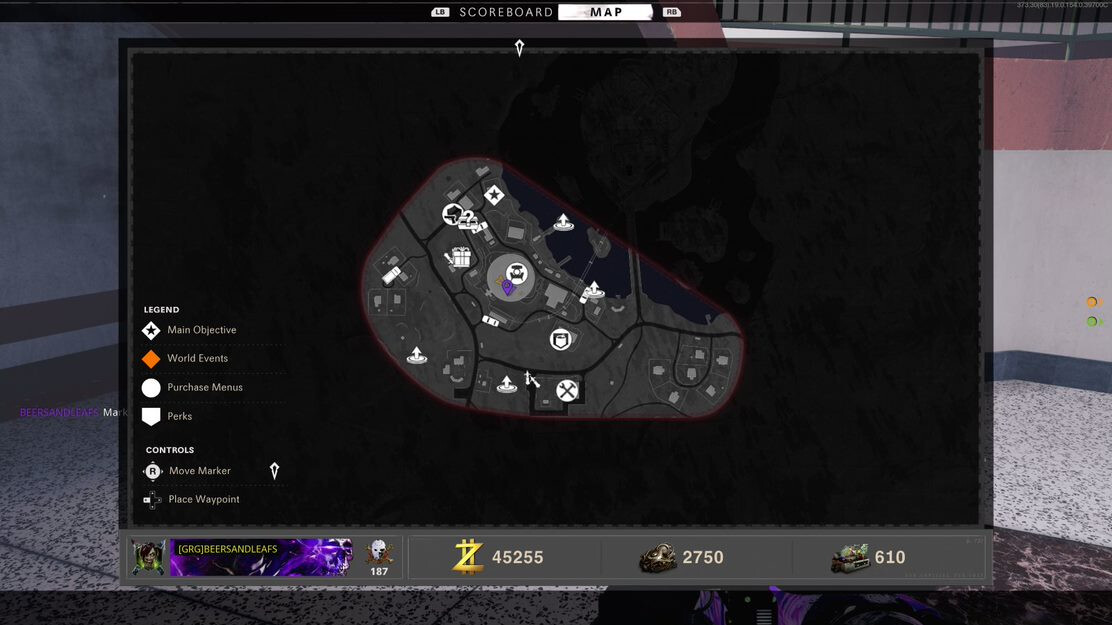
DUGA LOCATIONS
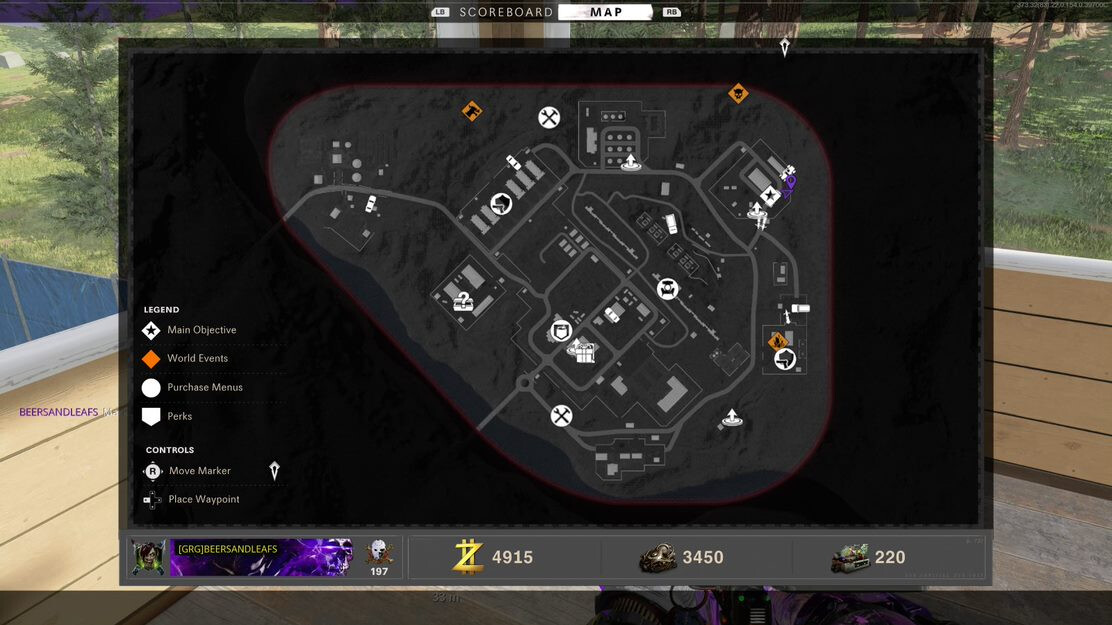
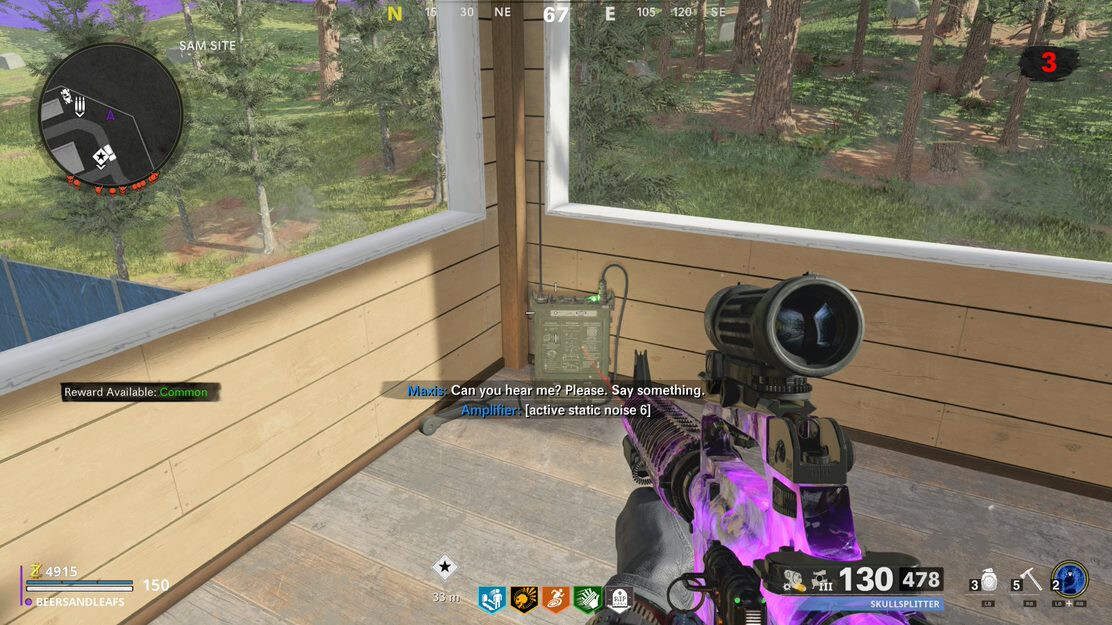
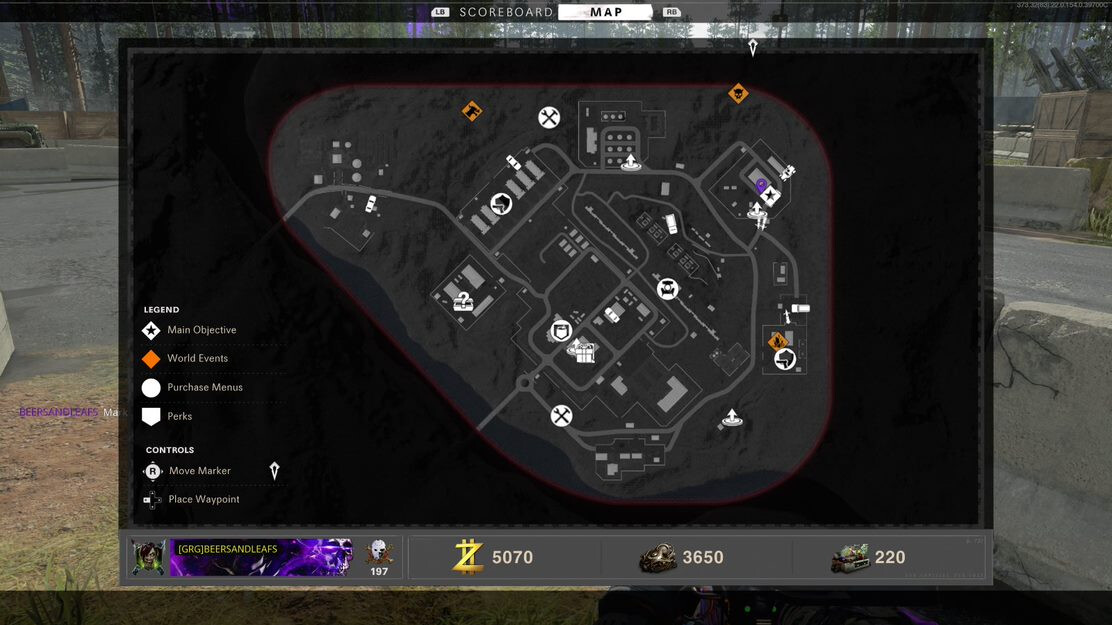
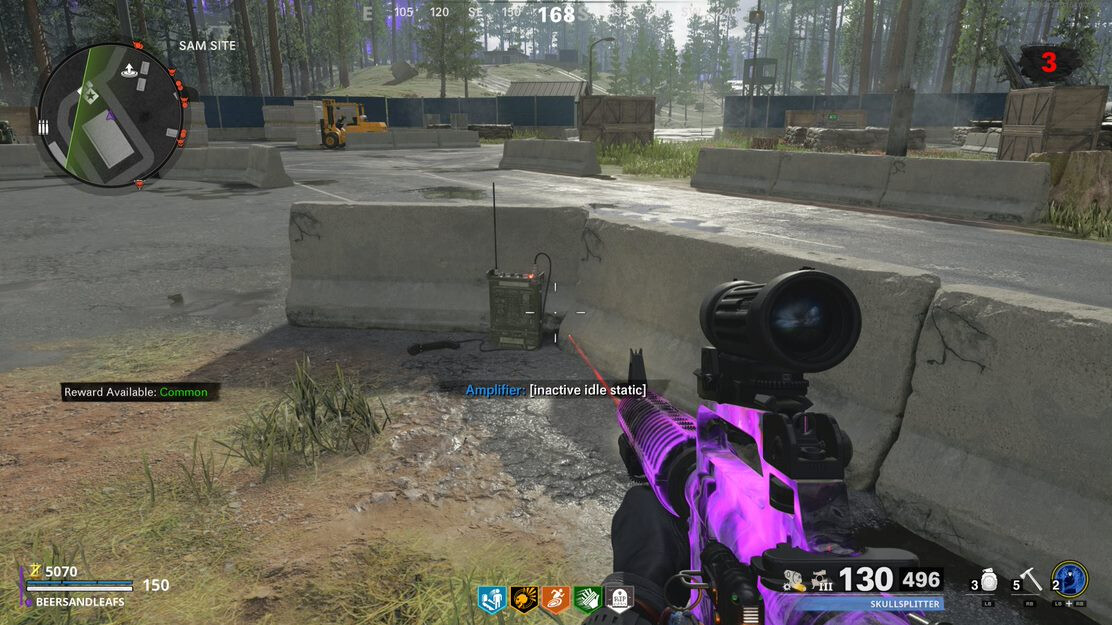
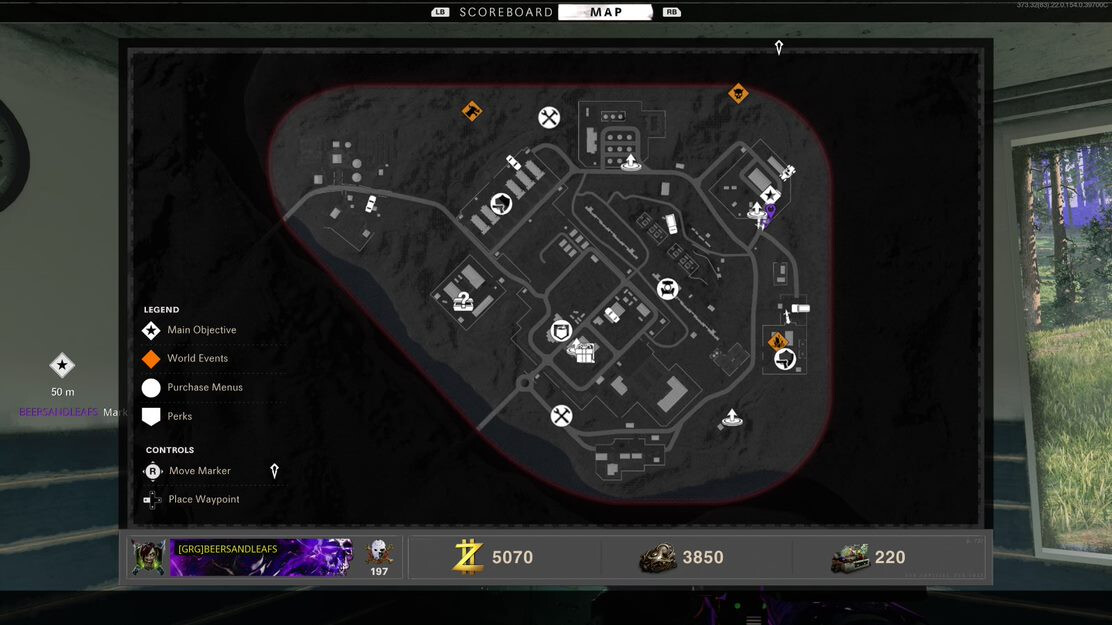
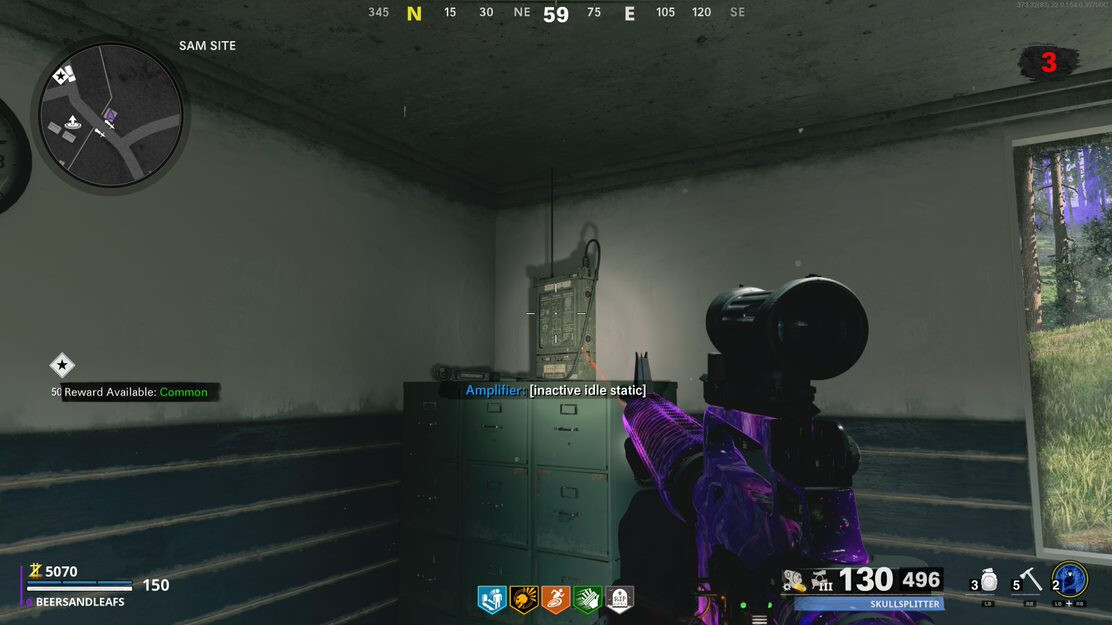
GOLOVA LOCATIONS
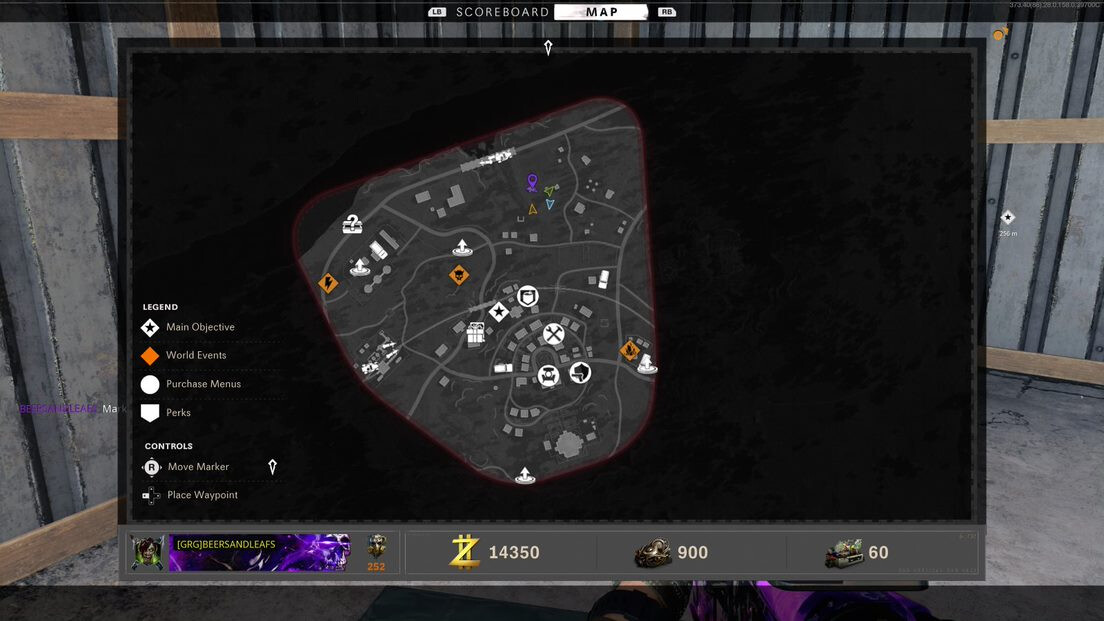
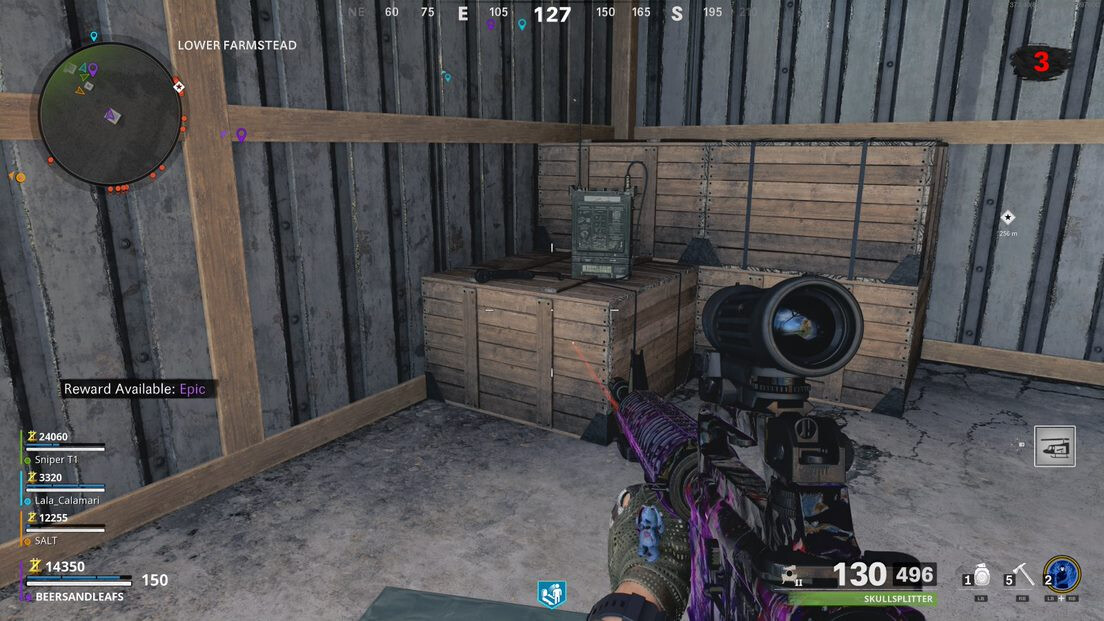
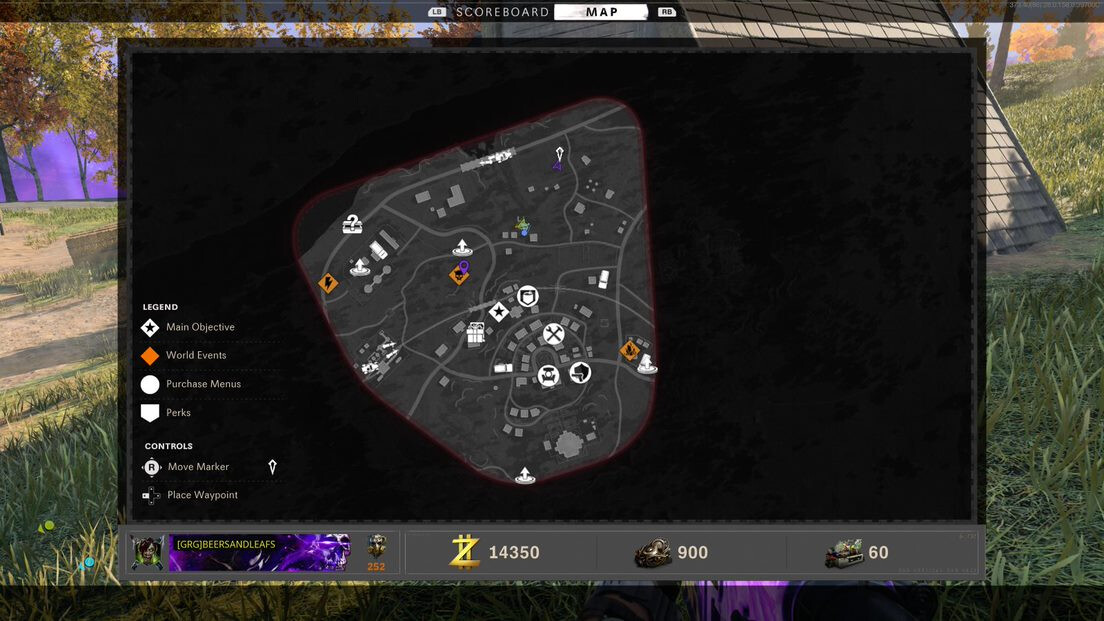
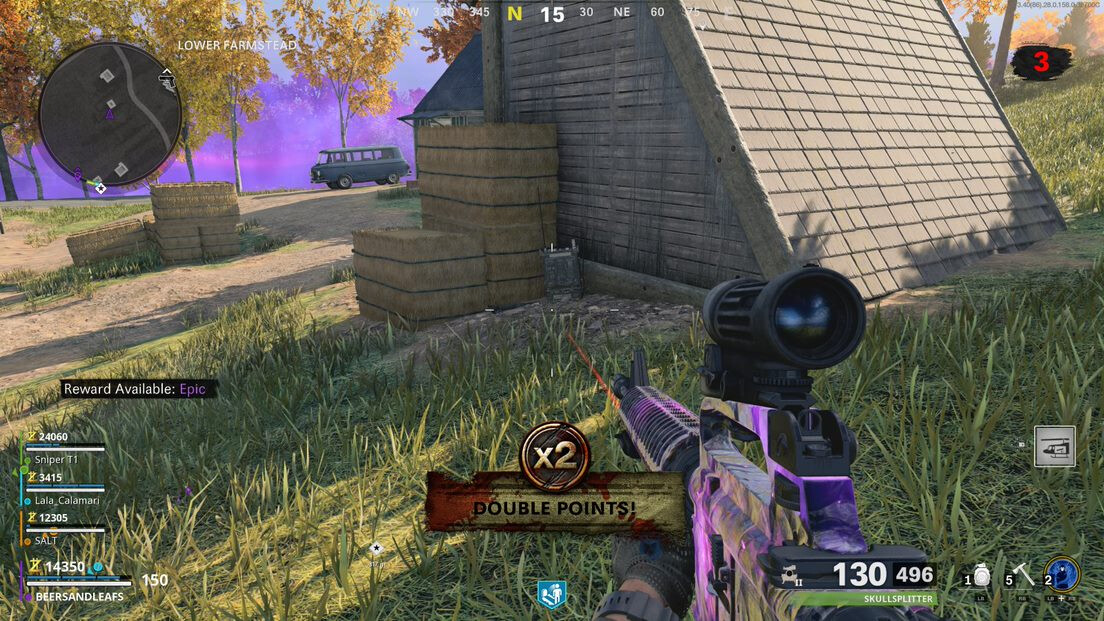
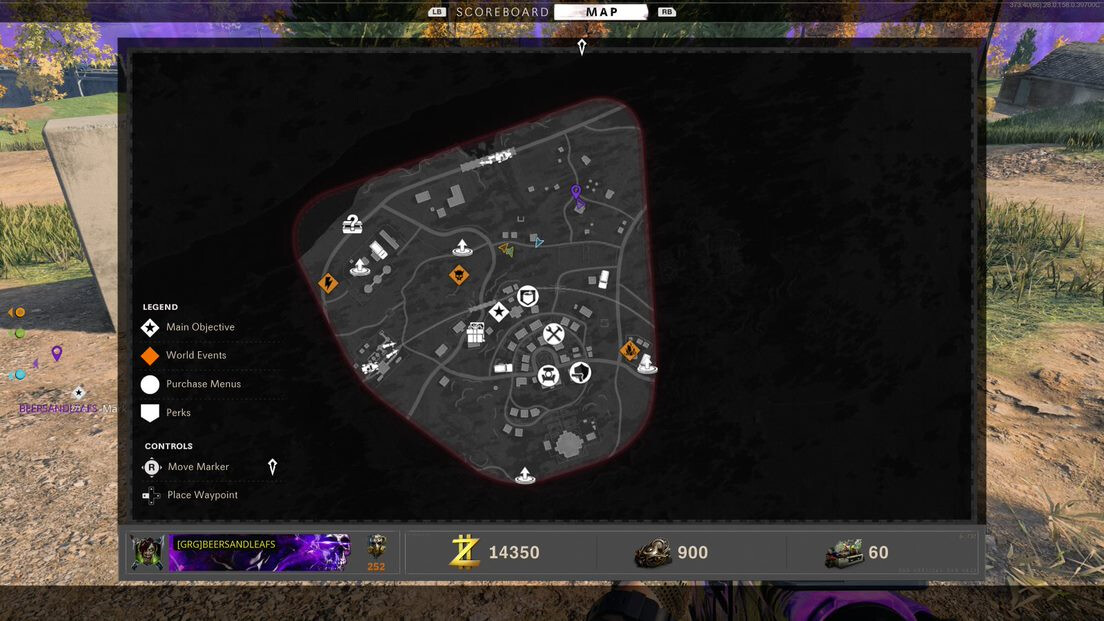
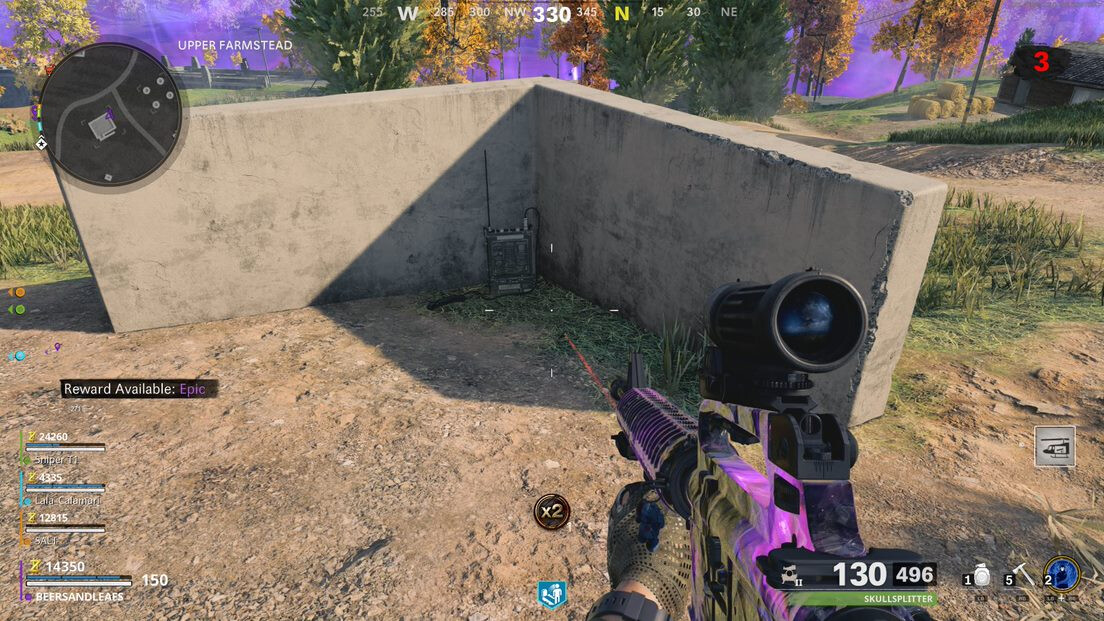
You need to interact with each of them until they all have the same signal. Occassionally you will get feedback and a horde will spawn. Kill them and continue. After tuning all the nearby devices successfully, return to the main radio you’ll receive a Beacon Listening Device.
Step Three:
Head to the Beacon at the end of the round, after you have completed everything else on the map. Now, you’ll have the option to Respond to Samantha Maxis.
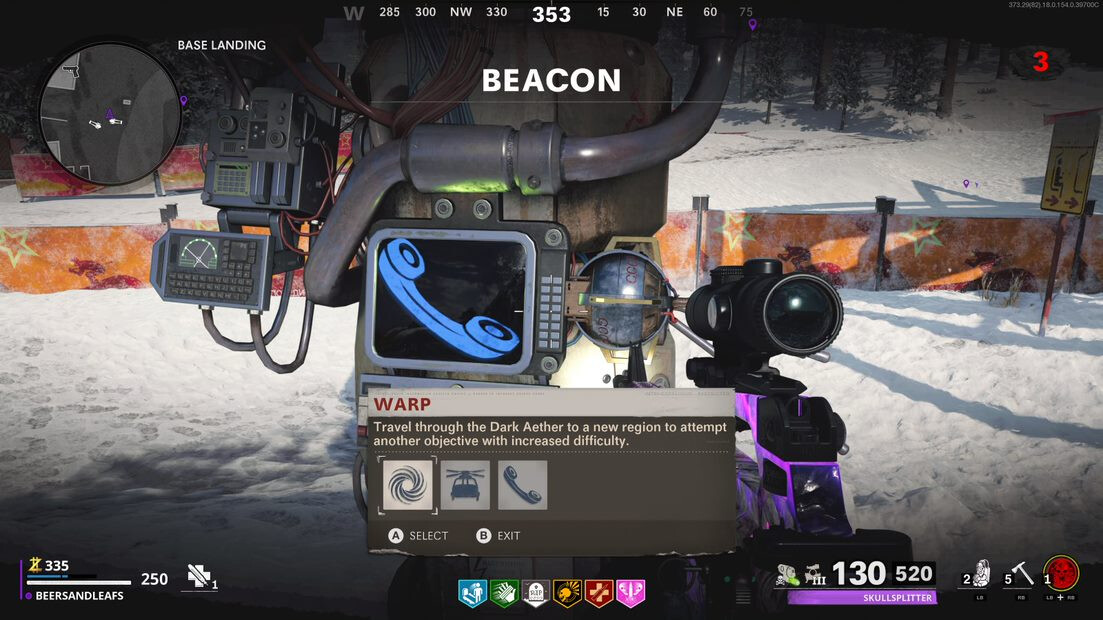
Interact with that option and once, it’s done warp to the next map.
Step Four:
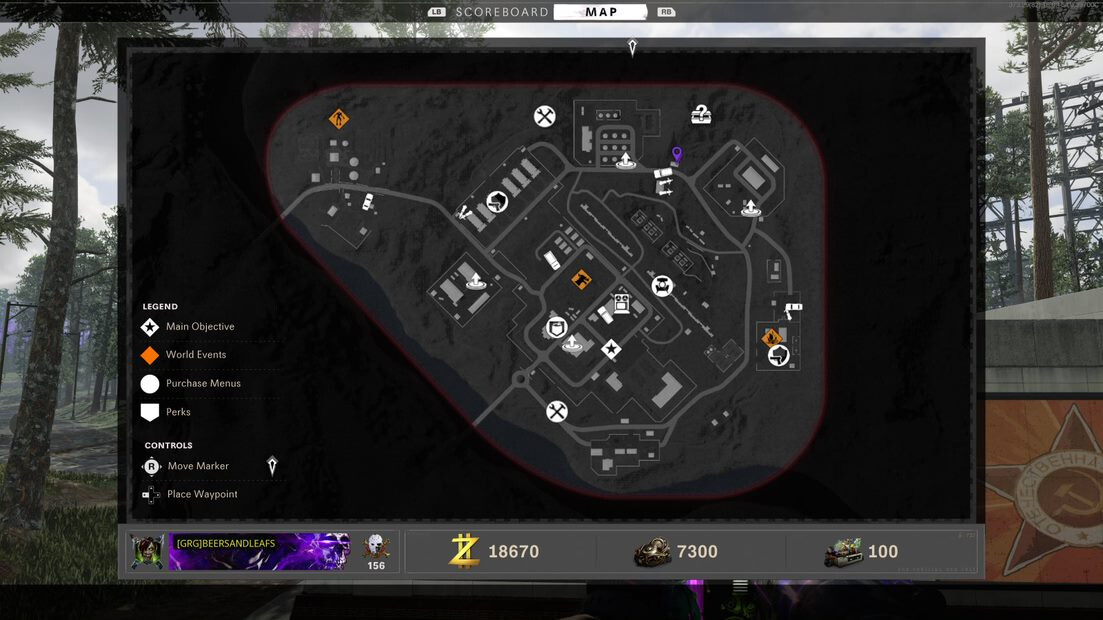
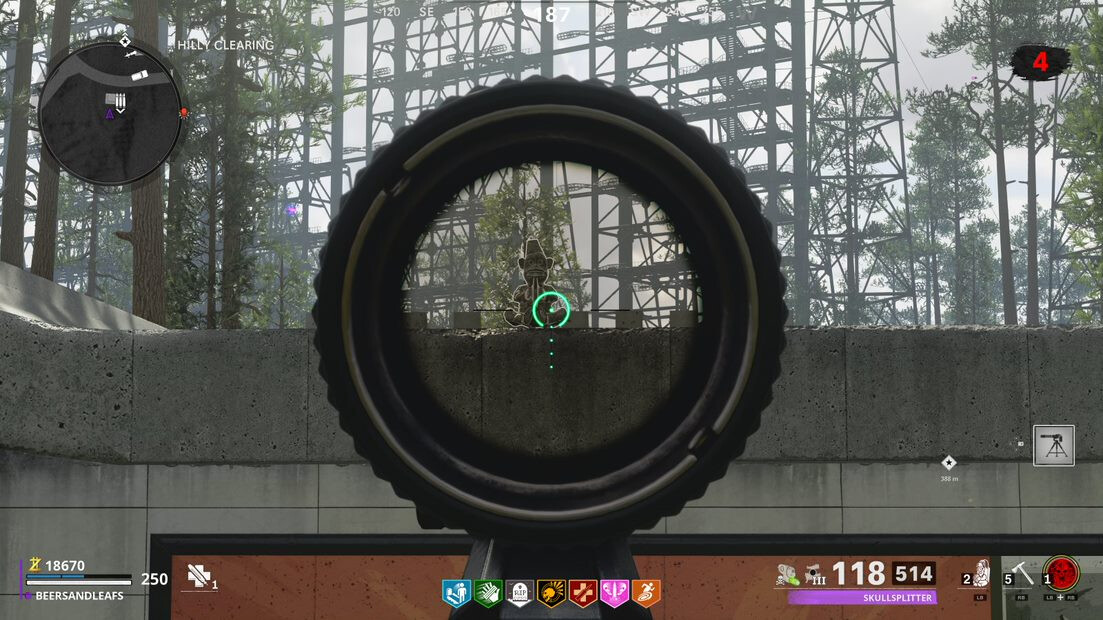
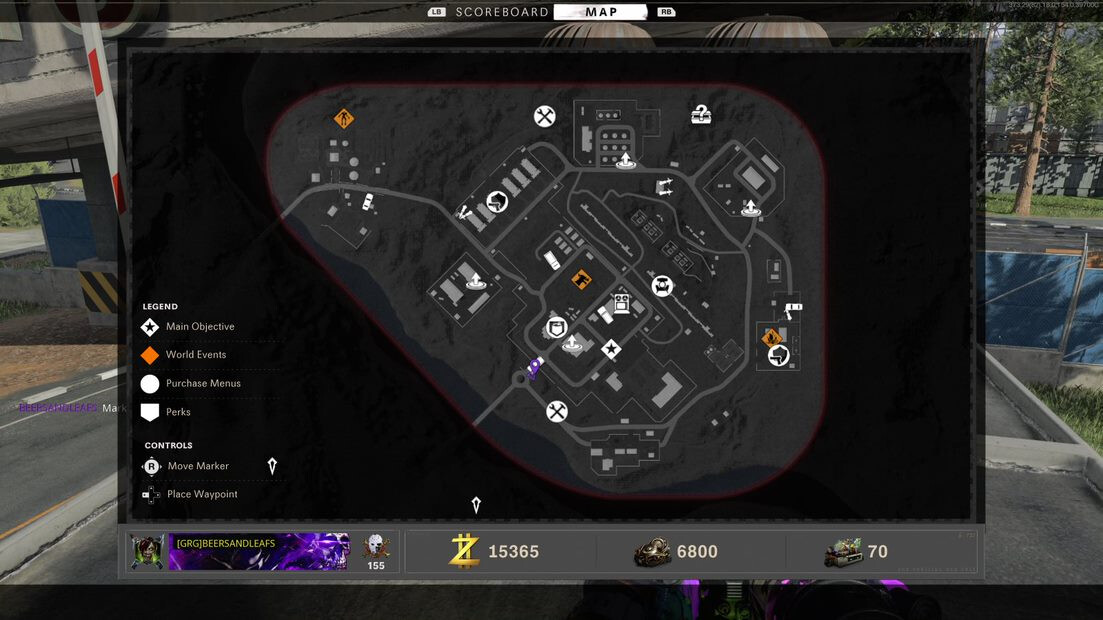
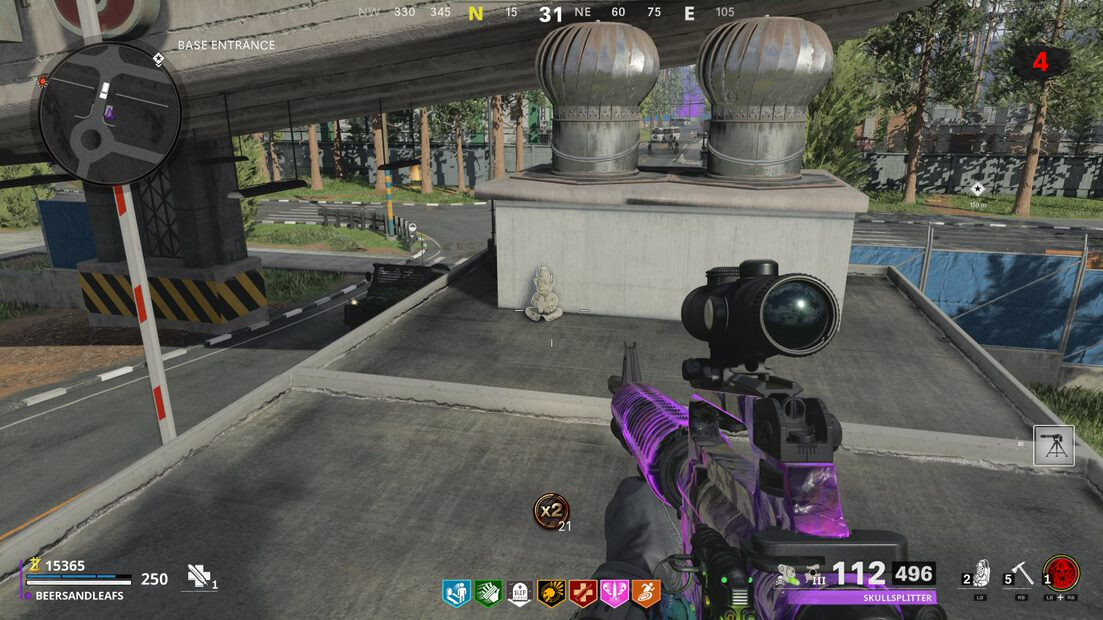
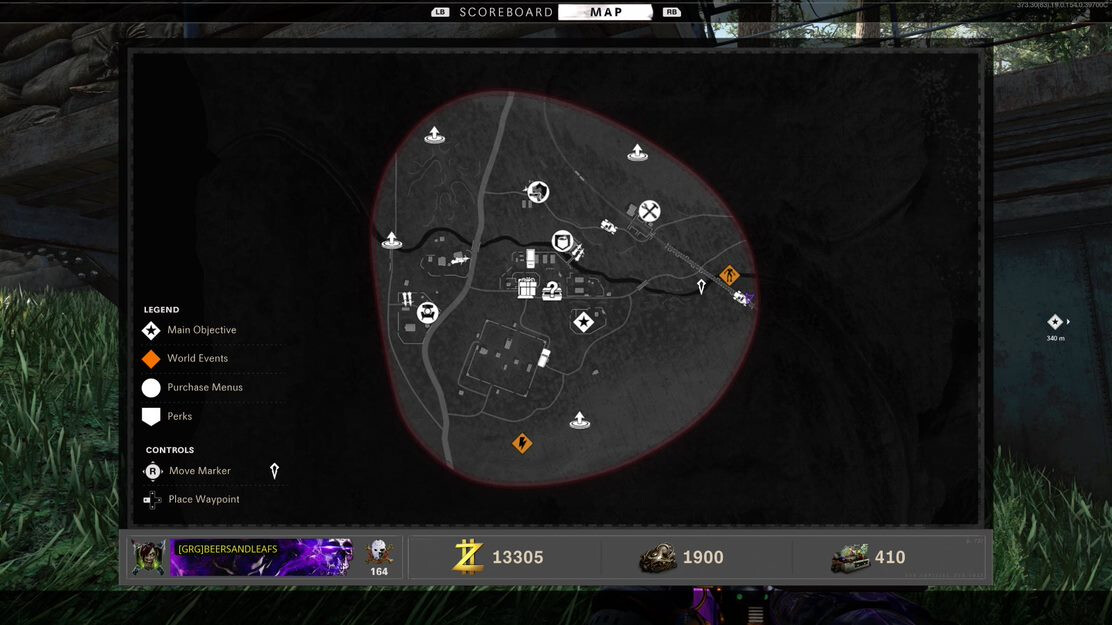
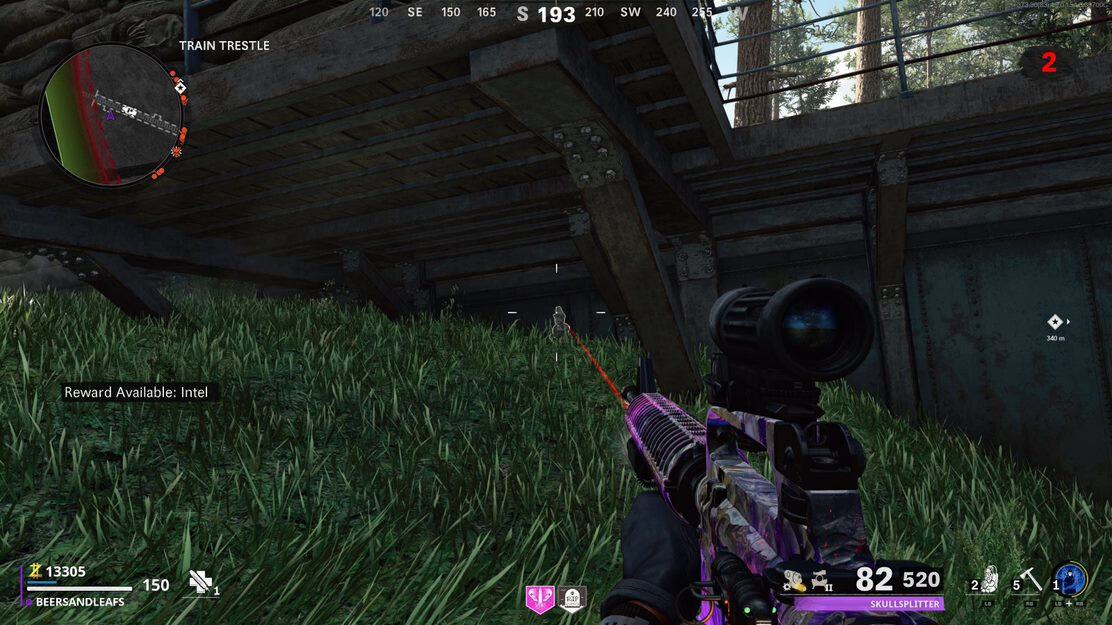
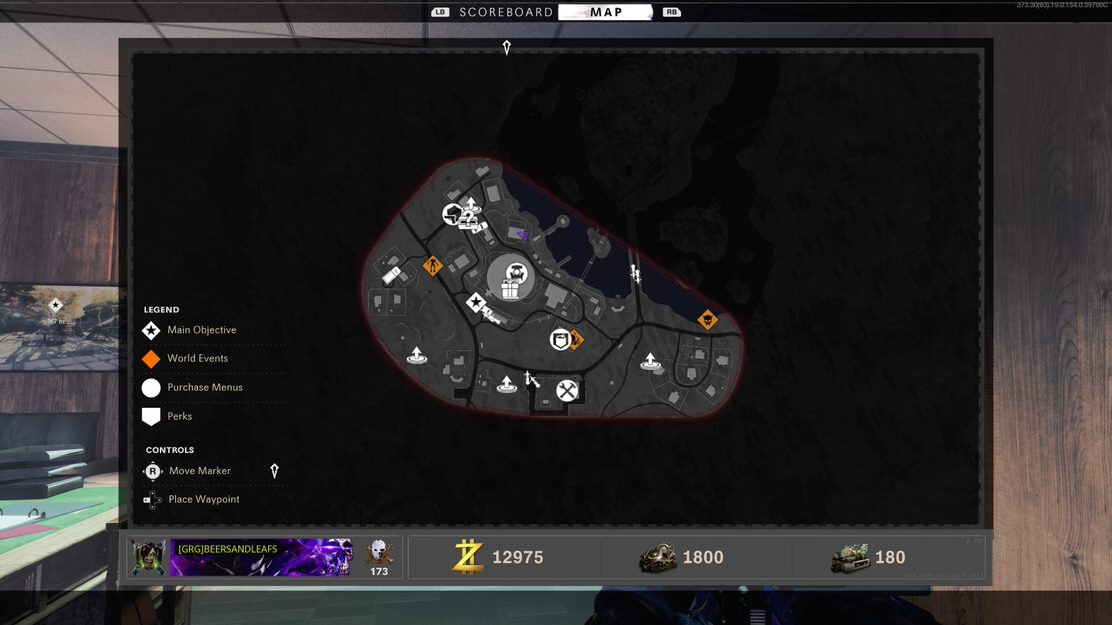
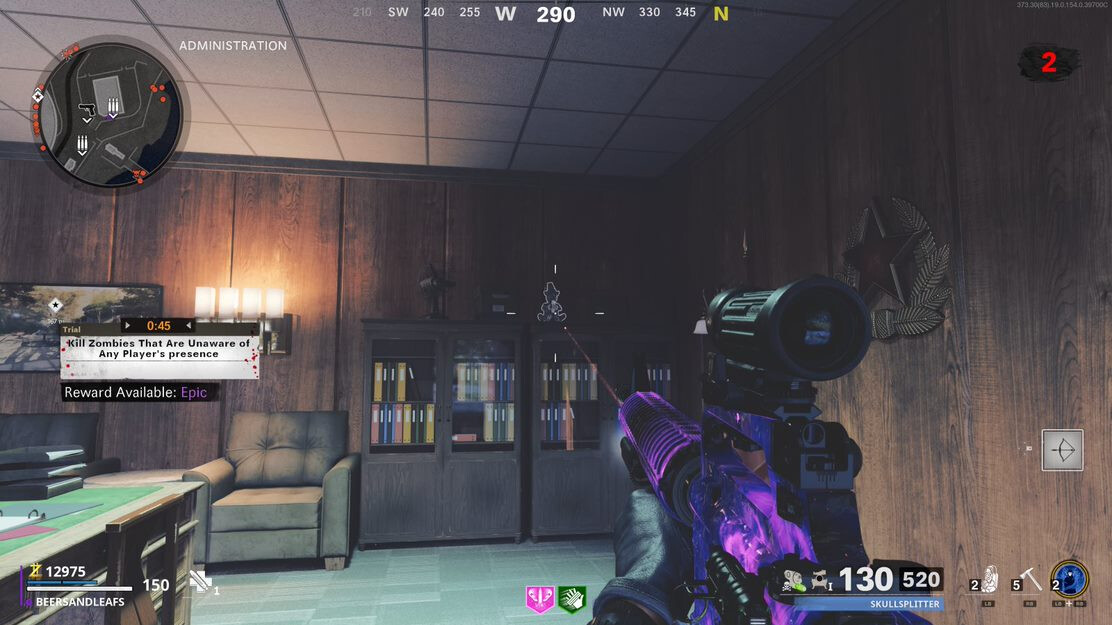
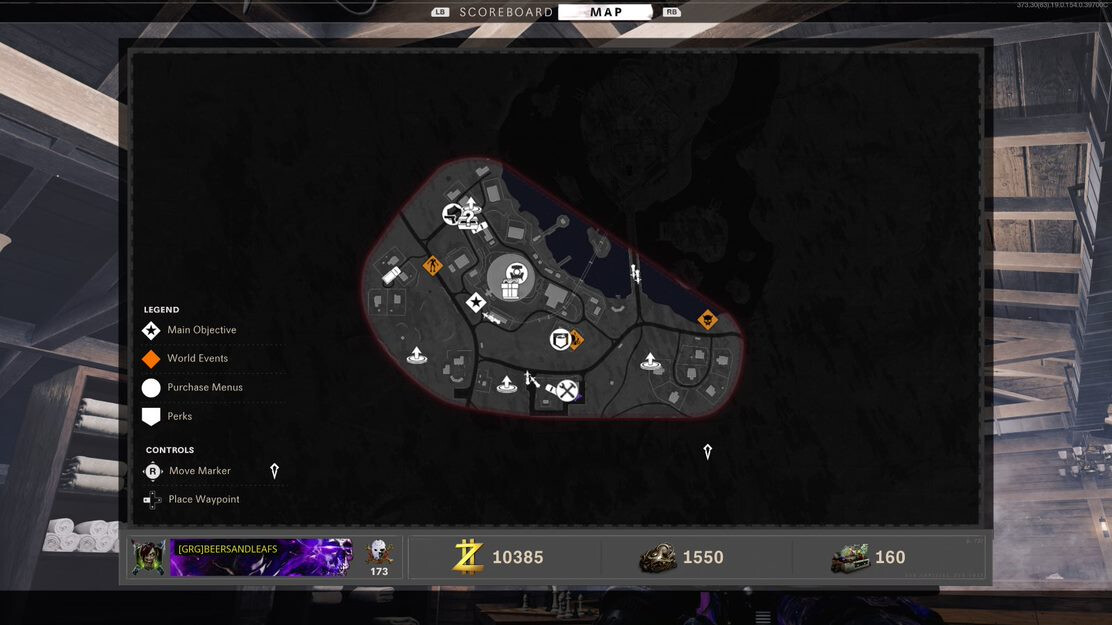
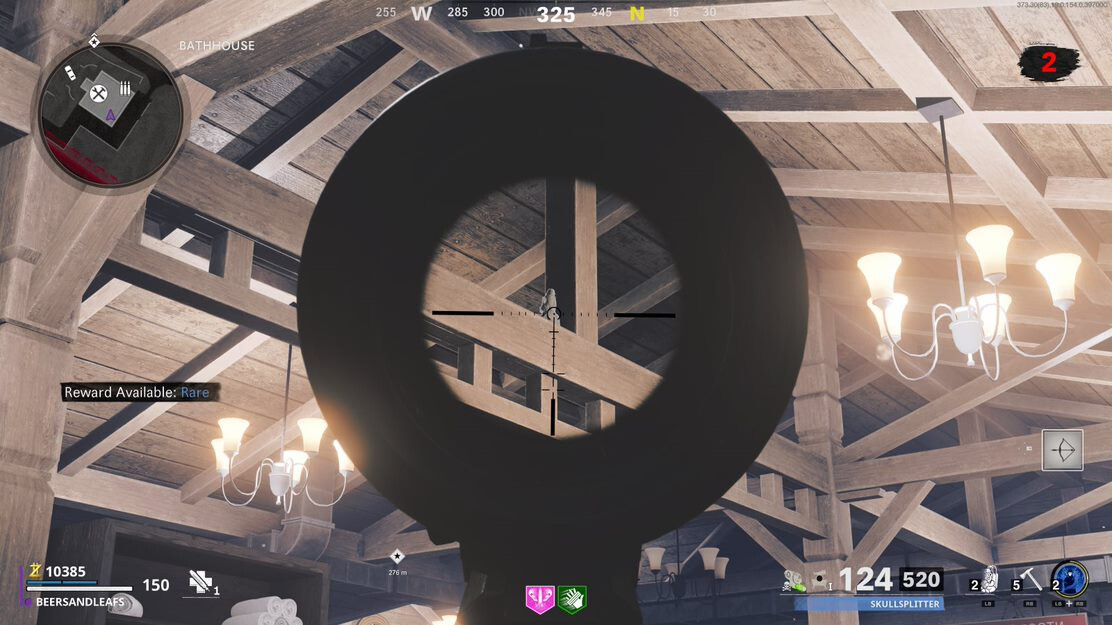
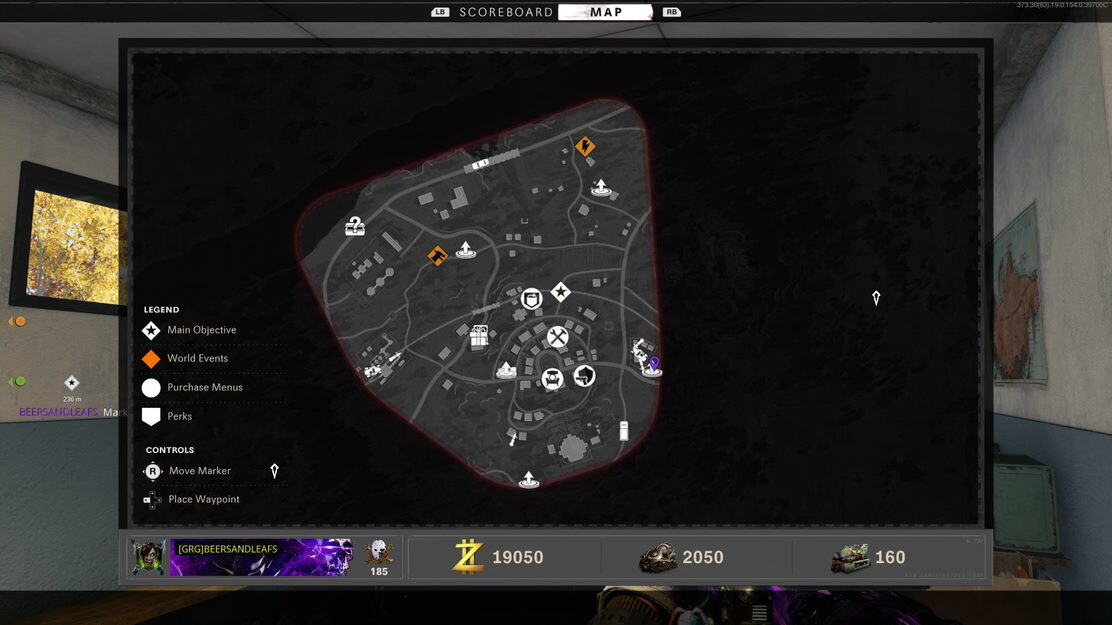
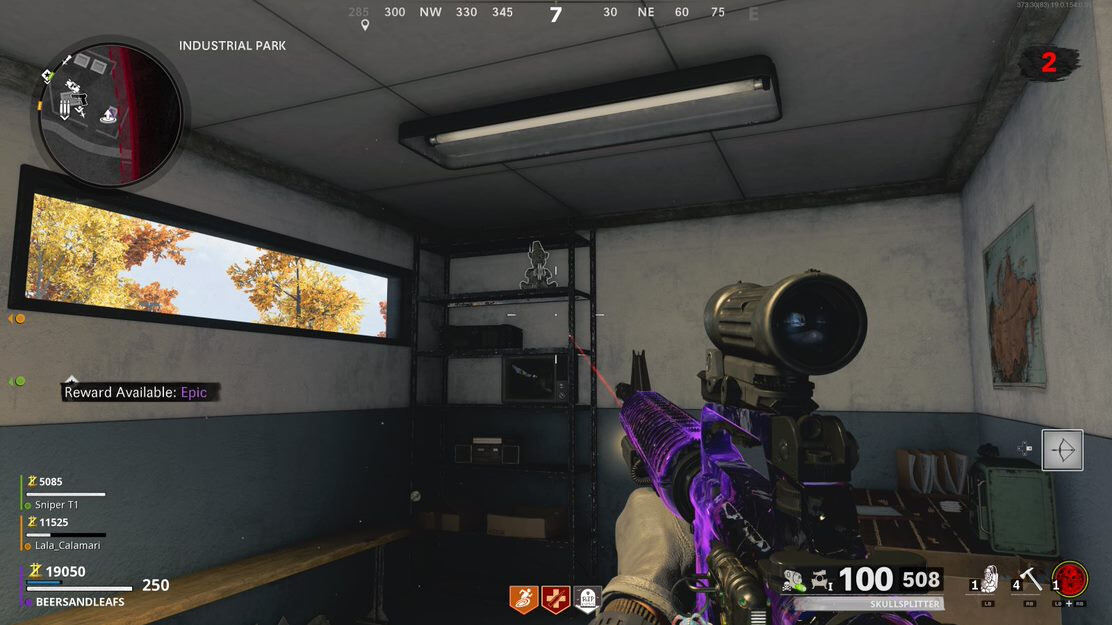
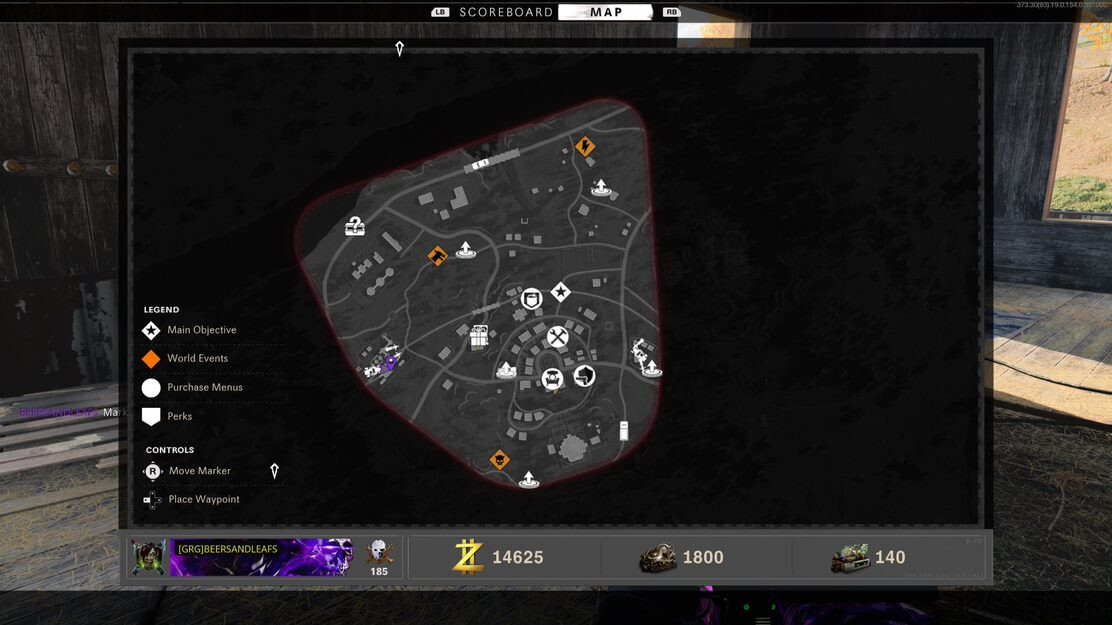
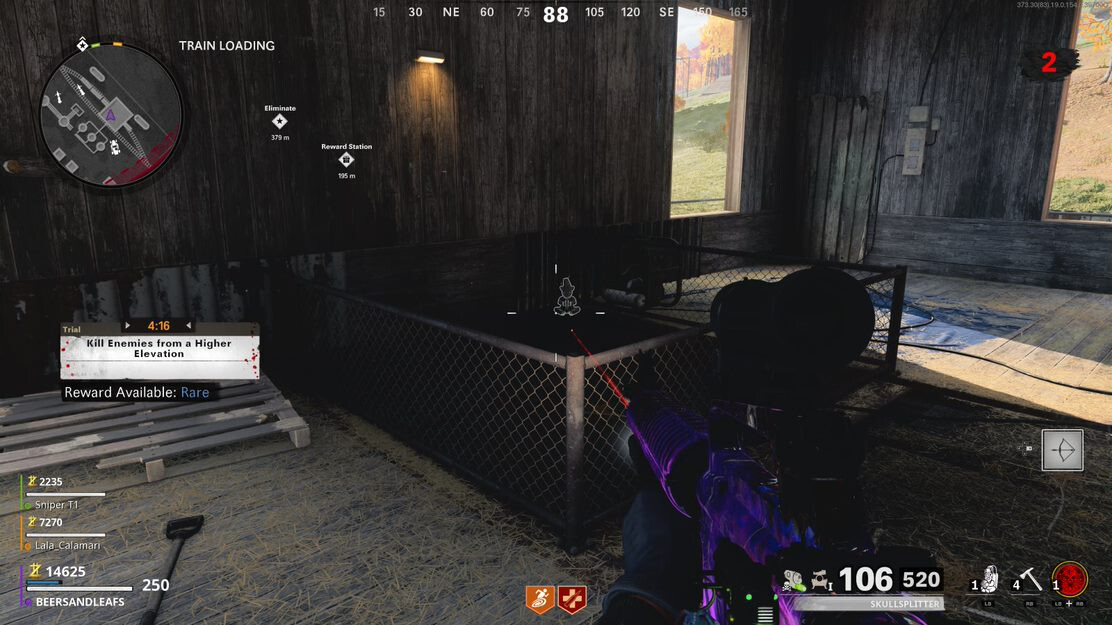
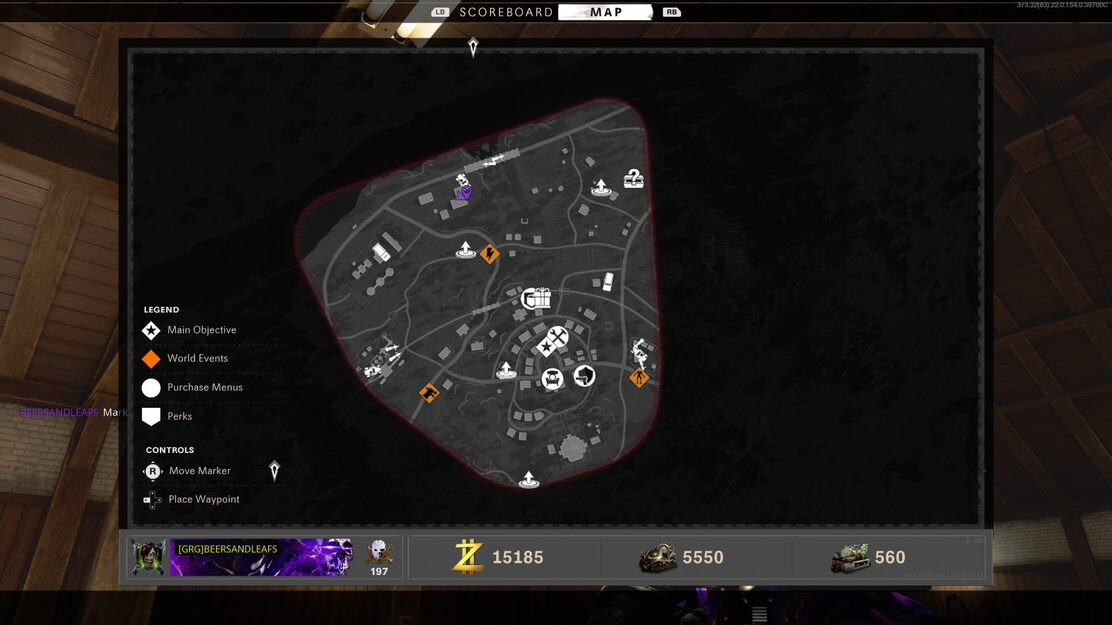
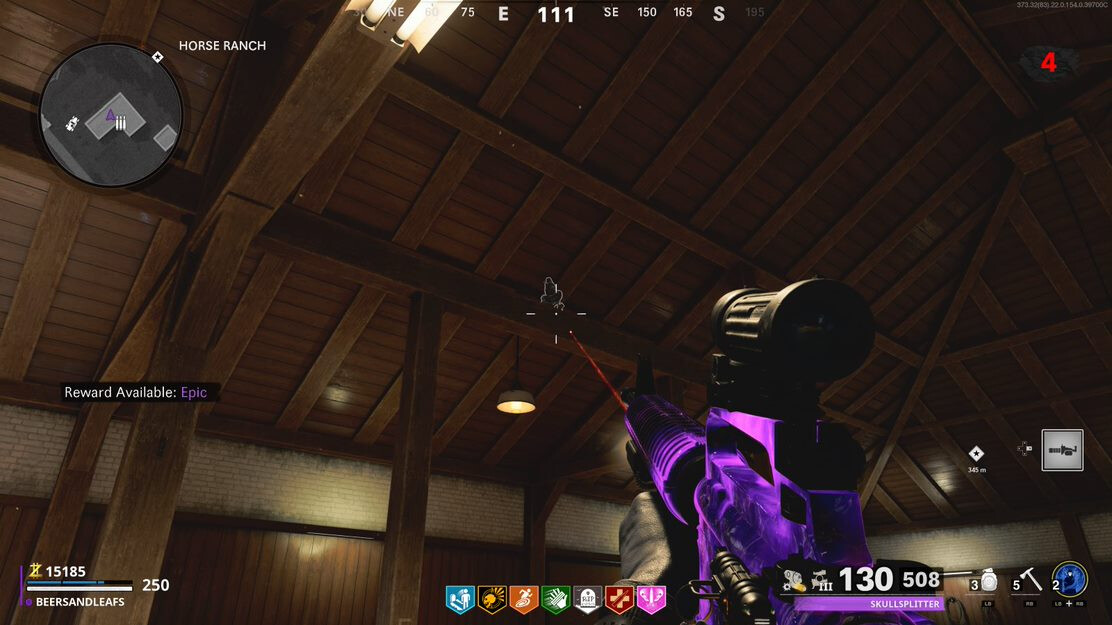
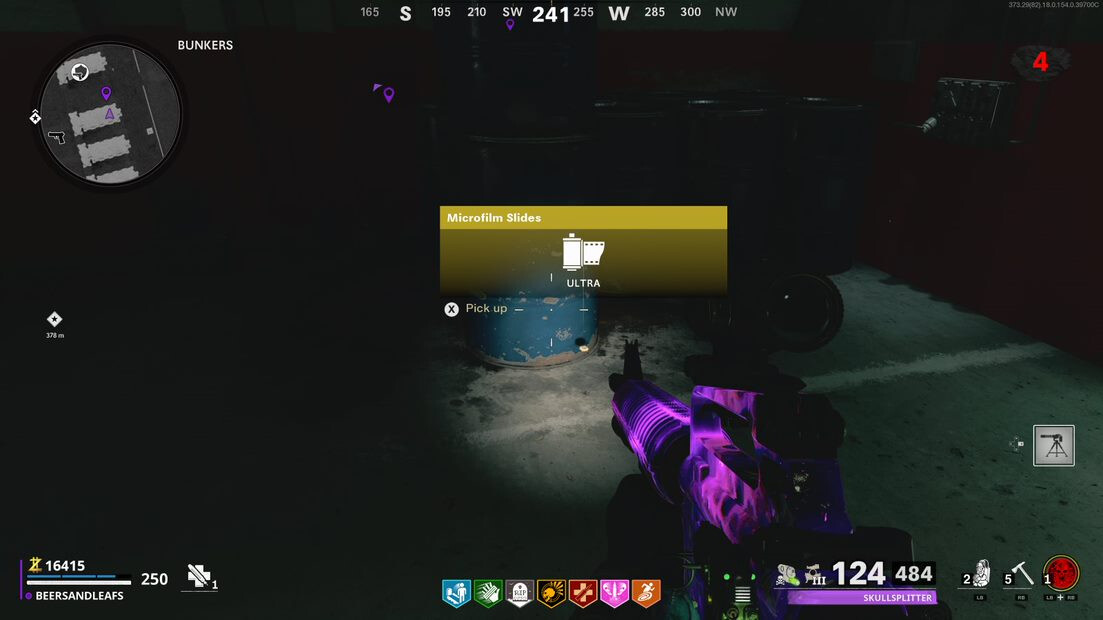
Next you’ll need to find some strange monkey bomb figures from around the map and break them open (If you’re not on this step yet, you can still destroy them and get some small rewards). One of them will have a capital “M” beside it and it contains microfilms, that’s what you’re looking for.
DUGA LOCATIONS
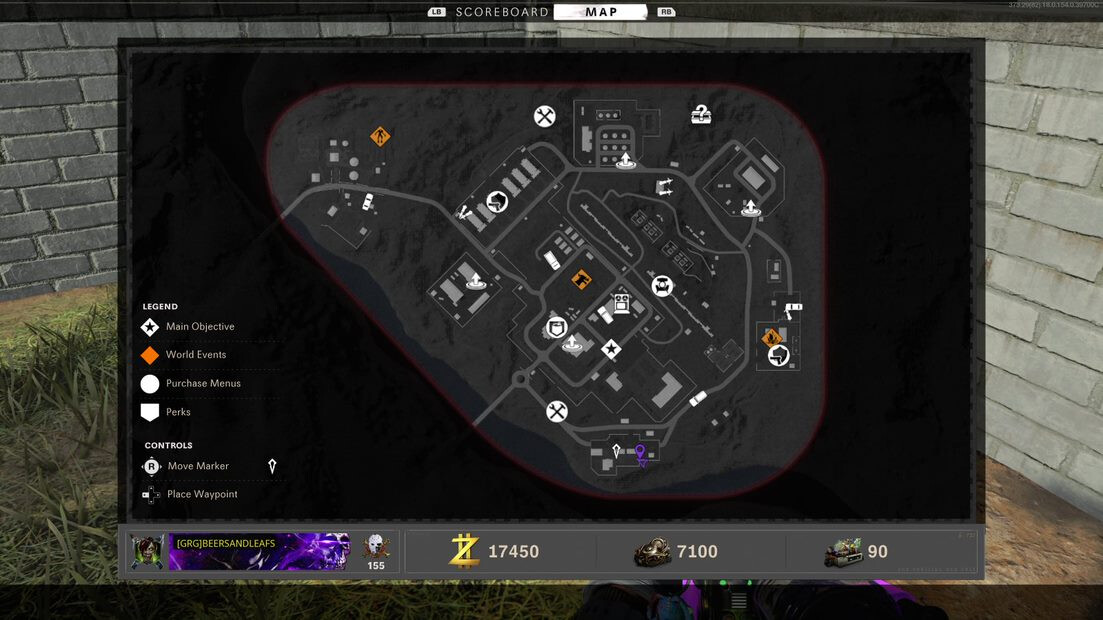
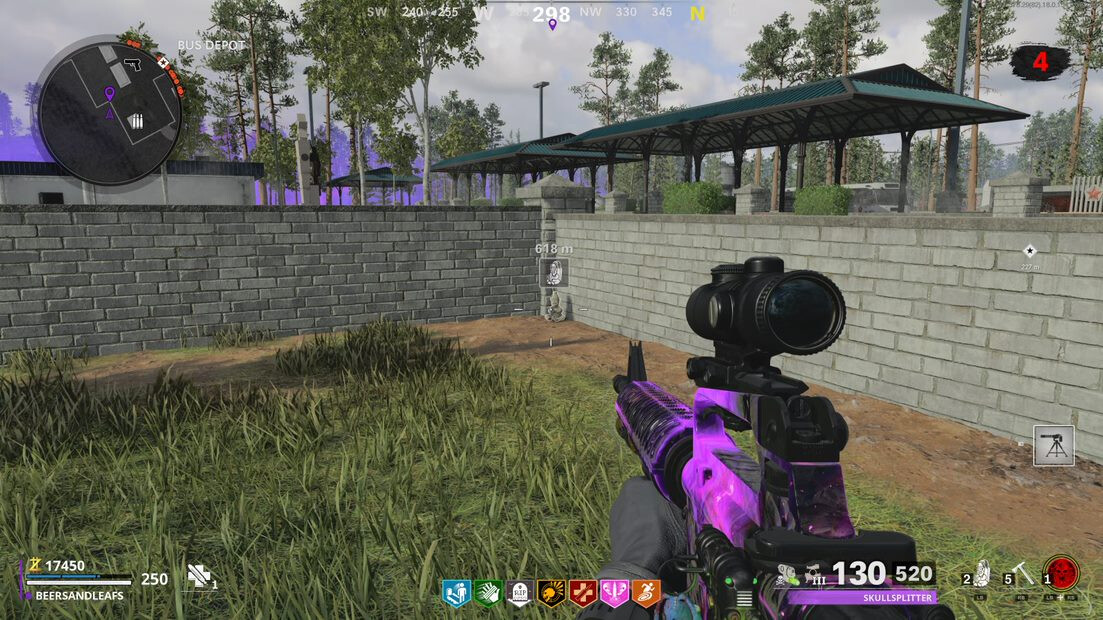
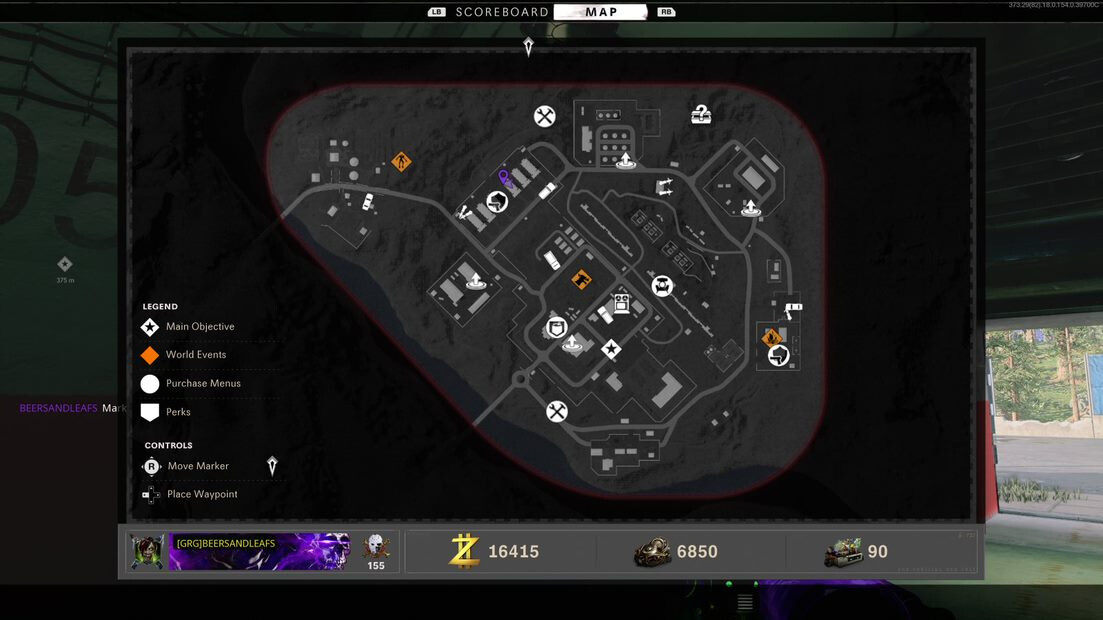
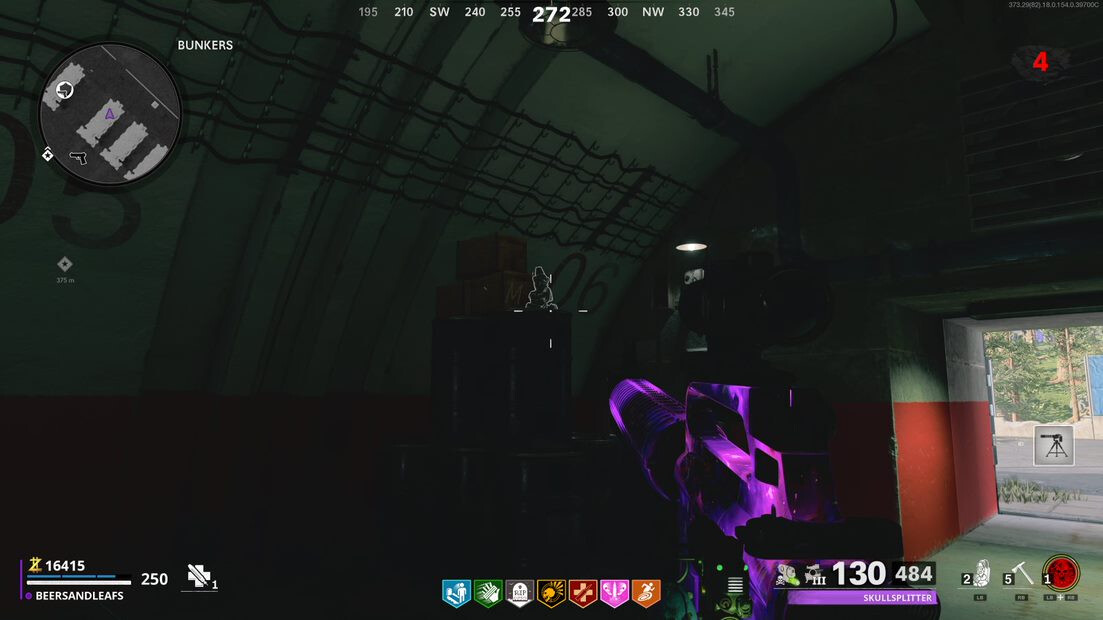
RUKA LOCATIONS
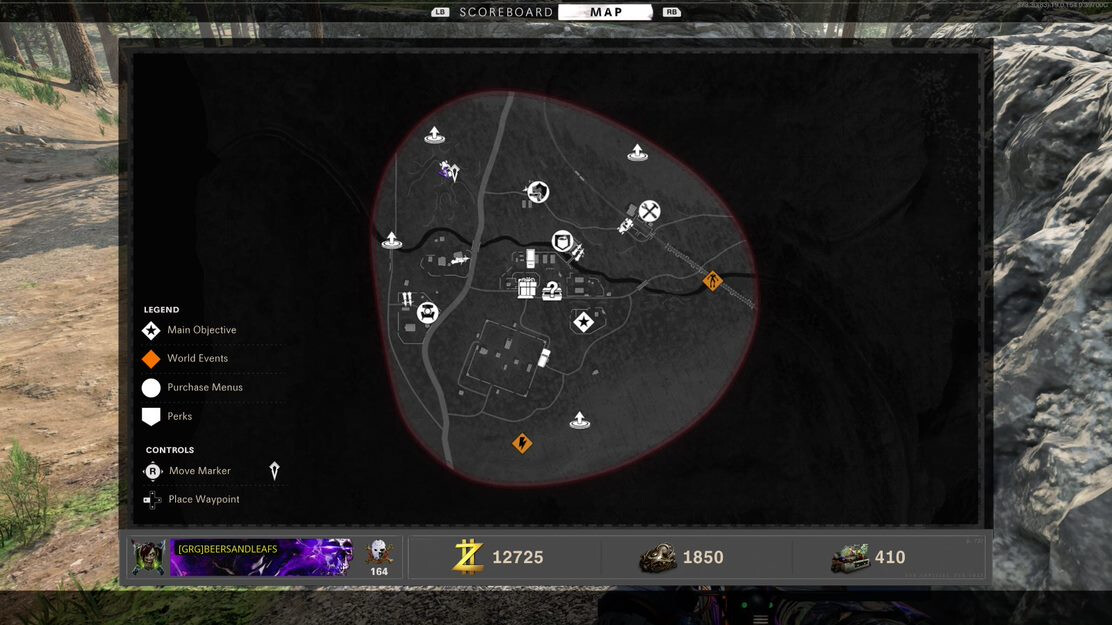
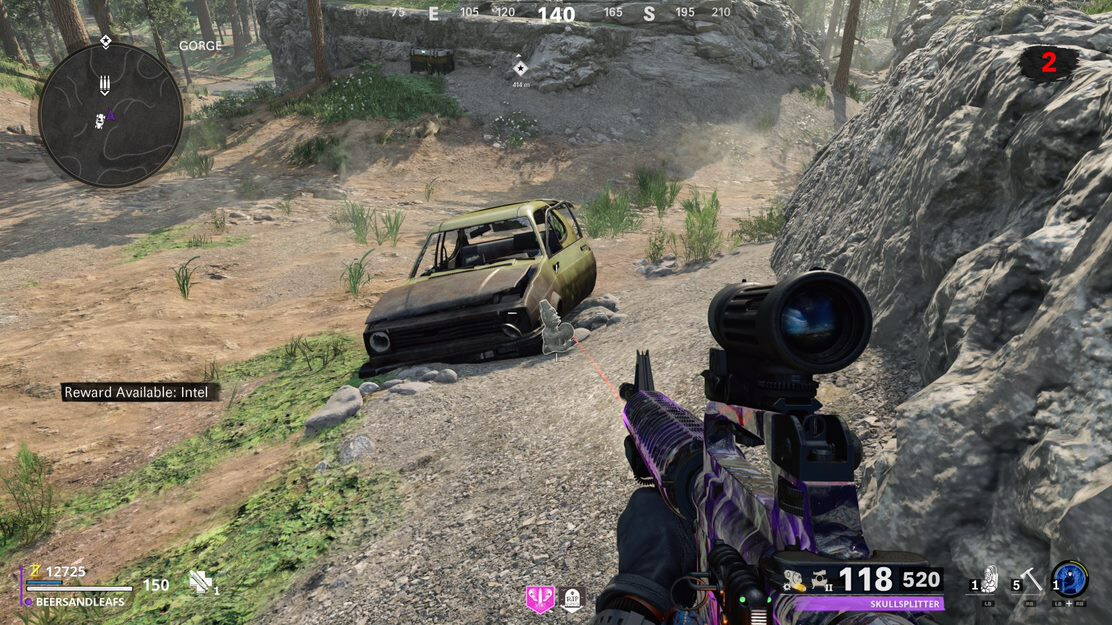
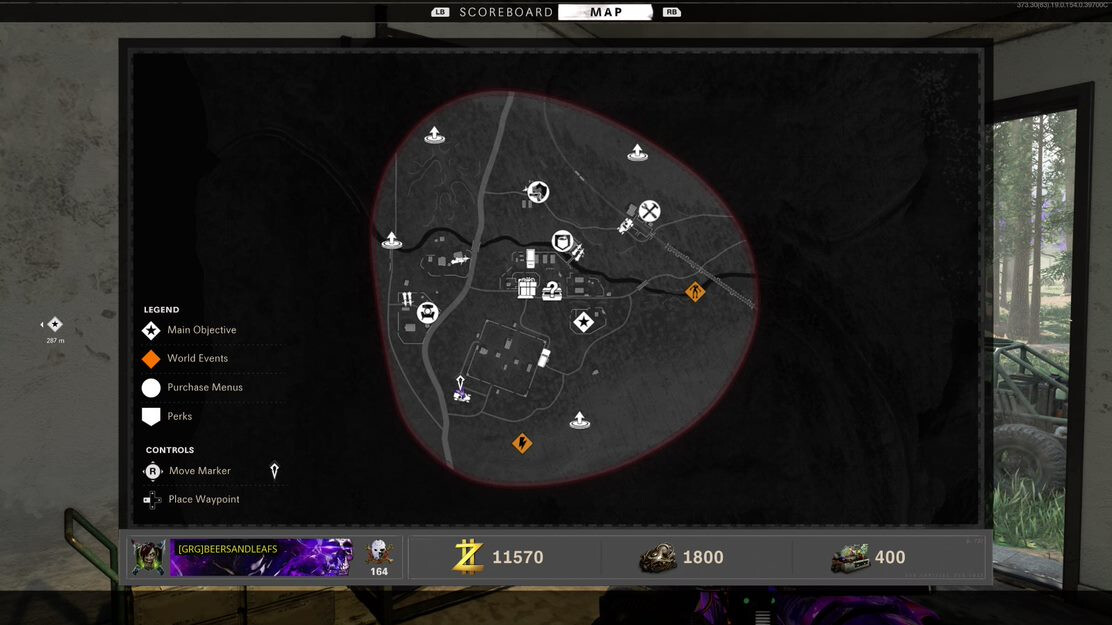
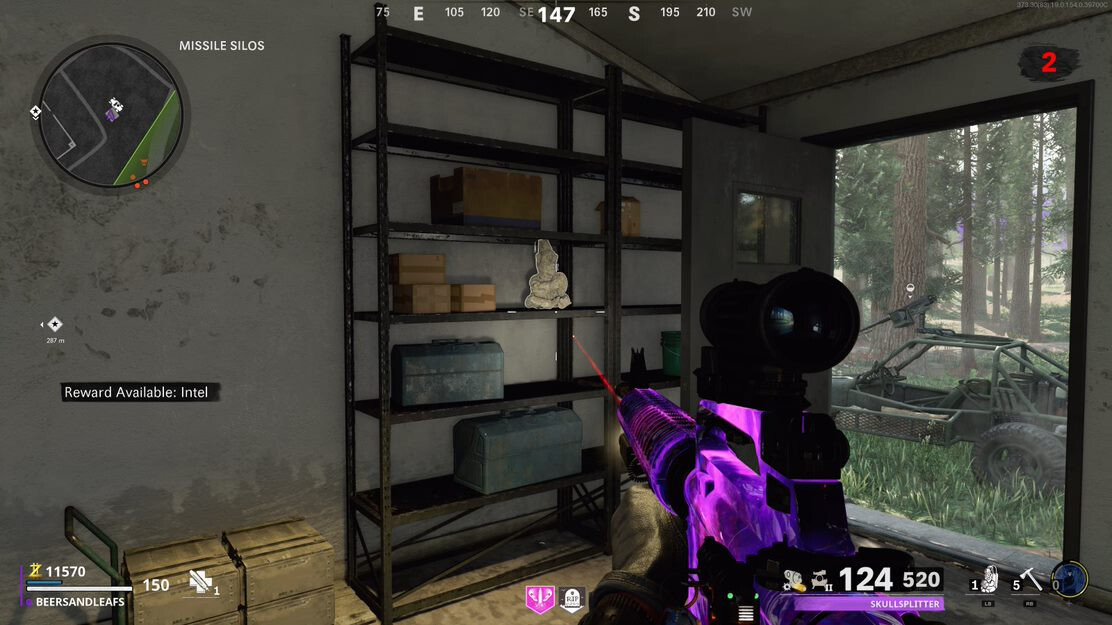
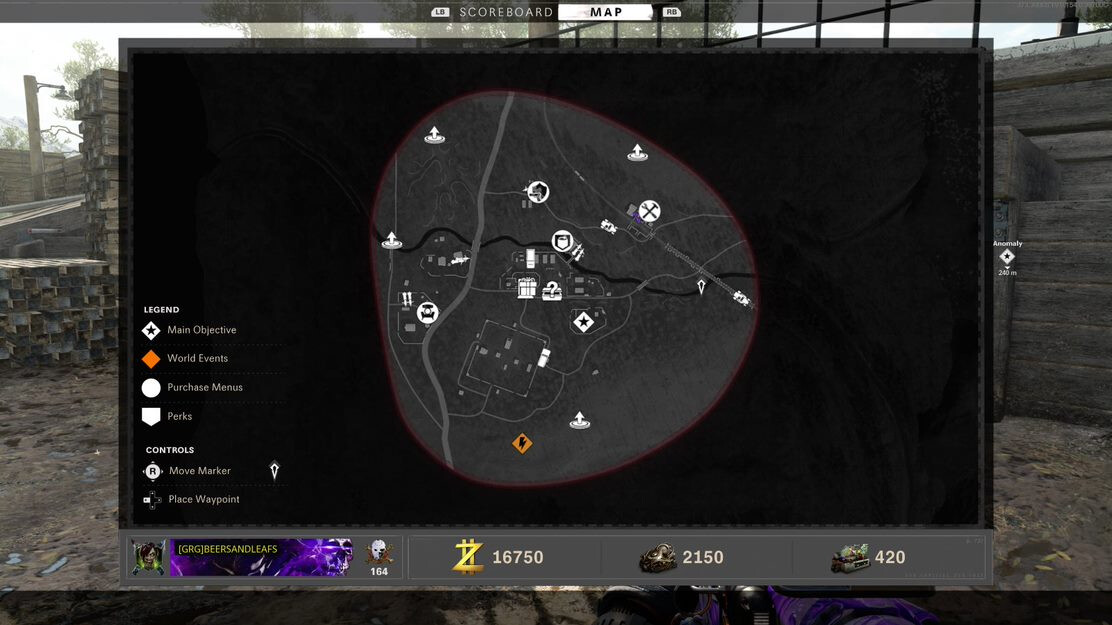
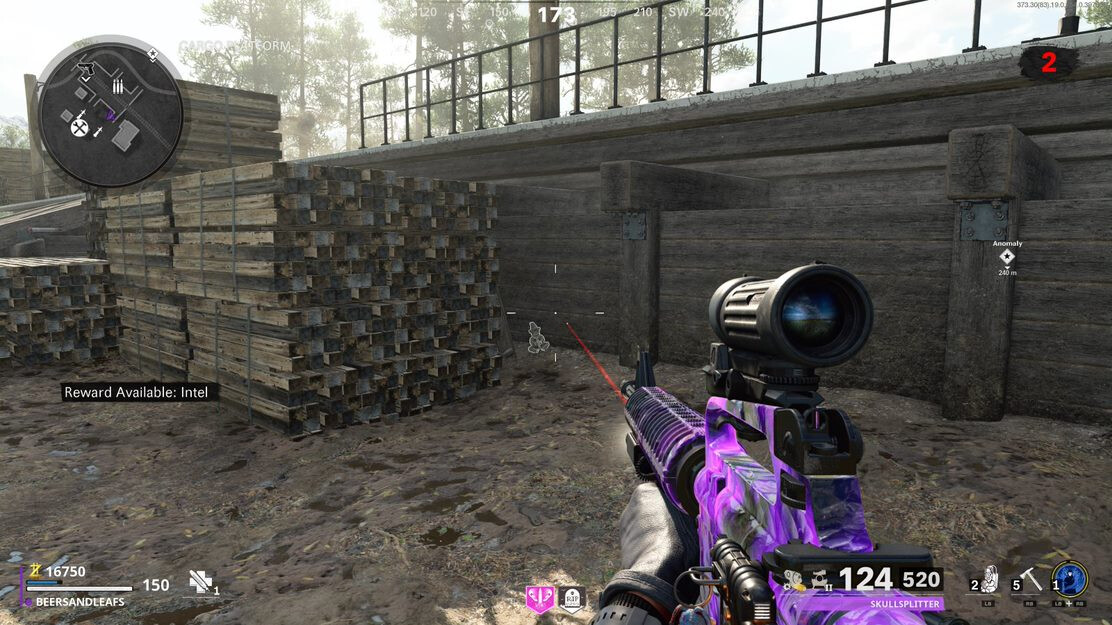
SANITORIUM LOCATIONS
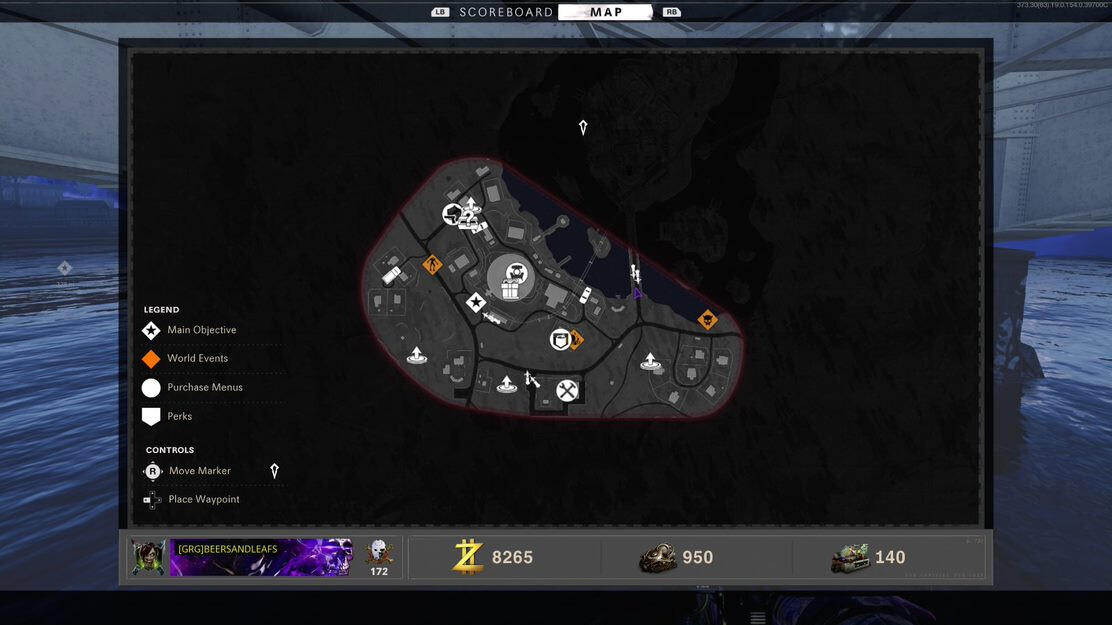
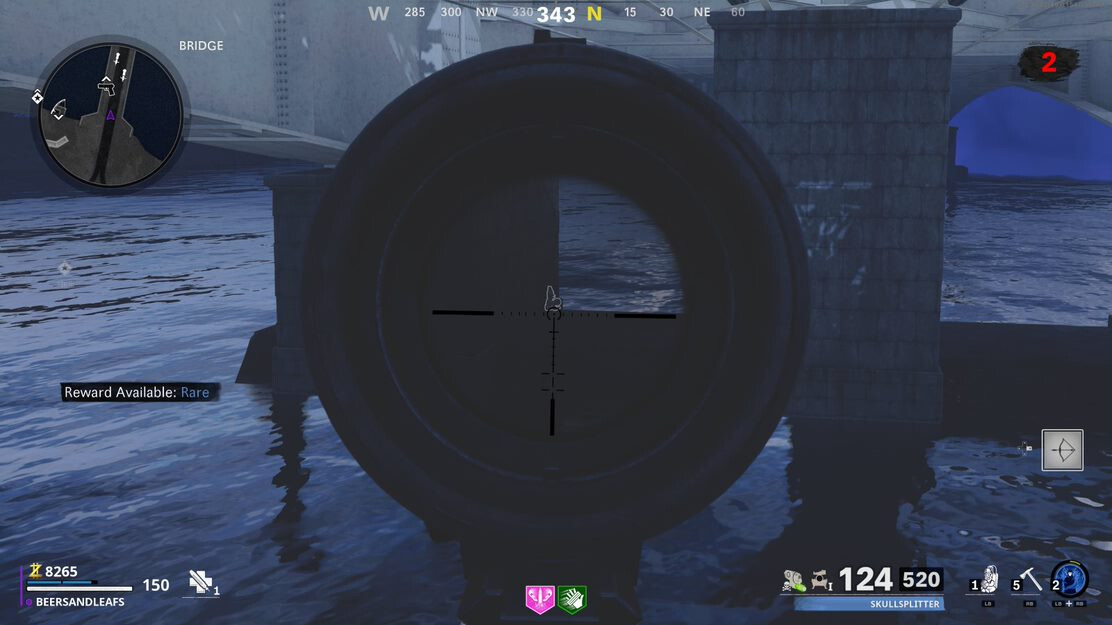
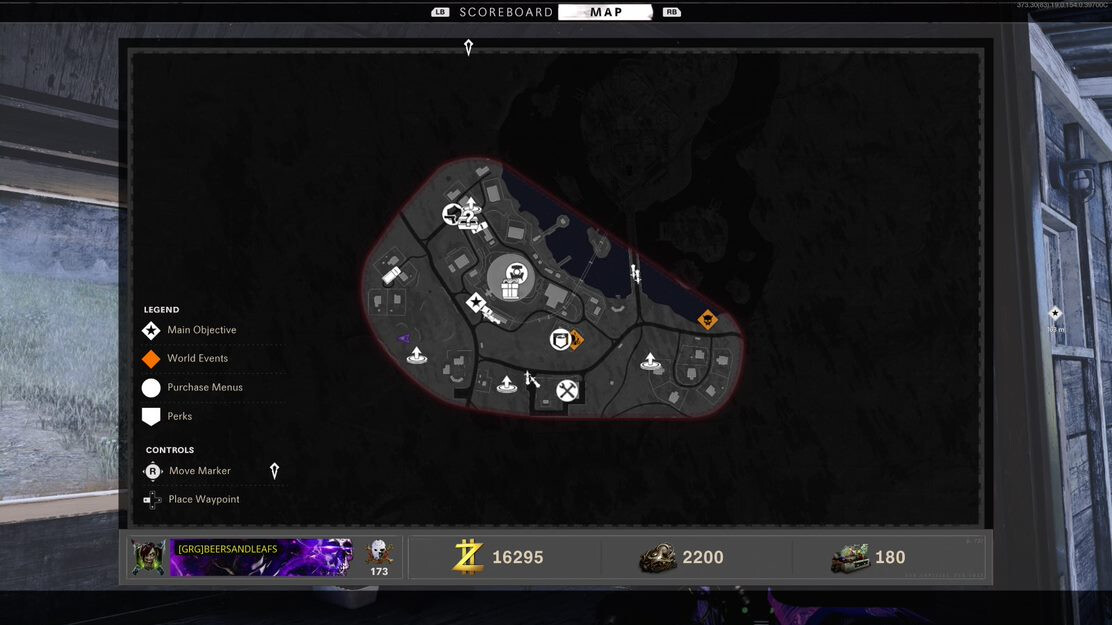
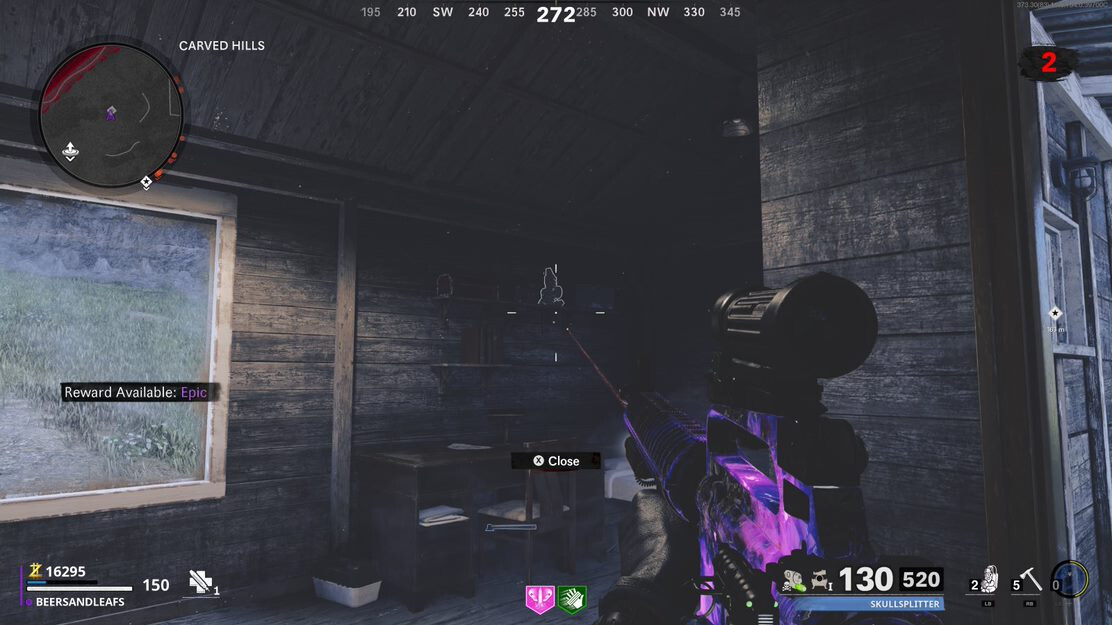
ALPINE LOCATIONS
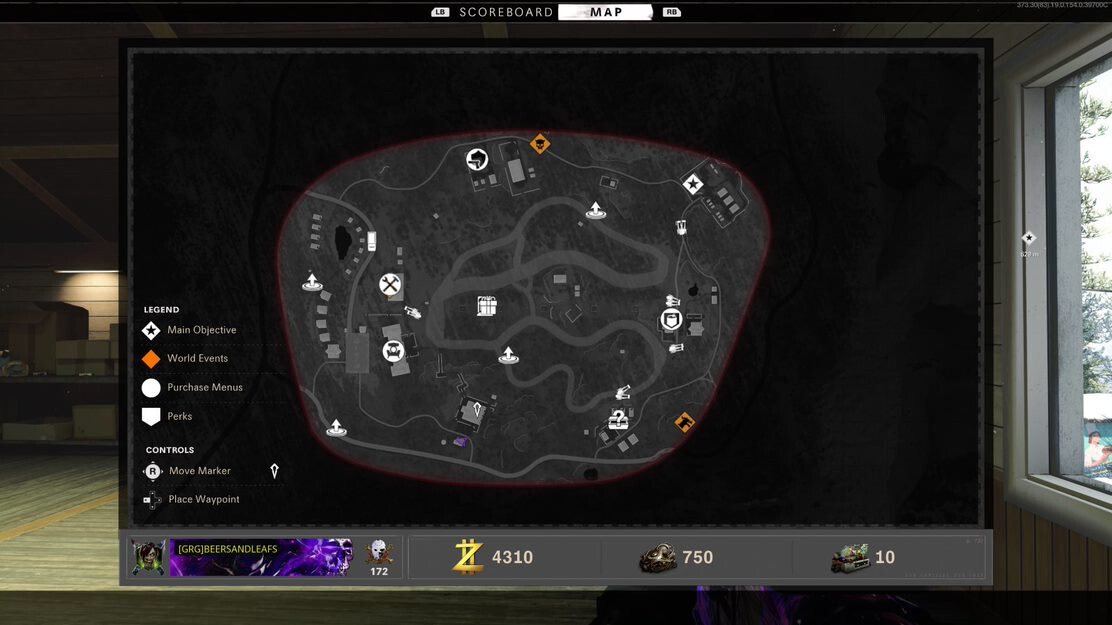
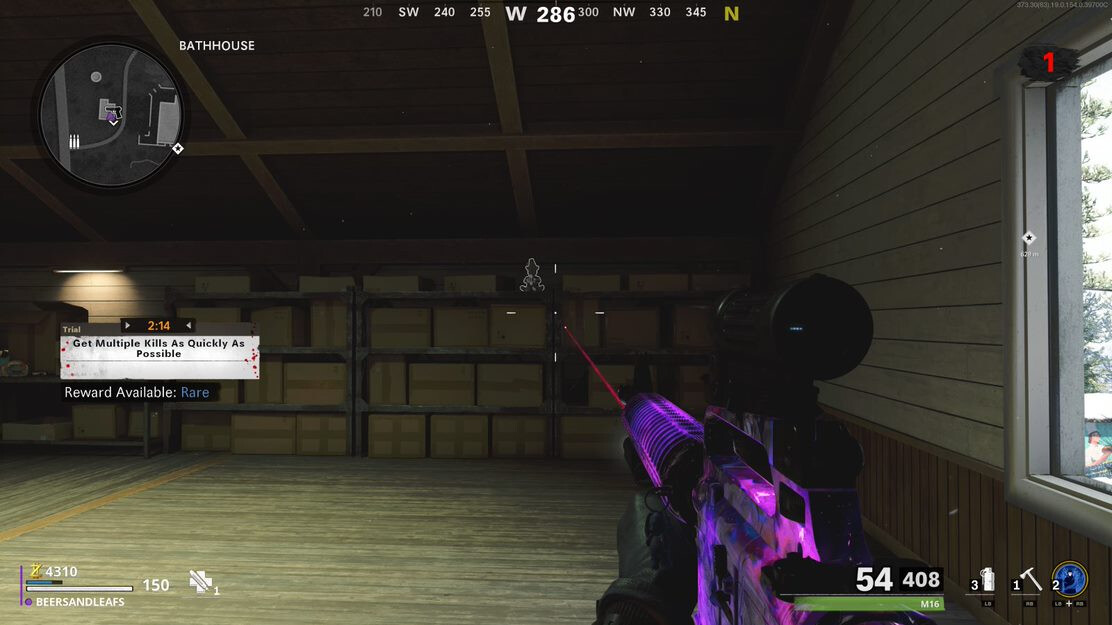
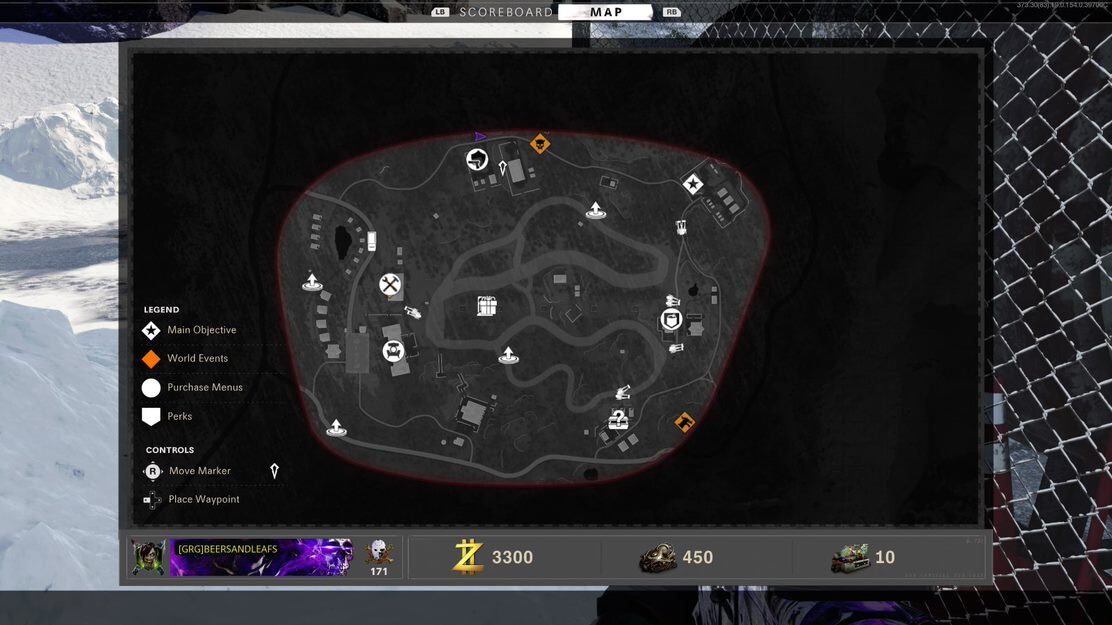
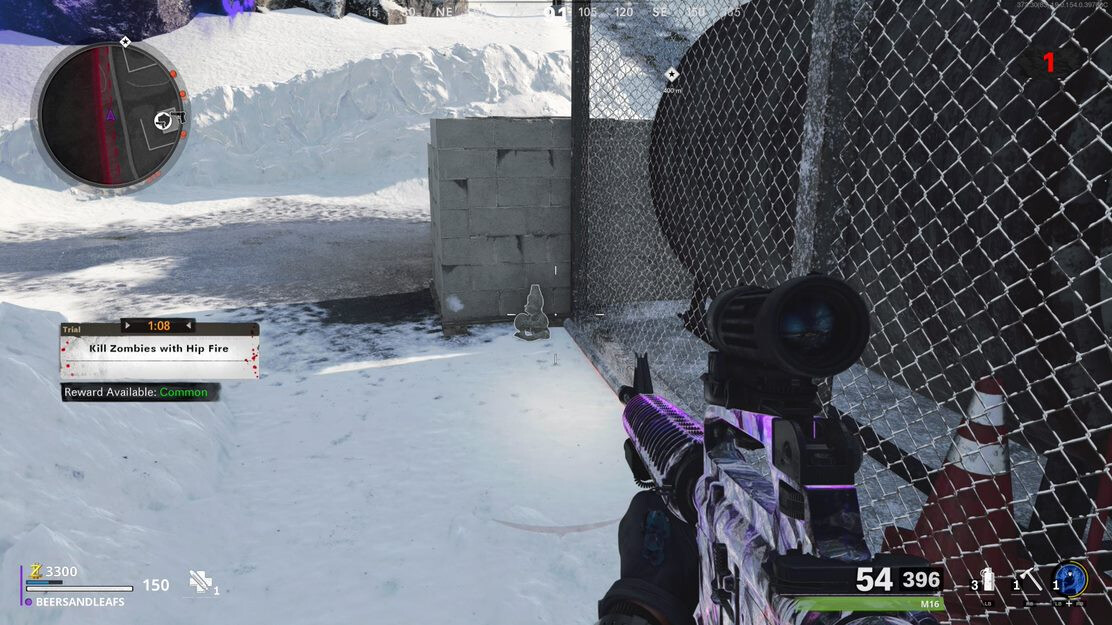
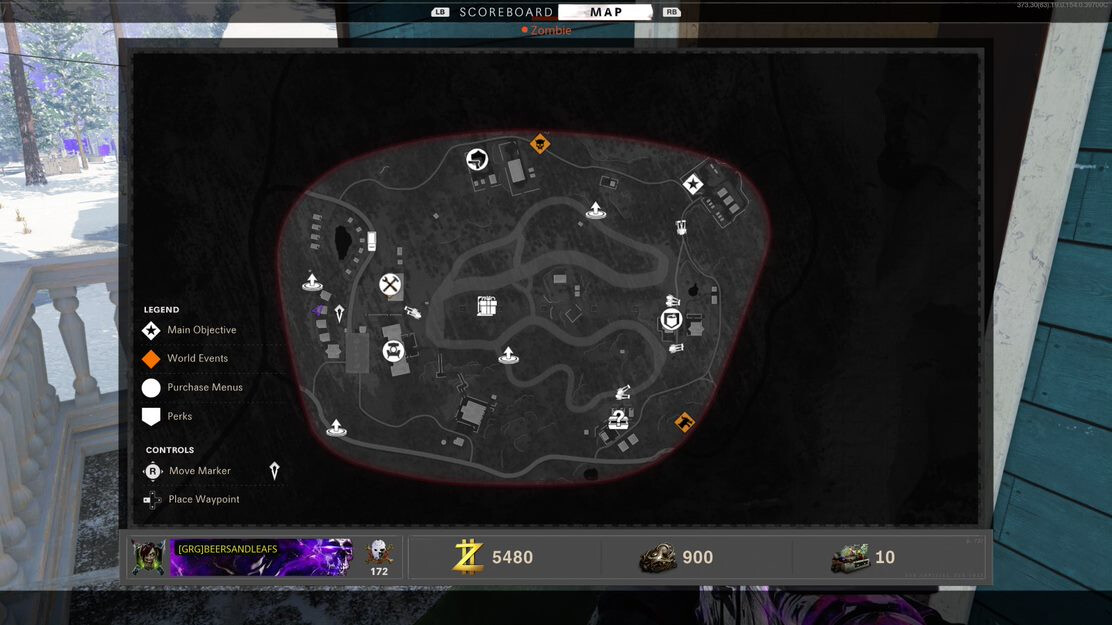
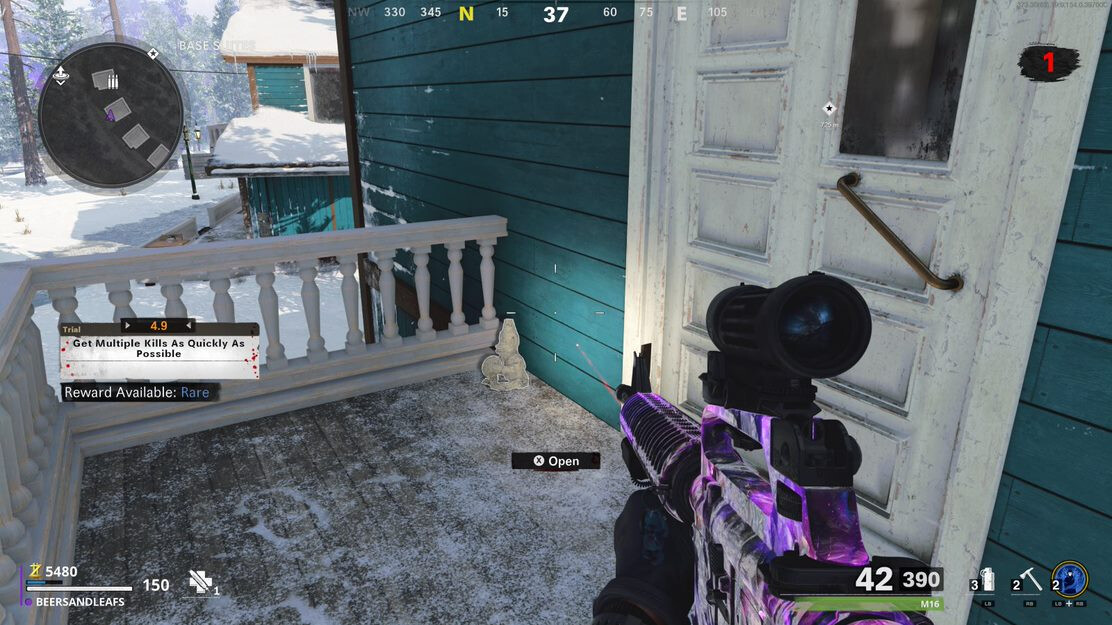
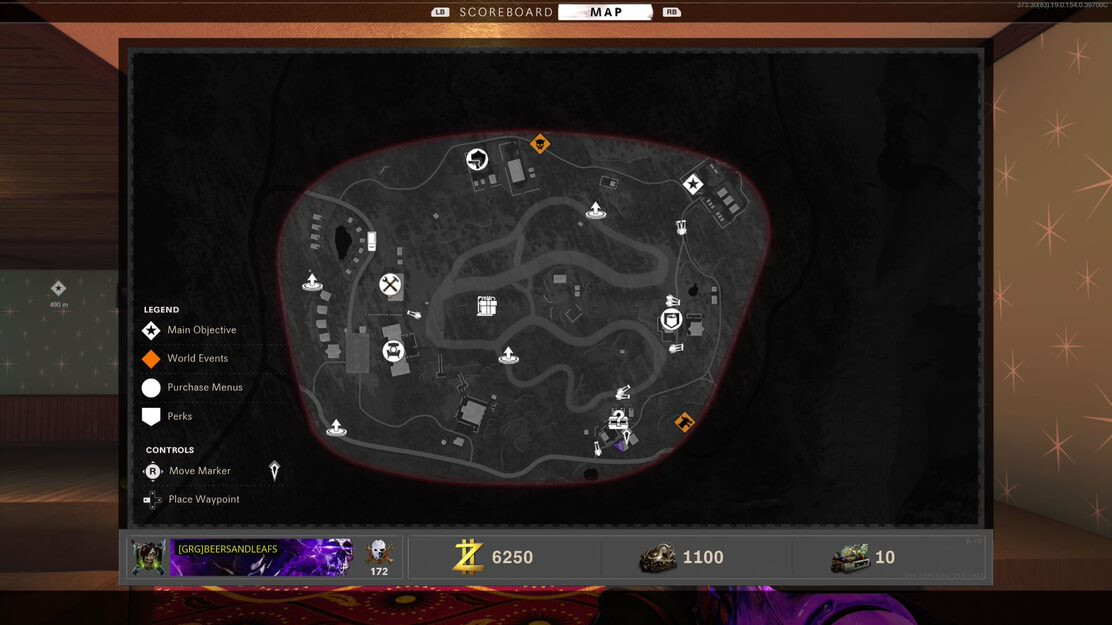
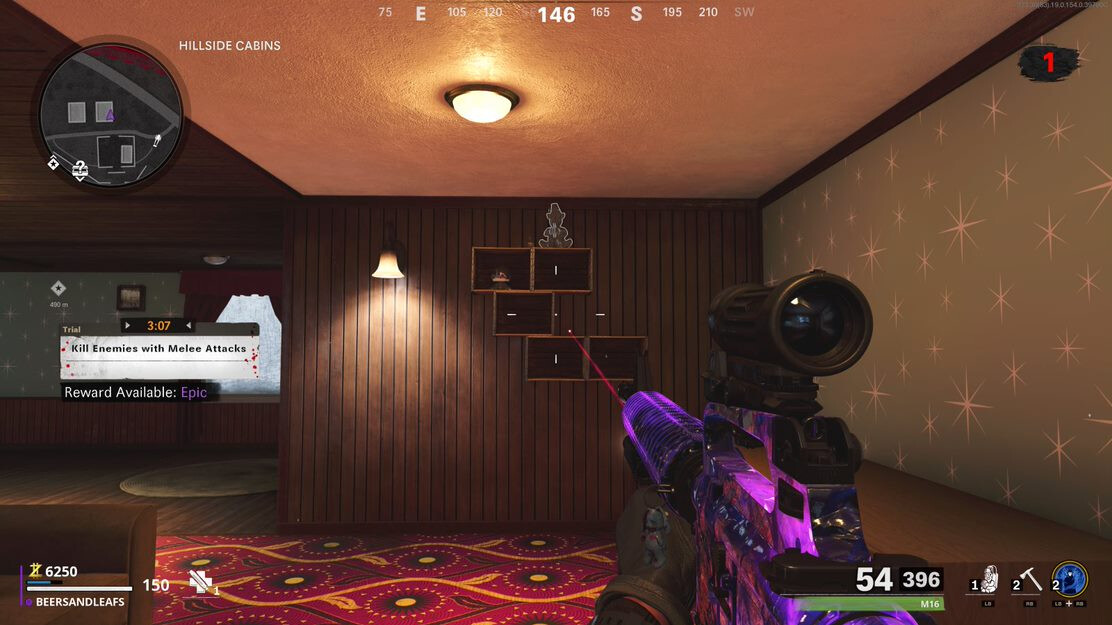
GOLOVA LOCATIONS
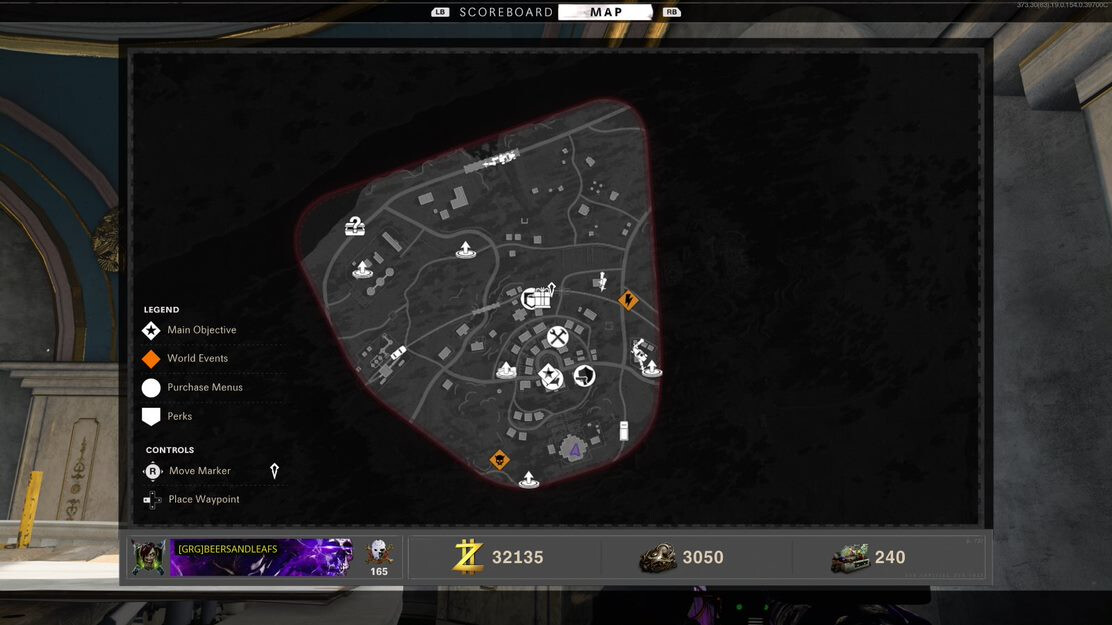
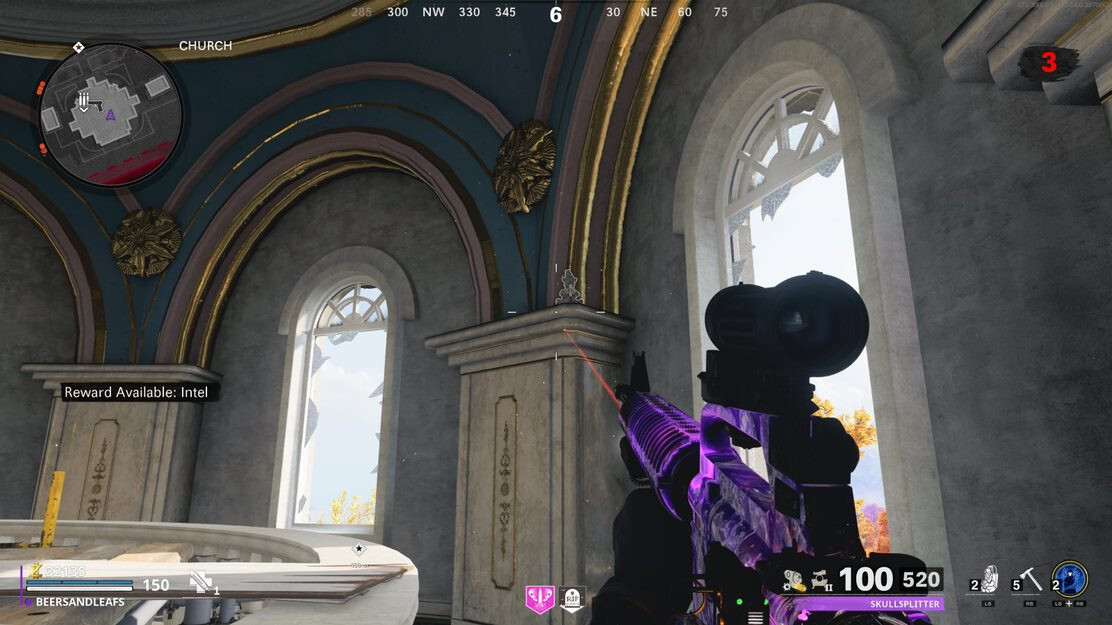
Step Five:
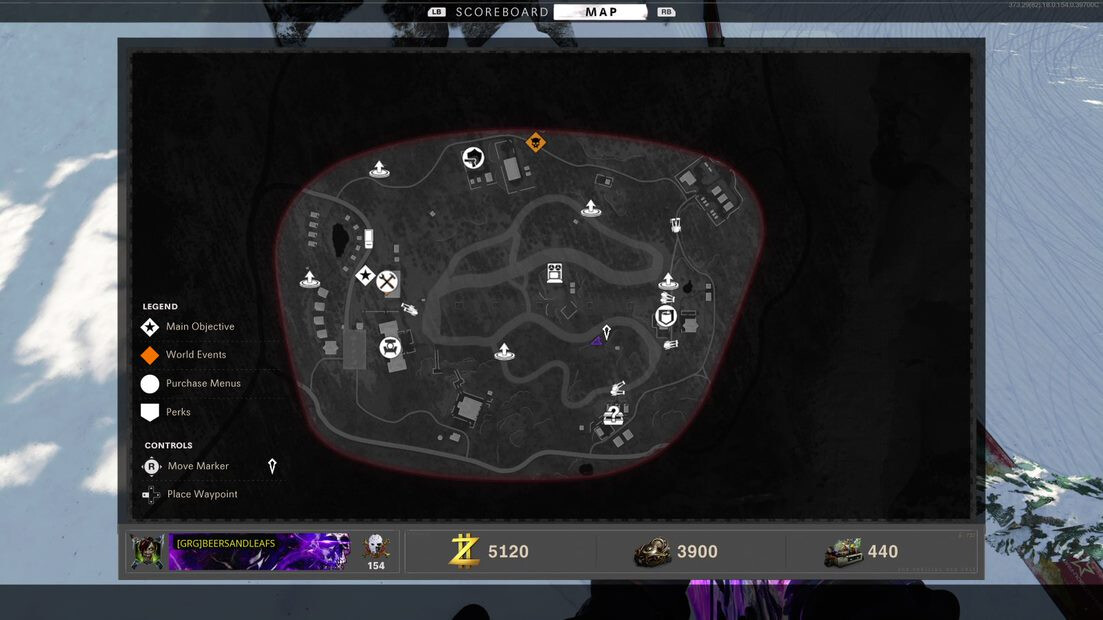
Take the Microfilm Slides to a projector – each map has one to find, and insert the slides.
DUGA LOCATION
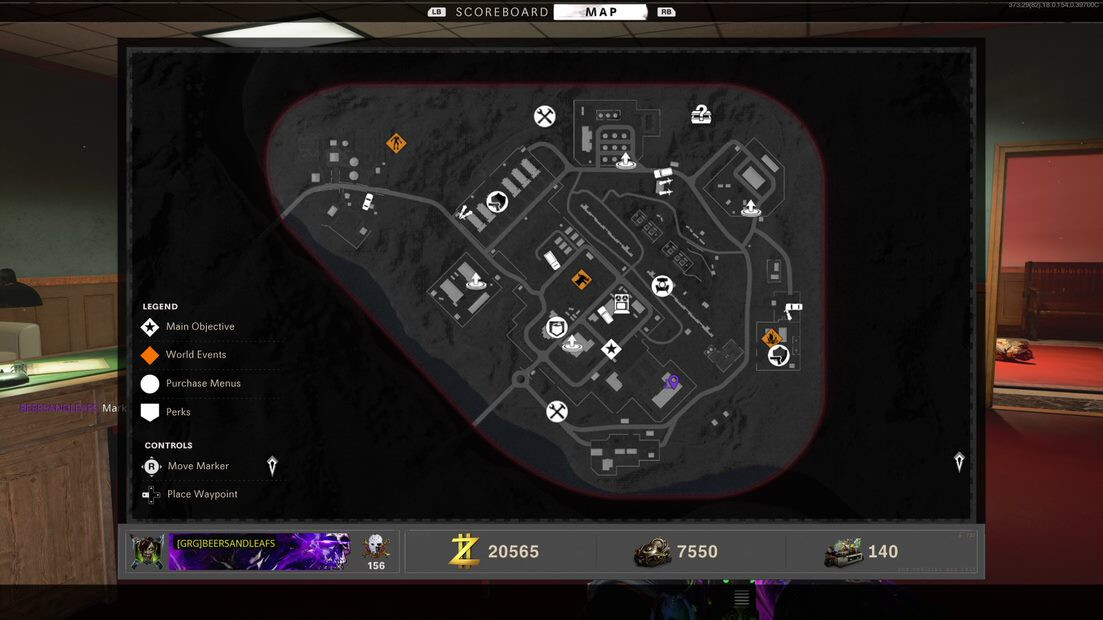
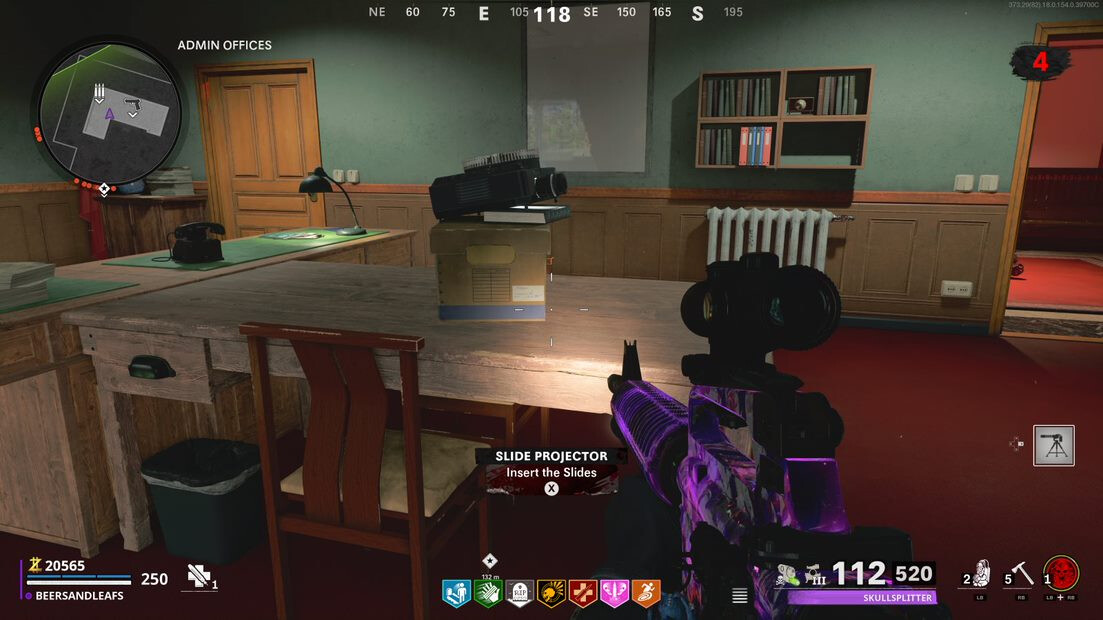
GOLOVA LOCATION
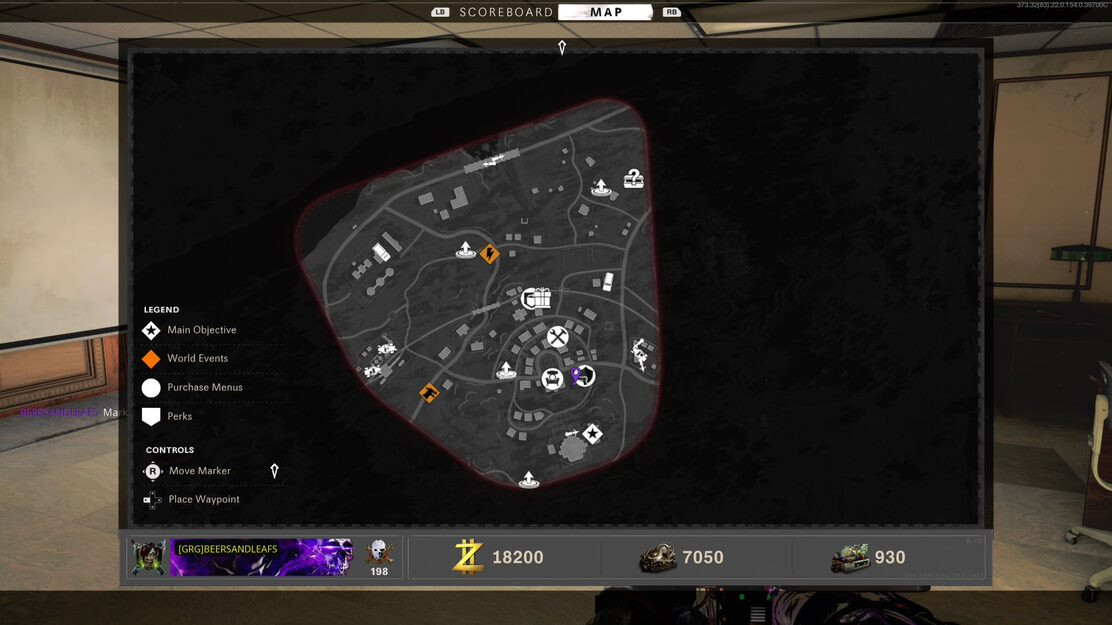
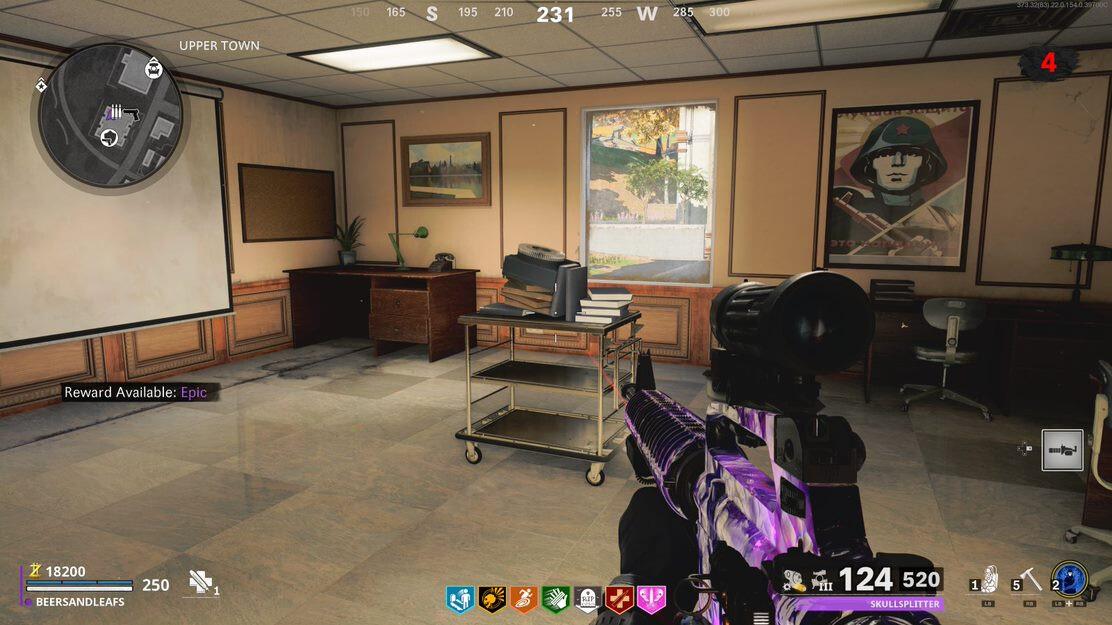
SANITORIUM LOCATION
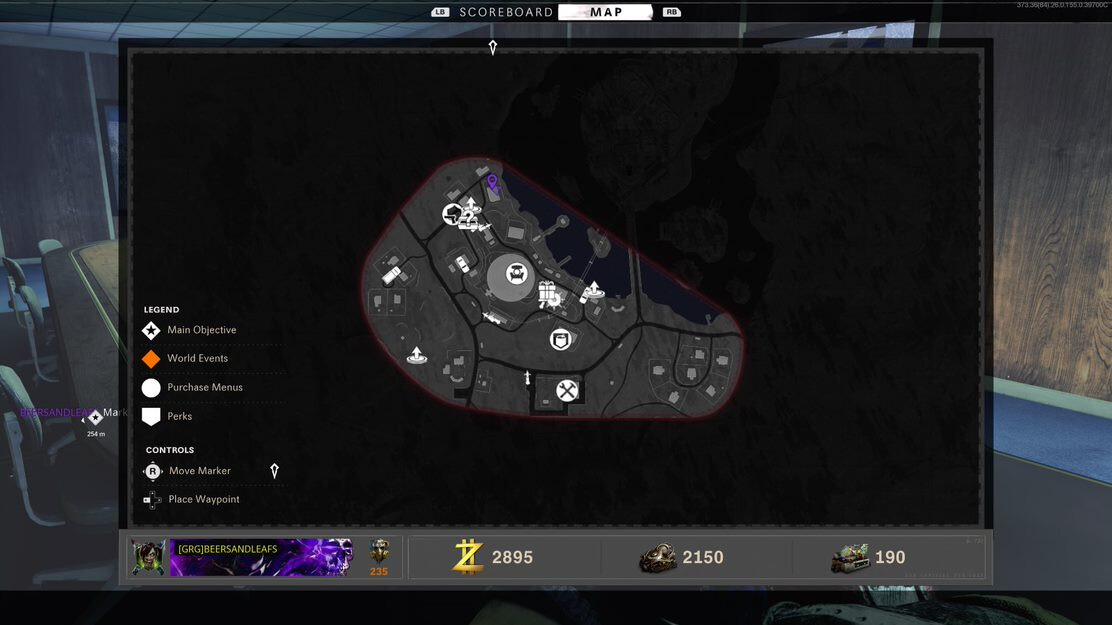
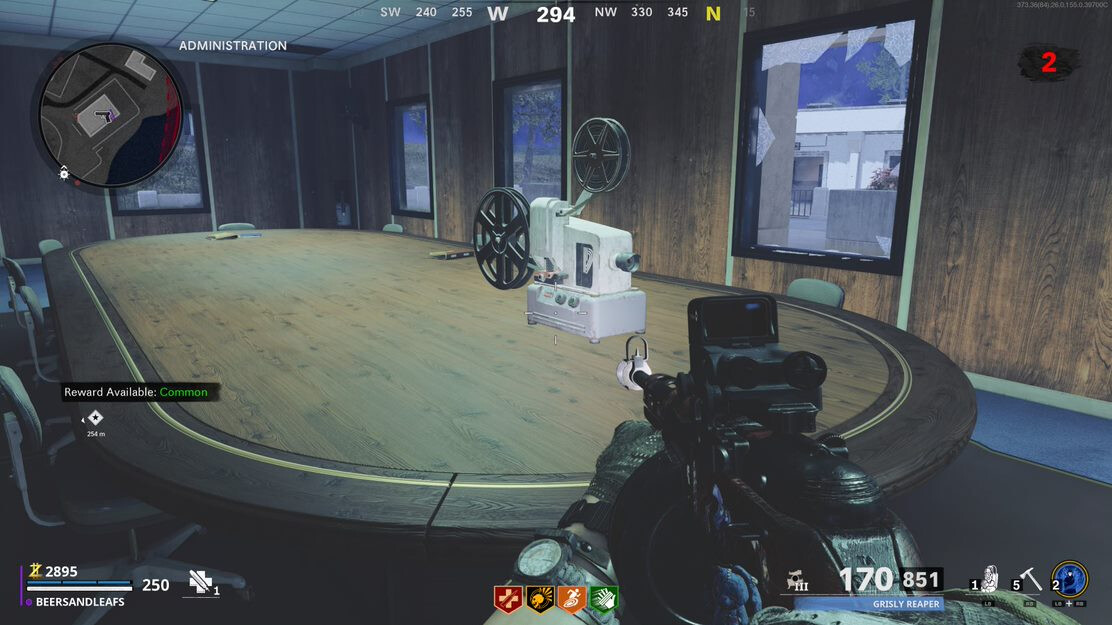
ALPINE LOCATIONS
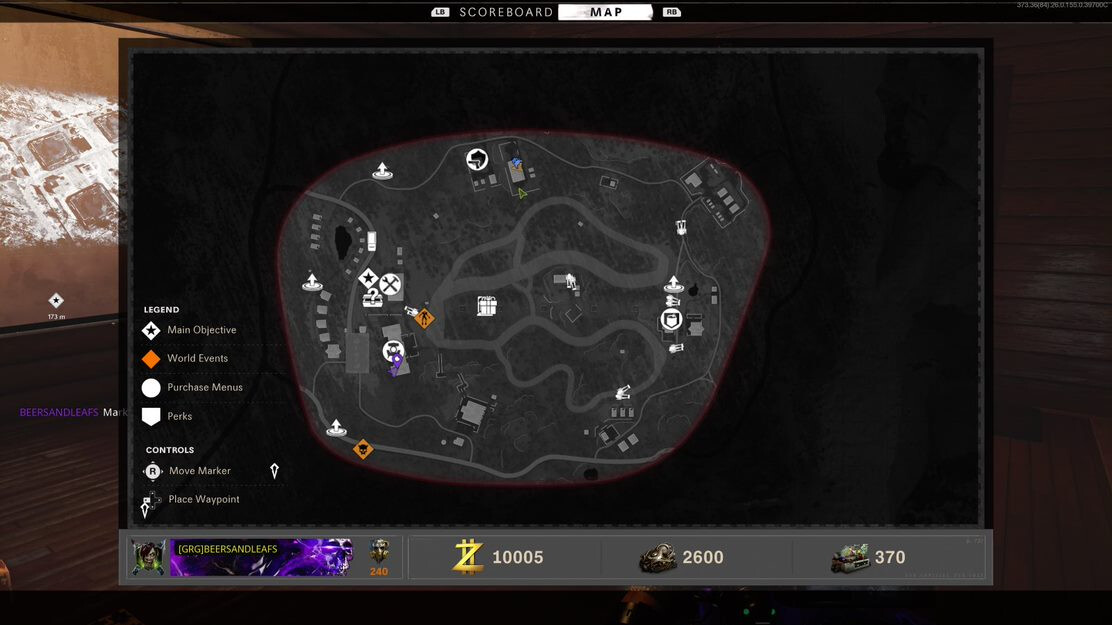
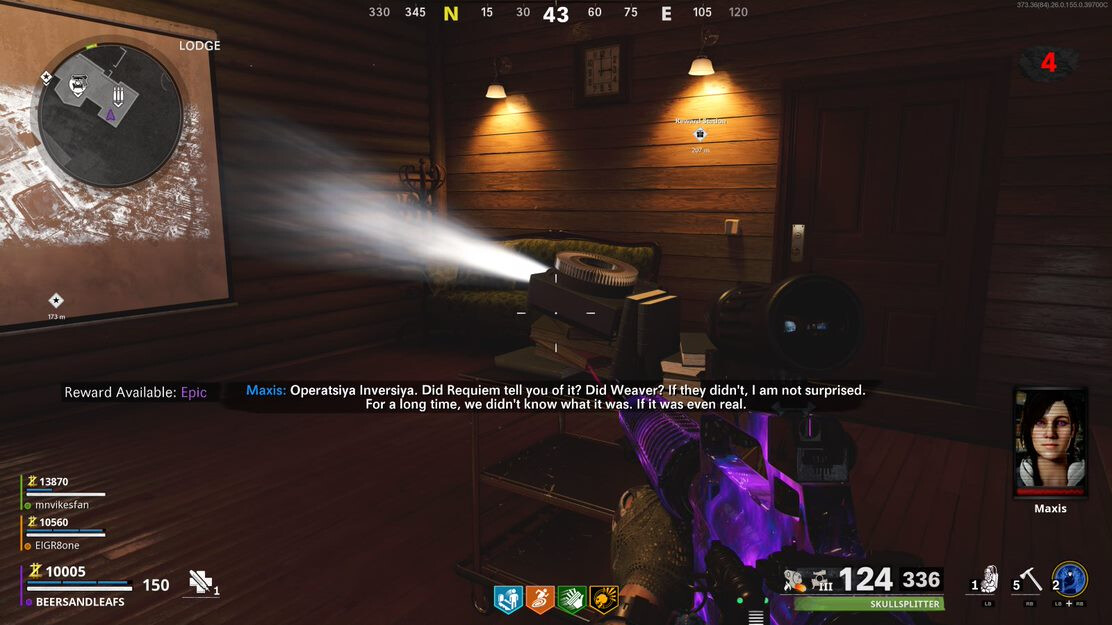
Keep interacting with the projector until it loops back around and Samantha Maxis tells you to go to Ruka.
Step Six:
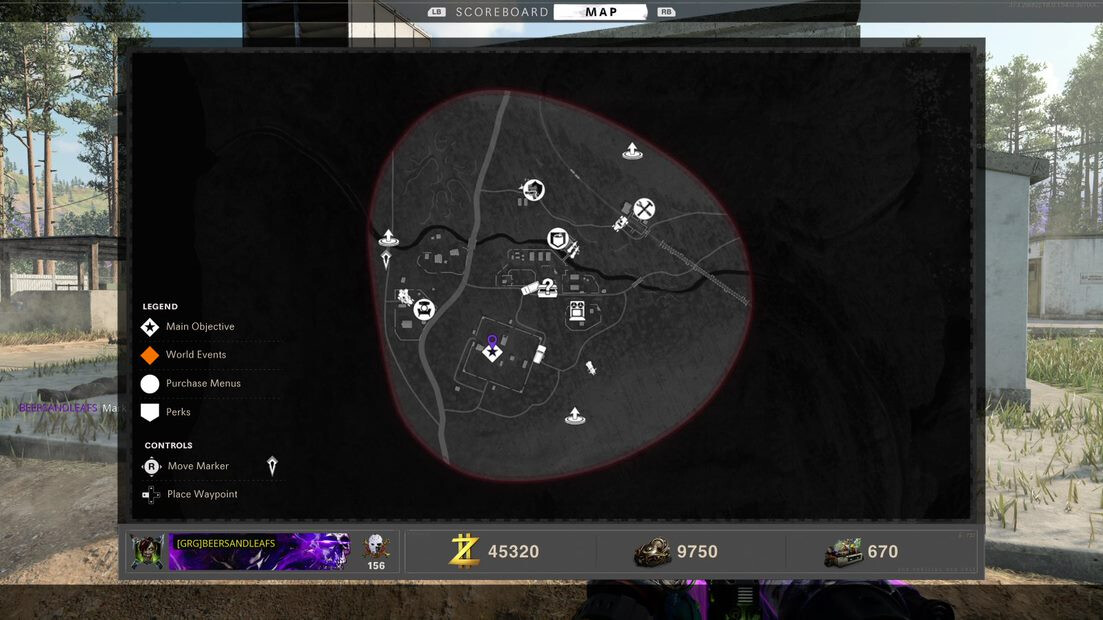
Complete Round 4 and you’ll head to Ruka as your next location. This is your last chance to prepare yourself so complete everything in this map and upgrade your weapons while you can. Then, head to the Missile Silo.
Step Seven:
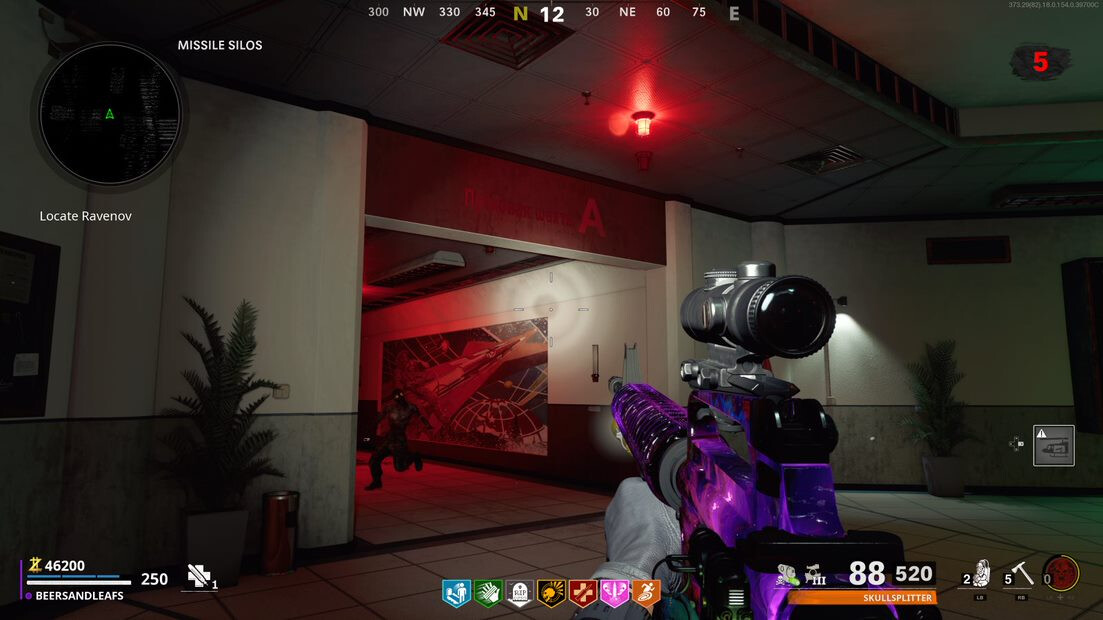
In the Missile Silo, all players need to get into the elevator
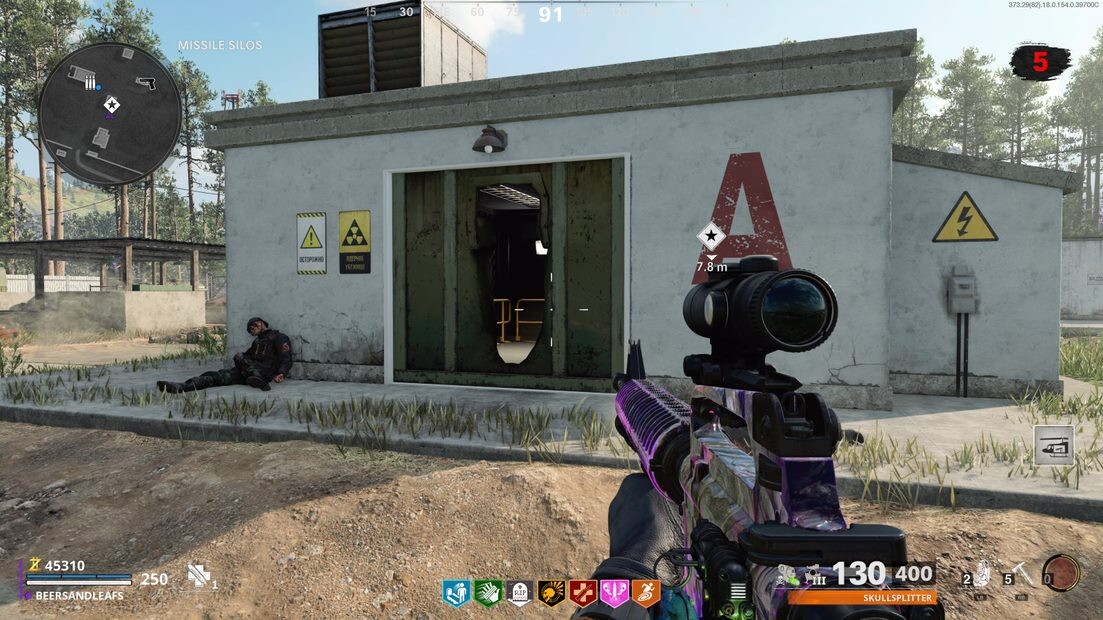
to head down into the next area. Now, you will be attacked by a bunch of zombies, but you need to go up the stairs to the top floor, then through the tunnel labelled “A”,
then proceed either down the stairs to the left or the right, or just drop down and parachute, then go to the console with the marker to lift the lockdown.
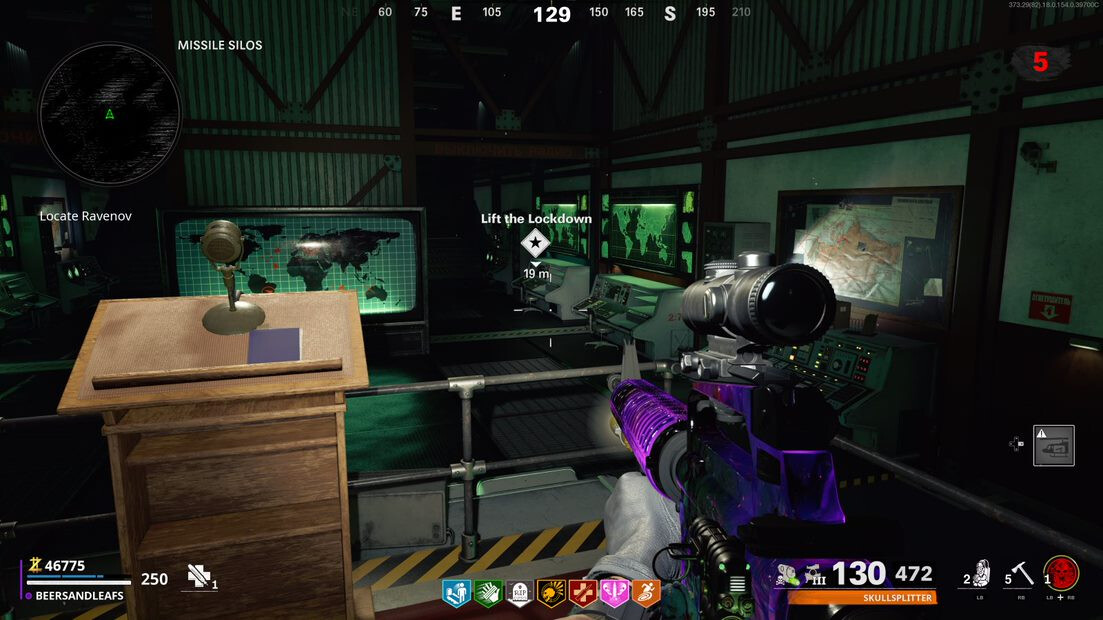
After this you’ll find Ravenov in a short cutscene. You’re then be tasked with finding a series of 3 Launch Keys.
Step Eight:
To get your hands on the first LaunchKey, head upstairs into the central room via the red corridor.
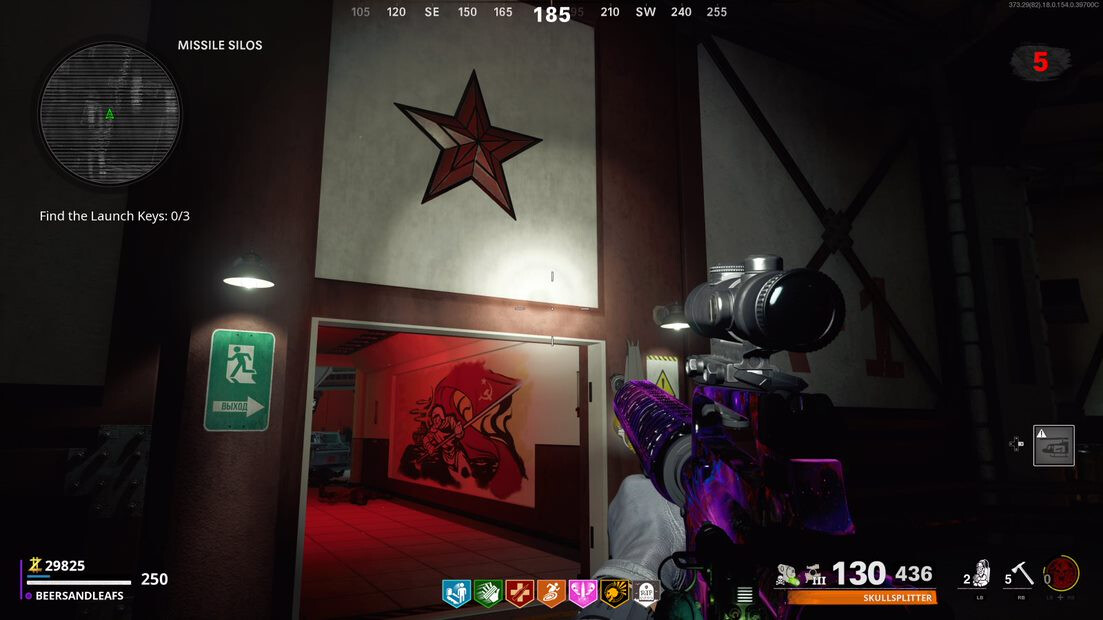
Be careful, as every item on the floor in this room will turn into a Mimic. What you want to do is activate your Aether Shroud and go down Hall C you’ll see a slumped body at the end
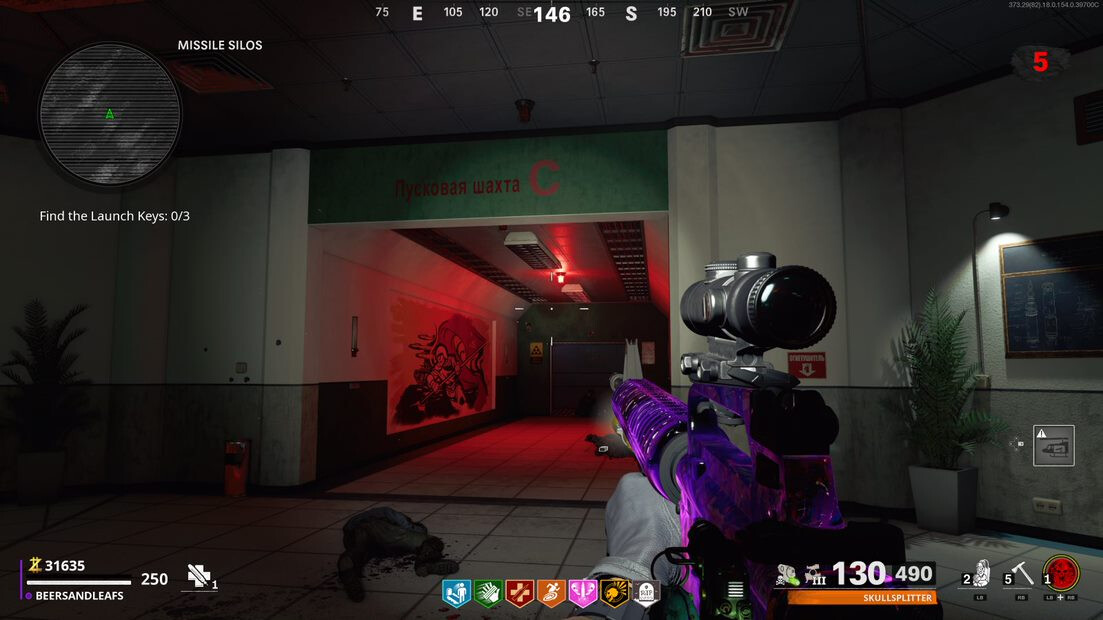
– interacting with it will spawn a Red Mimic who’s a little tougher than the others. Kill the Red Mimic for your first Launch Key. If your Shroud runs out activate it again to get back out of the area. Once you kill the red Mimic and grab the key, all of the hidden Mimics in the main room will disappear, making your life sooooo much easier.
Now, head into the B area of the Silo, and on the bottom floor find an Aetherium Harvesting Unit that looks like a little red cube.
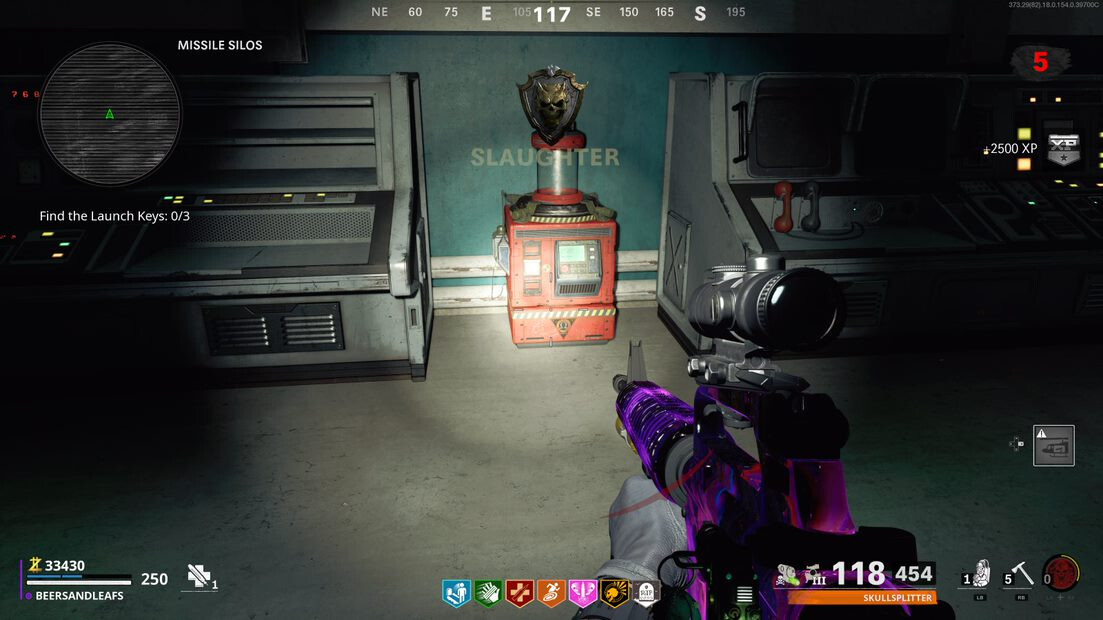
Interact with it to Purge an Aetherium Canister. When the Canister is empty, shoot the purple crystals around the area and collect 20 to bring back to the Aetherium Harvester. The crystals are counted across your squad, and any member can deposit them.
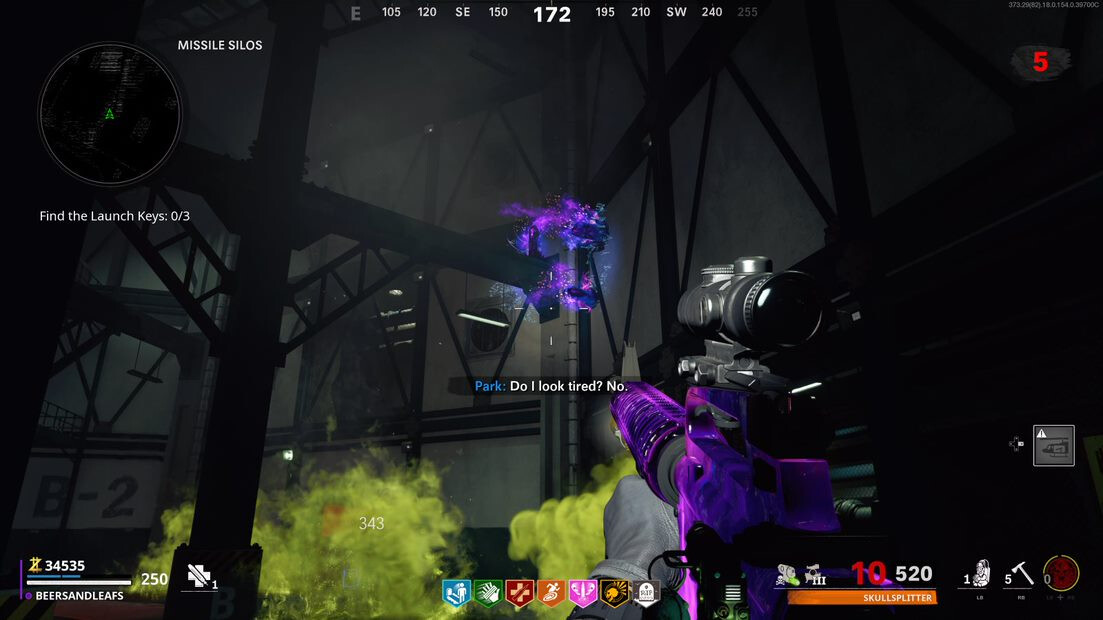
Pick up the canister and (without using it’s power) take it over to area D. Here, you’ll see a giant Aether jellyfish thing, proceed up the stairs (there are two sets of stairs, but be sure to be on the ones without the fence between you and the jellyfish) until you are level with it and activate your canister.
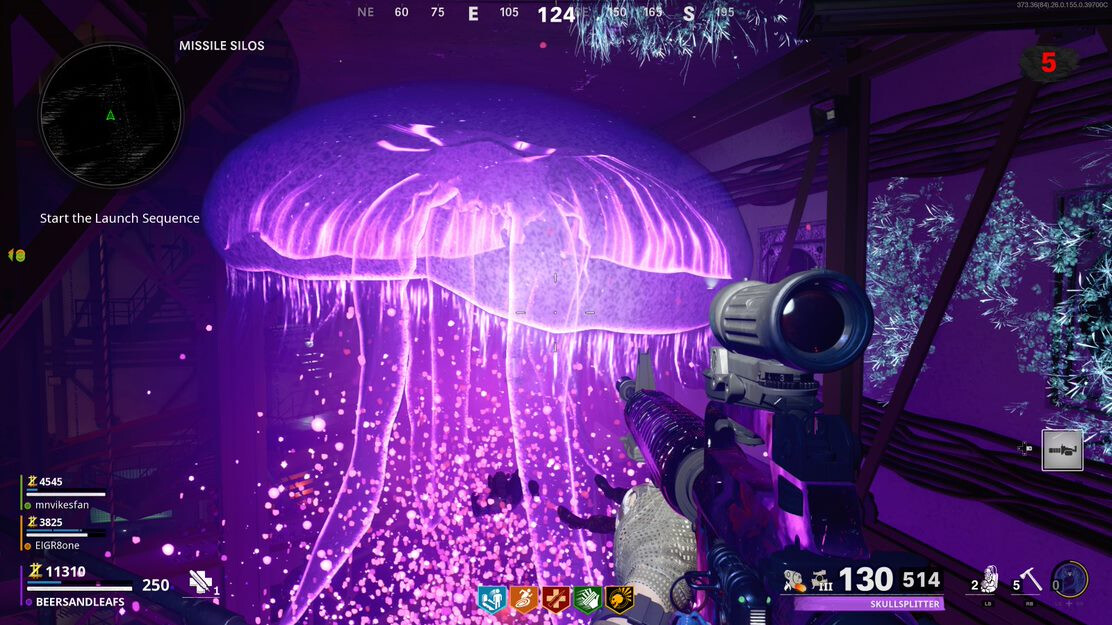
You’ll slowly float in and through the jellyfish and you need to grab another Launch Key from inside it. It should be near the floating body, but can be hard to see so just keep pressing your interact button and grab it out of the air.
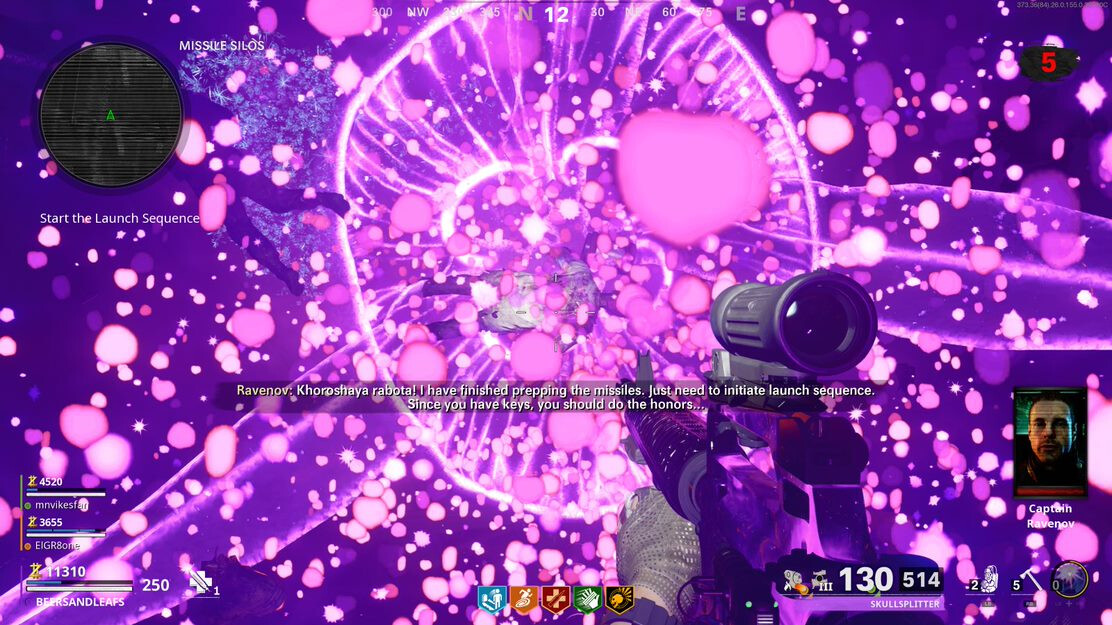
For your third key, grab an Aether Trap in area A.
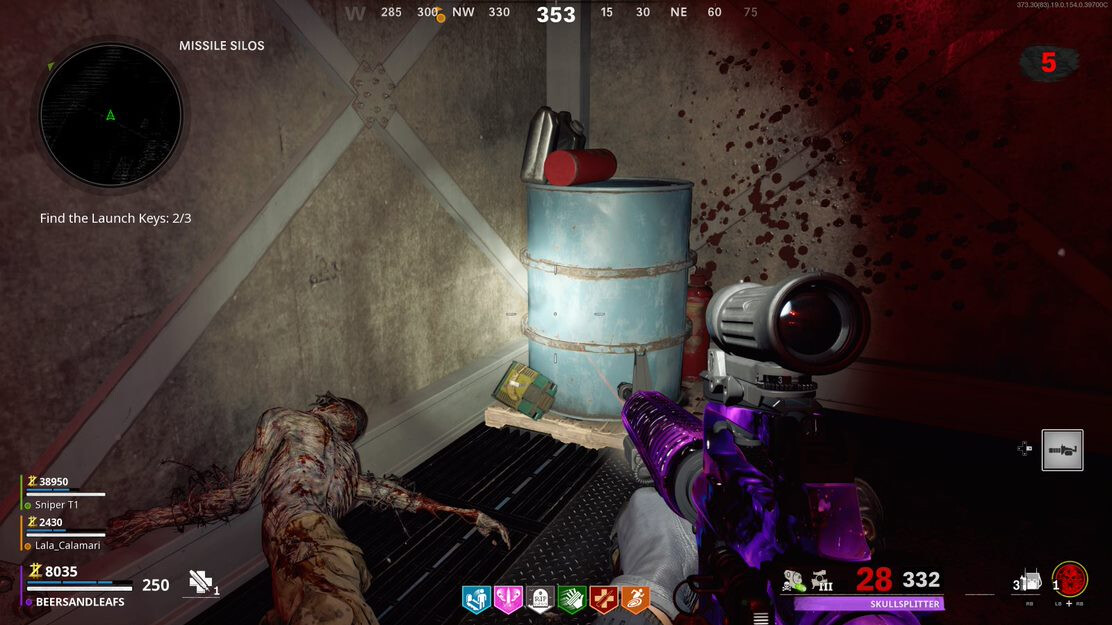
At the end of a small tunnel on the bottom floor
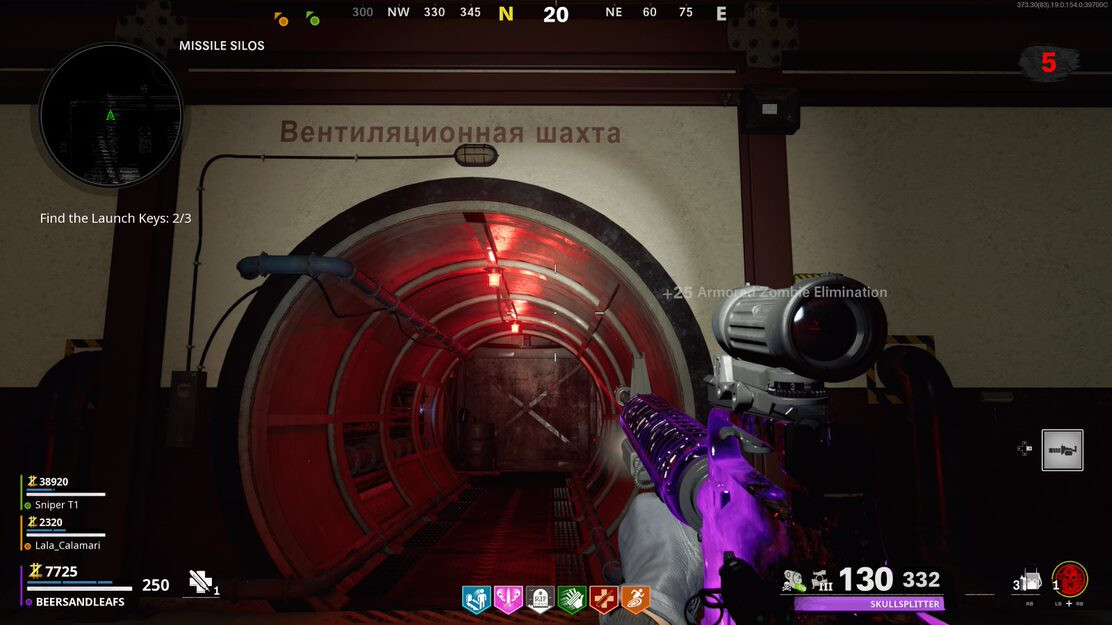
the device doesn’t highlight itself, but it resembles one of the Mimic traps from Firebase Z, with a banana on it. Next, look around at the vents surrounding the room, it can be near the ceilings or the ground. and look for one that’s glowing blue. When you’re far enough away, a spectral monkey will be visible in it, but it disappears when a player comes close. Throw the Aether Trap close to the correct vent and back off until the monkey appears. Then activate the trap to catch the monkey. This will give you the third Launch Key.
Step Nine:
For this part, you only have 30 seconds to complete, so RUN! If you fail, then you need to wait another 30 seconds to try again. In areas A, B, & D you’ll find a console that accepts a Launch Key. The order is random so head to all three until it says insert launch key. The next two consoles will not say anything, just go to it and press the interact button, If the console reports an incorrect sequence, wait 30 seconds to start again. If the console says nothing, then it’s correct and go to the third one. If you fail, the order may be different when it resets, so find the starting one again and try again.
Now, a timer will begin, counting down until the end of the Outbreak main quest Easter Egg. Use a nearby workbench and load up as much as you can on Self Reives, Monkey Bombs and Chopper Gunners. If you can’t get a chopper gunner, get anything you can that can cause a lot of damage. Run upstairs quickly, go through the door to get to the surface as requested.
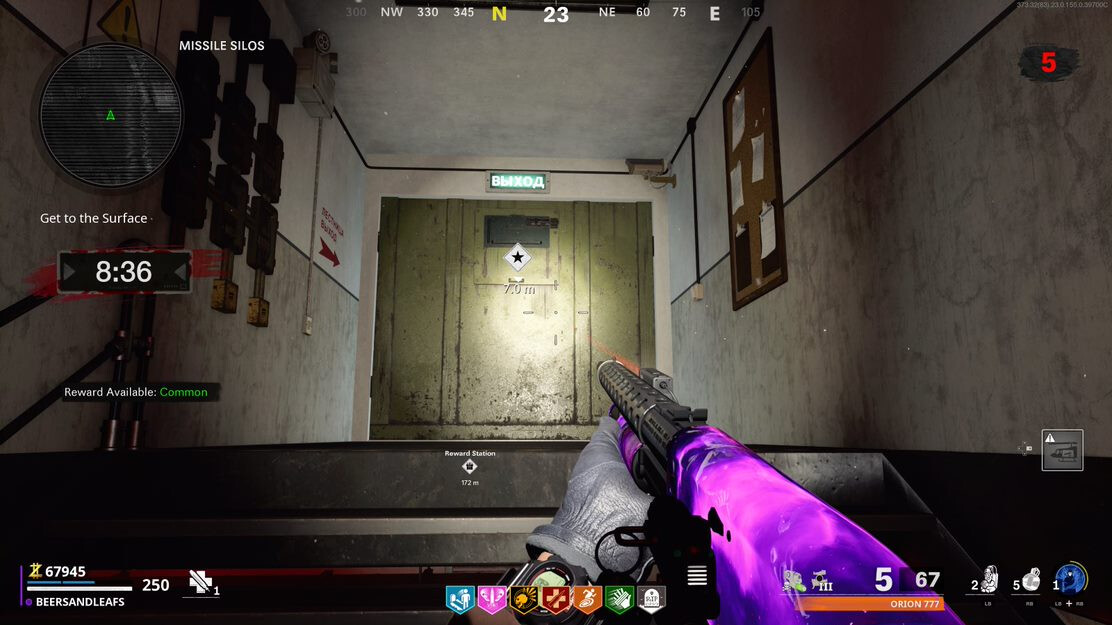
Be prepared for an incredibly difficult boss fight, which you only have 9 minutes to beat. Wait until Legion, the giant Tempest enemy, begins to attack before firing as it’s Immune to damage at the beginning of the fight.
Only aim at the enemy’s chest, as it’s otherwise Immune to your attacks. It’s a good suggestion that one person with the Chopper gunner - or whatever you have - use it on the boss, while the others take out zombies. It might not look like you’re making any progress, but you should see a little armor icon when hitting the enemy. If, you’re using Ring of Fire do not use it. Once Legion takes enough damage, it’ll warp, then hunch over and release three orbs around it. Now use your Ring of Fire, destroying an orb will take off a third of Legion’s health so target one together.
As with other boss fights, waves of zombies will be spawning around you. Throw Monkey Bombs and clear out the wave as much as you can, while still damaging Legion.
You’ve also got to watch out for Legion’s glowing area of effect attacks. If the ground begins to glow, get out of there fast as each hit does tremendous damage.
Once you’ve done this three times and all orbs are destroyed, your Outbreak Easter Egg is complete!
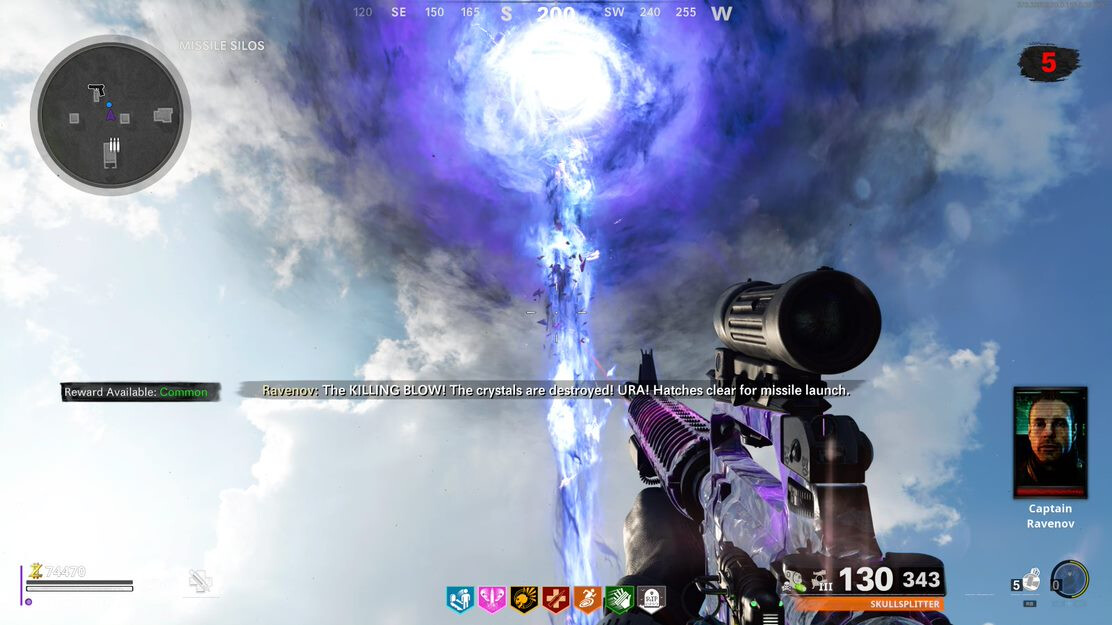
Now enjoy the end scene!