Of course you can use a shotgun as with most recent Zombies Easter Eggs, but use whatever gun you wish to use, however be sure to use Frost Blast. (I’ll add more pictures later to make it a bit easier.)
1. Collect the Cypher Wheel Parts & start the Ceremony
Once you’ve loaded into Shi No Numa, kill zombies in the spawn area until round 4 - DO NOT COMPLETE ROUND 4 YET!! I personally think it’s best to stay in the corner above the door you need to buy.

It’s just faster and more efficient. And you can melee kill the until round 4 with one shot. Now, follow the on-screen prompts to make your way to the Dig Site.
Once you get to the Dig Site the Easter Egg can be started.
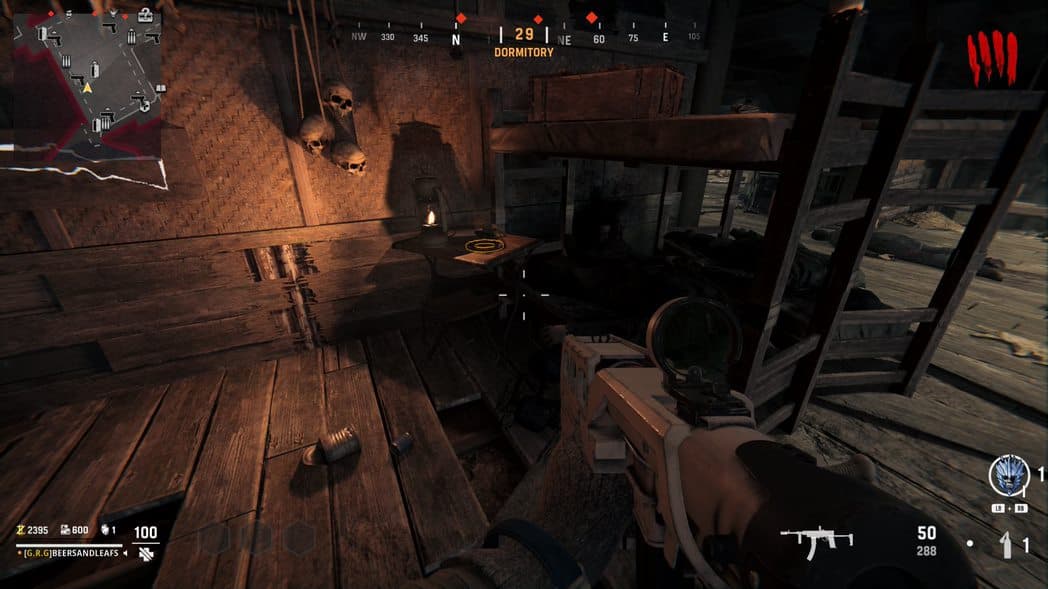
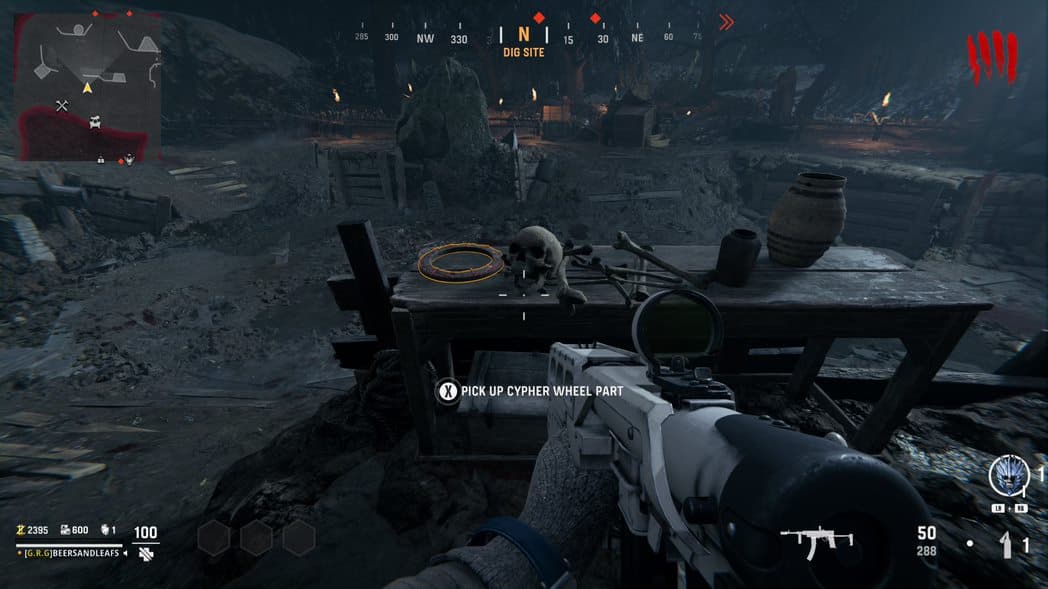
Find the Cypher Wheel Parts (glowing circle objects):
One on a table by a bunk bed in Dormitory
One on the table in front of the Pack-A-Punch at the Dig Site
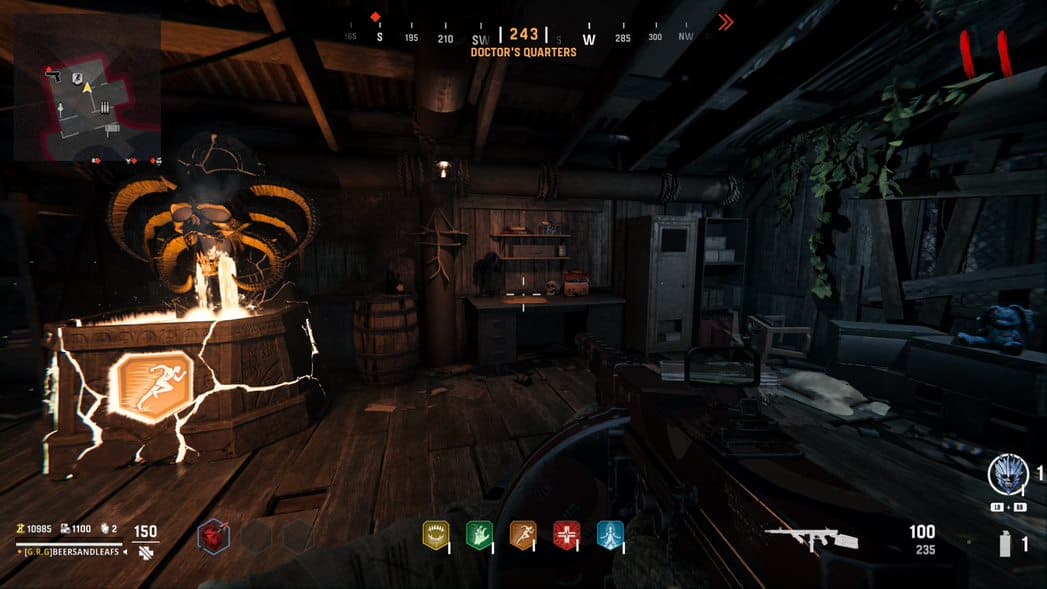
One on the table to the left of the Max Ammo Box in Doctor’s Quarters

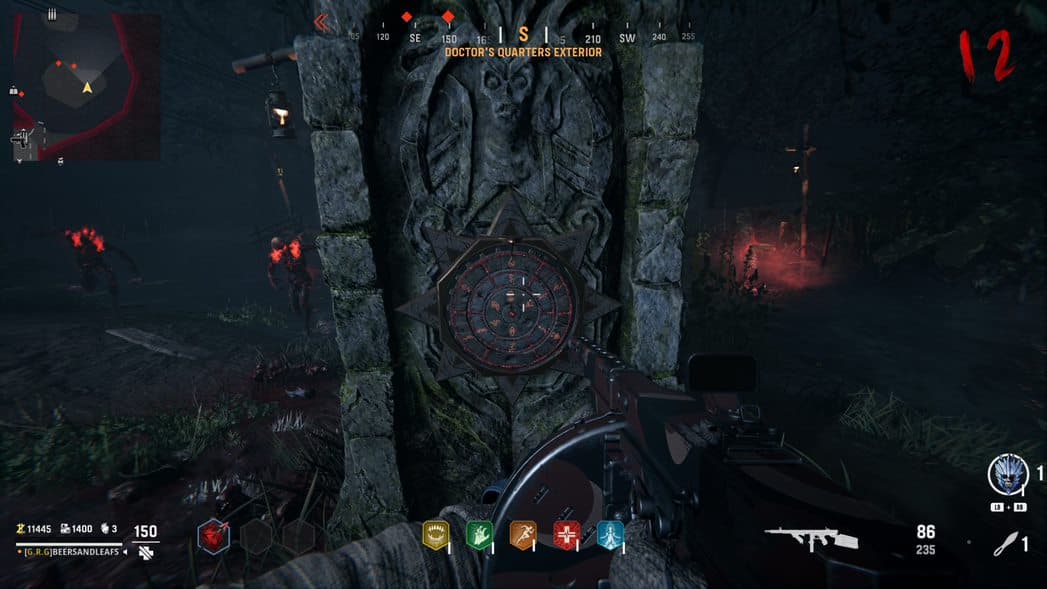
Now, head back to the Doctor’s Quarters Exterior and finish the round. As the fifth round starts stand in front of the glowing Monolith.
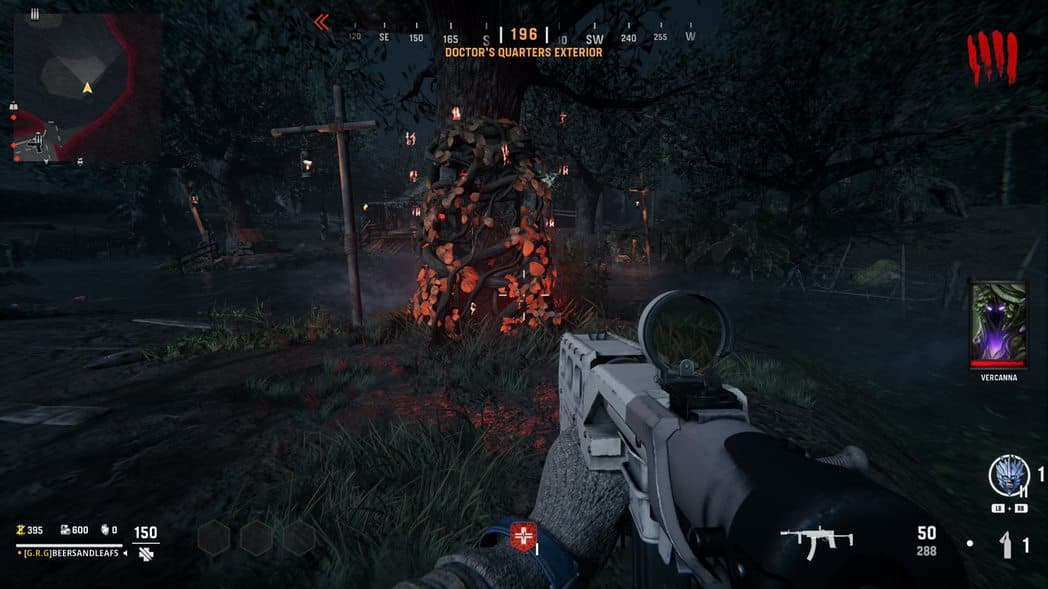
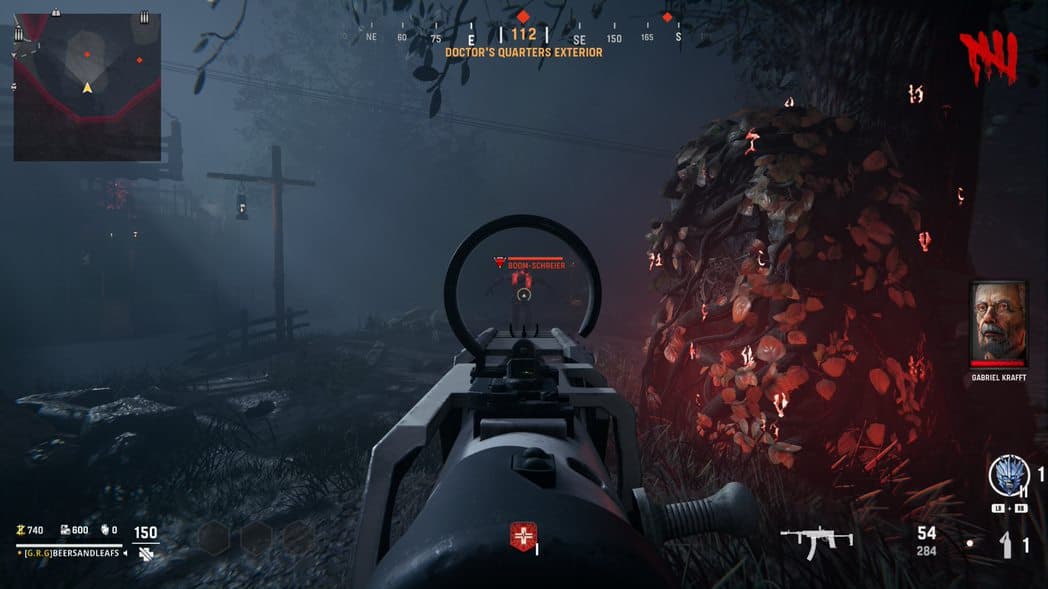
Now allow a Boom Schreier to run in front of the Monolith and kill it at the right time to blow away the vines three times.
Finish the round and then press the interact button to insert the Cypher Wheels into the Monolith.

2. Start Building the Wunderwaffe DG-2 Wonder Weapon
Head through the Flogger Courtyard and open up the Fishing Hut, then pick up the Weapon Barrel on the shelf right of the door.

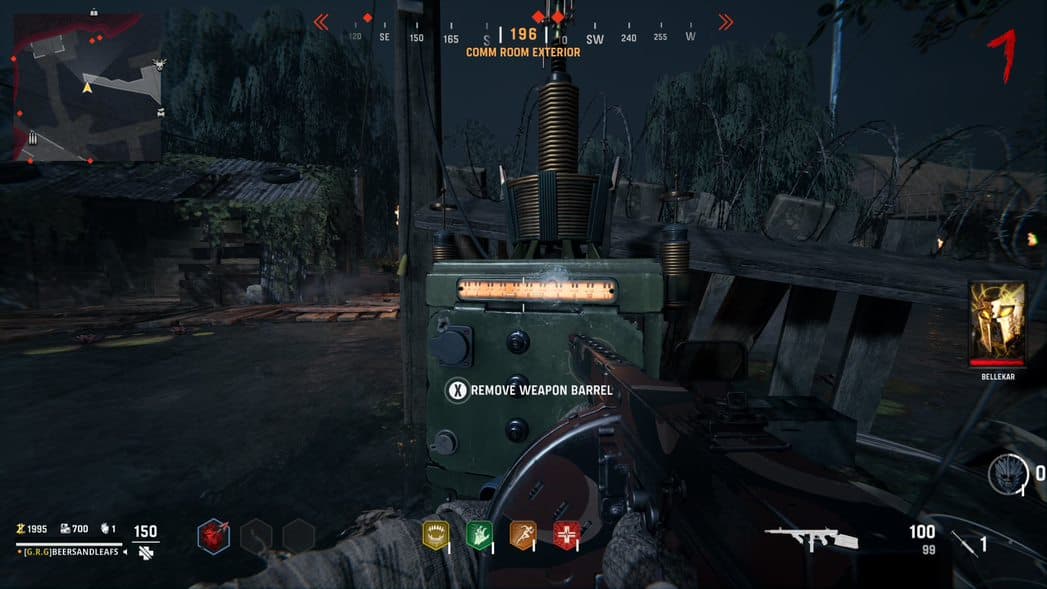
Now, go to the Comm Room Exterior and find the generator, then insert the Weapon Barrel.

Now, head inside the Comm Room itself and follow the prompt to ‘Check Radio’ to the right of the door.

Now, go back to the generator and finish the round, then complete the Defend the Radio Tower objective. After this is done, you can collect the Weapon Barrel from the generator.
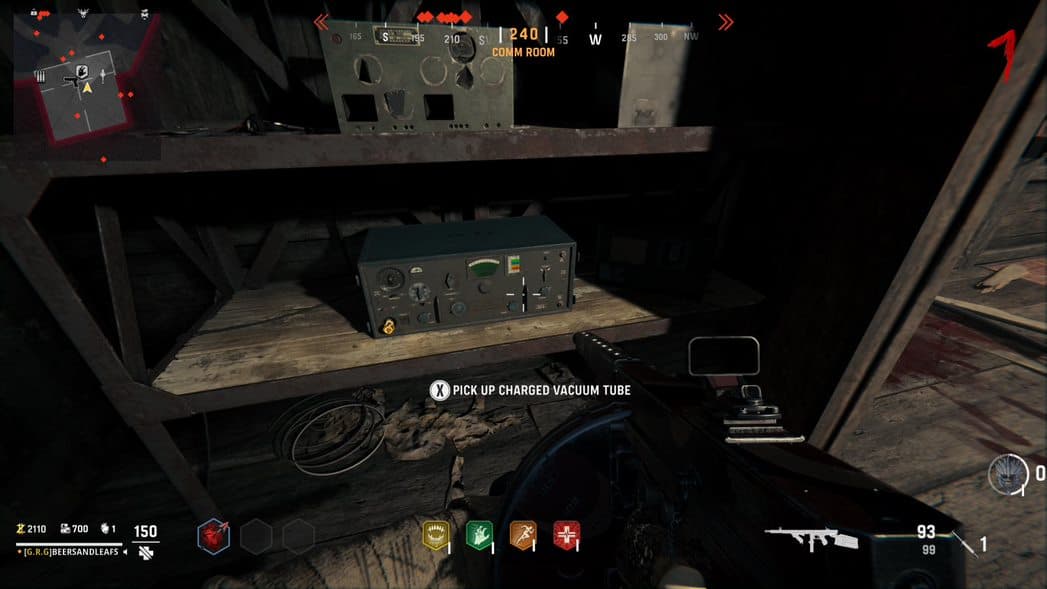
Then, head back to the radio and pick up the Charged Vacuum Tube.
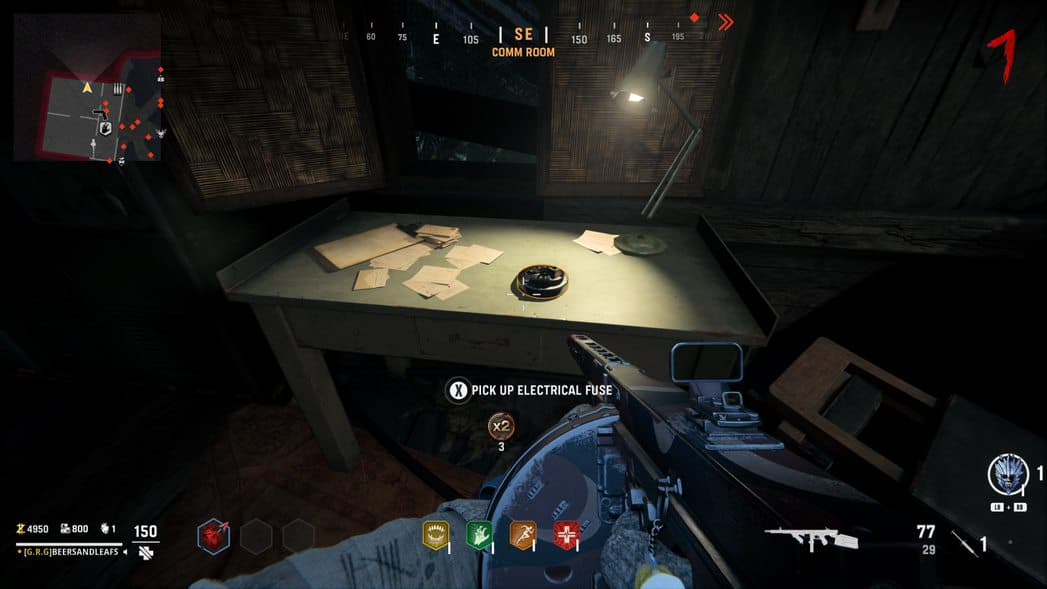
Also, you can go through to the other room inside the Comm Room area and collect the Electrical Fuse Part from a table.
Now, make your way to the Storage Hut and spend 1000 Points to activate the trap.
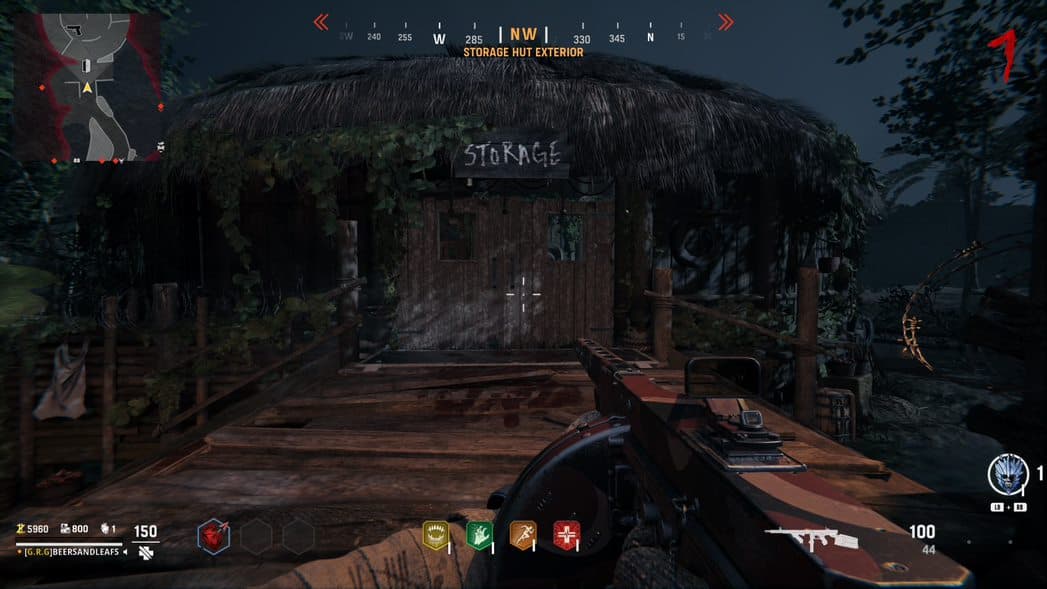
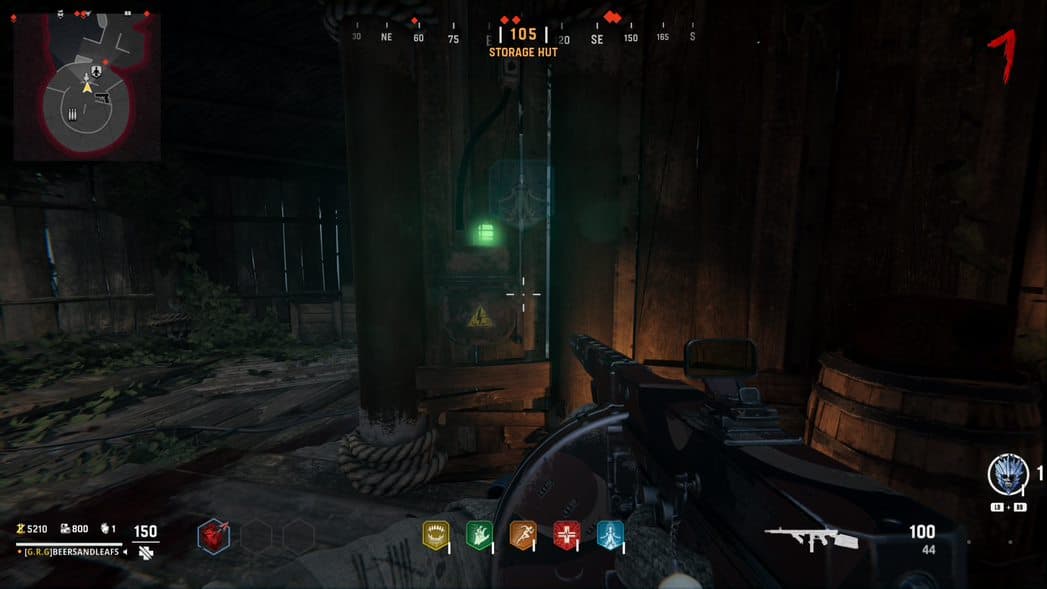
It will malfunction, so wait around and insert the Electrical Fuse. Once it’s working again, funnel zombies through the trap until it’s fully charged. (not sure the amount needed, but I had to do it twice)
Once it’s done there will be two fuses on the nearby workbench.
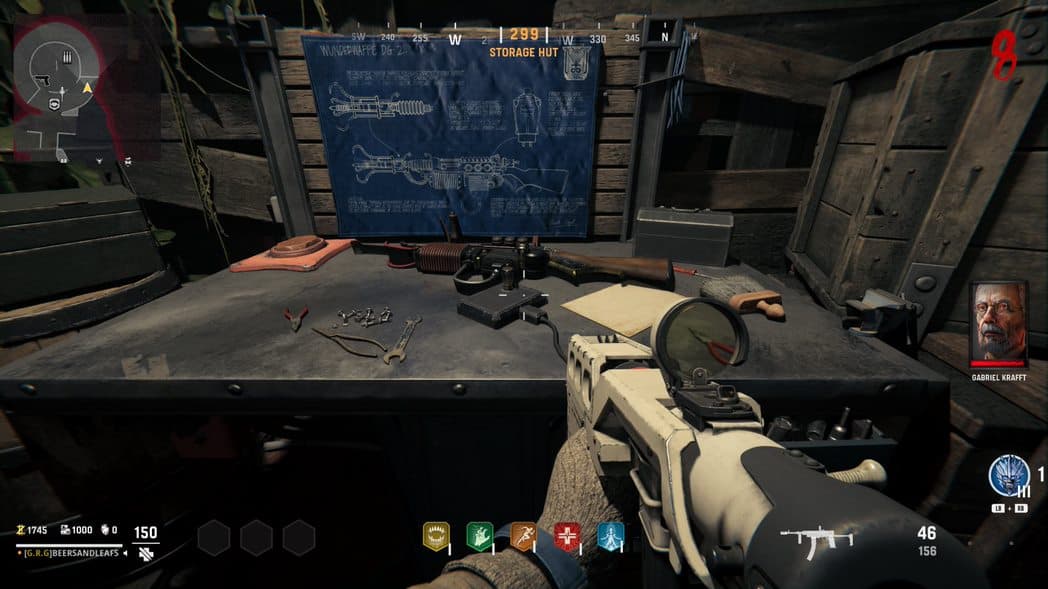
Before

After
Now, you need to find the code for the Monolith Cypher.
There will be three symbols around the map - same spot evertime, but not always the same symbol. I suggest taking a screenshot or taking a picture with your phone.
One will be on the workbench in the Dig Site
Another will be on on the table in the Comm Room

And the third one will be in the Spawn area on a table, hidden by a book.
Shoot the book and you will clearly see the symbol.

Now, head to the Doctors Quarters, and on a table to the right of the perk will be a piece of paper with the de-cipher legend on it.
If you look at it you will only see part of the legend. You need to throw a Thermite or a Molotov at it to reveal it all. Now quickly look closely at it and again get a photo.

Now, head back to the Monolith and interact with the Cypher. (you can take all the time in the world, Zombies will not attack you during this part) Each symbol will be somewhere on one of the rings, you need to look at your symbols, see the legend and find the corresponding symbol on the wheel. Have your sight on the wheel you want to move and move the three rings so that your three symbols line up with the arrow.
You’ll know it worked by the showing of some red images on the screen. If you did it wrong, just try again.
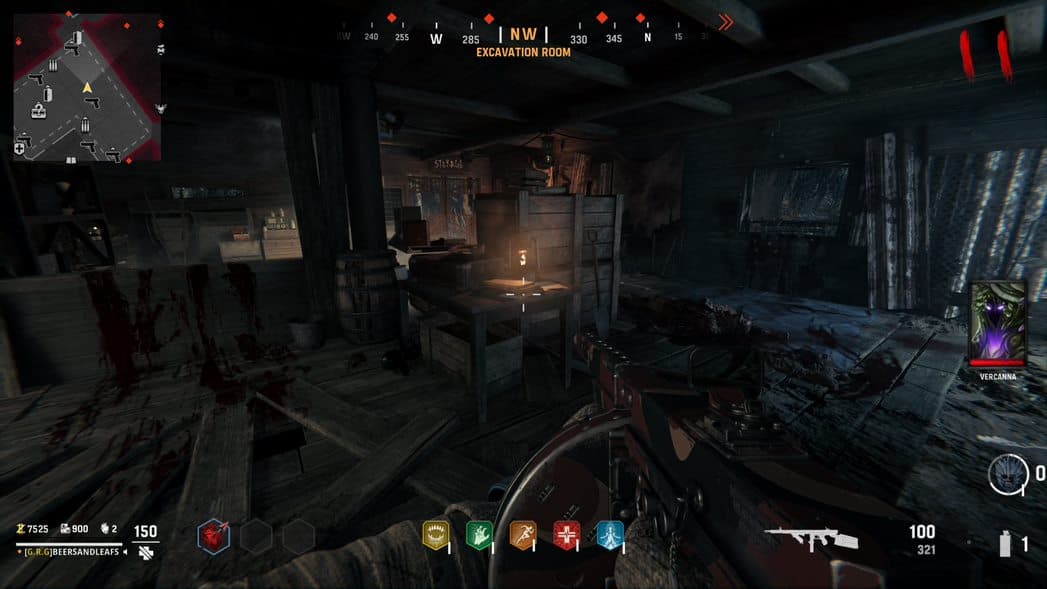
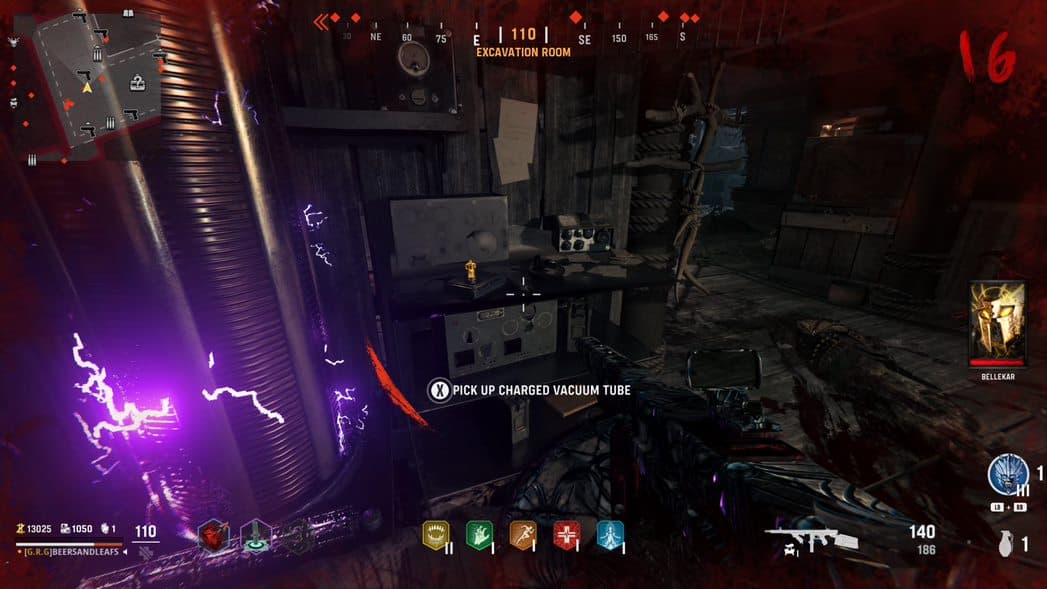
Now, survive until Round 15 where Zabala will spawn inside the main hut. Lead her to the Tesla Machine in the Excavation Room

You need to get her lightning attack hit it until you get the prompt to pick up the Charged Vacuum Tube beside it.
Once you pick it up head back to the Storage Hut and craft the Wunderwaffe DG-2 at the bench behind the trap. If it doesn’t allow you to build it, try the trap once more - you may not have gotten enough kills with it.
Now, make your way to one of the red stones at the edge of the Doctor’s Quarters Exterior area and Start the Ceremony. If you’re playing co-op, each player will need to interact with a different one at the same time.
Look out for glowing blue Zombies, let them approach the island the Monlolith is on, and kill them with the Wunderwaffe. If you don’t kill enough, simply play until the next round and try again.
3. Collect Zombie Blood & find Mirror Fragments
Train zombies and then activate the Flogger Trap and head into the Flogger Courtyard, letting the trap fling Zombies towards the deactivated Perk Fountain. Once enough Zombies have been killed, you’ll actually have to drink the Zombie Blood.
Using the temporary speed boost from the blood, find the red orb in either the Mess Hall or spawn room. Follow the red orb until it stops, and then pick up the first Mirror Fragment. However, you’ll need to do it again if the blood effects wear off before you pick it up.
Drink the blood again, then find the map inside the War Room. Look for the X over a location, then head there and look for the mirror piece (you might need to shoot it down).
4. Follow & shoot glowing blue orbs
Ensure you have everything you need for the fight ahead. (Perks maxed out as much as possible, Self-revive and Monkey Bombs.)
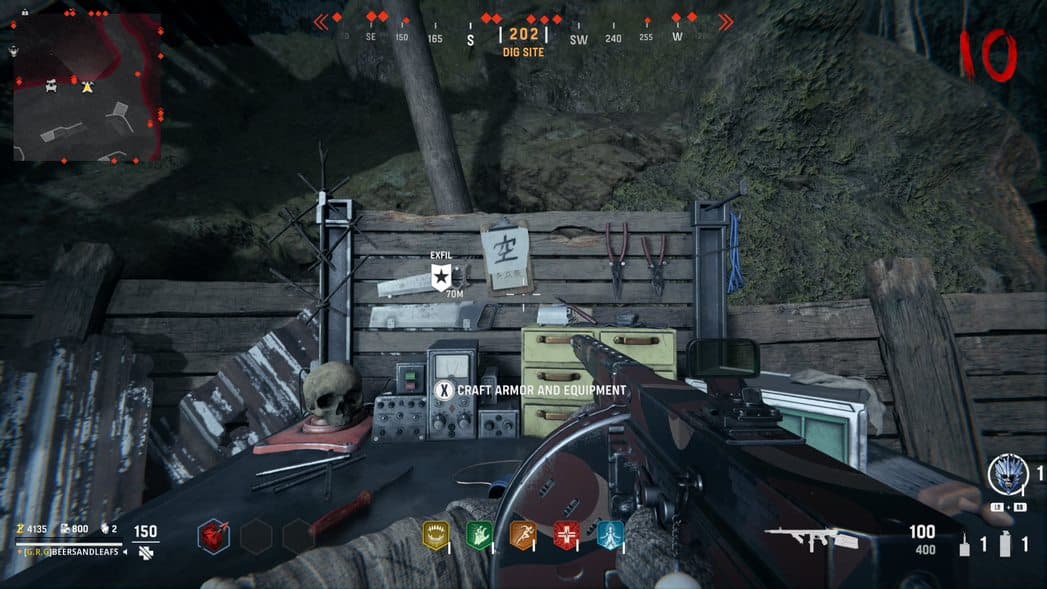
Head back to the Dig Site POI and place the Mirror Fragments at the altar in the middle.
Now, follow the prompt to energize the podium. If playing co-op, each player will need to interact with a different podium.
Keep an eye on the glowing blue orb as it floats into the air and flies towards one of the four huts. Chase after the blue orb and look for it outside the map, shooting it three times as it relocates.
After the third time, make your way back to the Dig Site and follow the prompt to Summon Echo.
5. Defeat Echo in Shi No Numa Zombies
Once the boss fight has begun, look for the glowing blue zombies again. Allow them to reach the bottom level of the dig site and kill them with the Wanderwaffe.
Once enough glowing blue zombies have been killed, a large bubble will form over the area. Make sure you’re inside and once Echo enters the bubble with you, deal as much damage to her as possible until she becomes immune.
Now, the second stage will begin which is exactly the same as step #1, except you’ll be using the Wunderwaffe to kill glowing blue Boom Schreiers instead of regular zombies. Once you’ve killed enough, stay inside the bubble and keep wailing on Echo until she becomes immune again.
Now, allow the glowing blue Sturmkriegers to reach the lower level, and kill them with the Wunderwaffe until the bubble appears again. One last time, hit Echo with everything you’ve got until she’s dead.
Once completed, you’ll get the end cut scene and some rewards.